Monday, 8 May 2017

Happy 18th Birthday Joe....

Wow! 18 years of Joe today... how did that happen!!?!

Long term blog followers will know that today is normally my annual Real Red Card day... but he is all grown up now... so Cherry Cobbler seemed more appropriate this time!! Along with Basic Grey and Black still of course!

The old favourite Scallop Tag Topper Punch Concertina Card came to the rescue (long story at the end!!)... which is great as I now have a cunning plan with it for another day!
Click here for the Tutorial...

And the specific details...
Basic Black papers from the Neutrals 12x12 Designer Series Paper Stack.
Cherry Cobbler, Basic Grey and Whisper White card...

Lots of dies used!! Large Numbers, Large Letters, Stitched Shapes, Layering CirclesLots of Labels

Difficult to see in the photos (clearest on the number 18 on the front)... but makes a huge difference in the flesh... I overstamped my Basic Grey die cut letters and numbers with the hexagon pattern stamp in Butterfly Basics using Craft Whisper White ... and then a Basic Grey postmark too...

And I have just realised that I have "forgotten" to add the stars I had planned as the final decoration...so please imagine those all over!!! The card is safely sealed in the envelope and it is time for bed... I will add them when he is at school... he'll never notice!!!
So the back story.... So his card was going to be this... then that.... then the other... then I finally made a decision ... something special I saw a while ago that had stuck in my head.....

So then I tried desperately to find a written tutorial (with maybe some photos) for what I wanted to make... and failed... although I had to laugh at how many of my own card designs popped up in my search... but they are nothing like what I was searching for...

So then I had to follow a video tutorial... and failed!!! Not for the fault of the video/creator.... I think it was probably a good one... Maybe I just don't have the patience for that method of delivery... I did REALLY try though.... as I never (usually) give up on a card fold... and I do have to admit that an essential part of the card fold wouldn't be explainable just in words in any case...

So onto Plan B... great start... great new card fold... but major fail at the last stick of paper!!! In the bin...

So then I was back to this, that and the other.... having rather lost the will... and far too many hours... and then I remembered the wonderful Concertina card... moment saved! A card special enough for my 18 year old... even though a photo never does them justice....

Sunday, 7 May 2017

Irresistibly Floral Star Blast U Fold Card... for the Girls!

This is kind of a When Worlds Collide card... made up from parts that were left over from a few different cards we made in last fortnights' classes...

So it is this card fold... with the Star Blast die cut front piece...
Covered with Irresistibly Floral flowers used here... perfect sized stars...
And Irresistibly Floral papers as used here and here!!

And finished off with a greeting from Big on Birthdays... the greeting words being stamped in 2 parts side by side instead of on top of one another as originally designed...  Perfect fit!

Saturday, 6 May 2017

Jems Blog Hop - Something for the Men!

Hello and welcome to The Craft Spa blog with Amanda Bates ...

Today is the Jems Team Monthly Blog Hop... so please join us and travel around for lots of inspiration for the men in our lives...
I couldn't resist making an even simpler A6 U Fold Card for Father's Day... seeing as it is my Card of the Week! Click here for my Tutorial... though note that this version just uses a 3cm high piece of Whisper White for that front section
These cards are super quick and simple to make... but a real WOW in the flesh... a must try girls!

So the first few photos are the card using Urban Underground papers and Urban District stamps... and I was busy steering away from the Delightful Dijon... but then this happened... 
And hey... I think I prefer it that way after all!!  Not what I was expecting... Nice pop of colour... and great for a class design as everyone will be able to use their man's favourite colour on the day... 

But then I went to write this blog post.... and horror of horrors... no more Urban Underground papers left in stock!!! Though panic not class-ladies... I have quite a few here for our classes this month... 

So I had a quick re-make for you using Serene Scenery papers... 
Which one do you prefer???
I then went on with quite a few more ideas for those letters... but more on those another day! Or you will never get to hop along... 

Time to say goodbye and pass you onto Sarah....
Or if you are going backwards (and yes quite a lot of people do) ... then I will pass you back to Allie...

Friday, 5 May 2017

A6 U Fold Card Tutorial for Fancy Fold Friday

Back to the U Fold Card  .... and a tutorial for you as this is resized specifically to fit the Star Blast die cut... and it is also the perfect size for fitting the card in a C6 envelope... so this will now be my go-to Small U Fold Card sizing...

It doesn't however fit in the SU! Medium Envelopes... which I presume are a US Standard envelope... so my US readers may wish to visit my very first U Fold Card (aka modified Centre Box Card) share in this post... (the one with the Palm Trees!) with both a metric tutorial and Liza's linked inches tutorial... that one does fit in the Medium Envelope...

You will need...

A4 Thick Whisper White 22.5 x 10.5cm (or 22.5 x 21cm if you want to do 2 at the same time like I do!)
A4 Thick Whisper White 15.5 x 8.5cm (*)
Paper for Back 8x10cm
Paper for Front/Sides 6 x 10cm (x2)
* Not got the Star Blast dies... shame but never fear... cut 15.5 x 3cm instead... and do something like this!)

And here is what you need to do...

1. Place the large Whisper white panel LANDSCAPE (long side along top) on your trimmer
2. Score at 3.5, 7, 15.5 & 19cm

3. If doing 2 up... Turn 180 degrees so PORTRAIT (short side along top) and cut at 10.5cm

4. Bone Fold Mountain, Valley, Valley, Mountain
5. Basic card done! Now wasn't that easy...

6. Die cut the smaller piece of Whisper White centrally using Star Blast die (note that the card panel is wider than the die!)
7. Snip at either side where shown...
8. Ink up & stamp as necessary

9. Cut the 2 smaller paper panels in half  PORTRAIT at 3cm
10. Adhere these cut panels to front and sides
11. Adhere larger paper to back

12. Adhere left side of front die cut piece to folded left hand side (NOTE - think about where your glue needs to go... or rather not go!!)
13. Fold the Left hand side over (so flat) and adhere the right hand side (again - think re glue!)
14. Finish decoration...
The card decoration is kept simple...

Front star panel stamped with a large greeting... and centre back stamped with the star flourish  - both from from the co-ordinating Birthday Blast stamp set

Sponge Brayered Irresistibly Floral papers on the sides

A Basic Black Star Blast die-cut added to the back of the white stars panel to add more definition
Whereas the first one had another Sponge Brayered Irresistibly Floral panel on the centre back and a gold glimmer Star Blast die cut added to the front of the white stars panel... and the side papers were added after the white Star Blast die cut panel...
Here are my Star Blast duo of cards together...
And before I go today... I have a few more of these to share in the pipeline... some which look completely different!... so keep watching this space!

Thursday, 4 May 2017

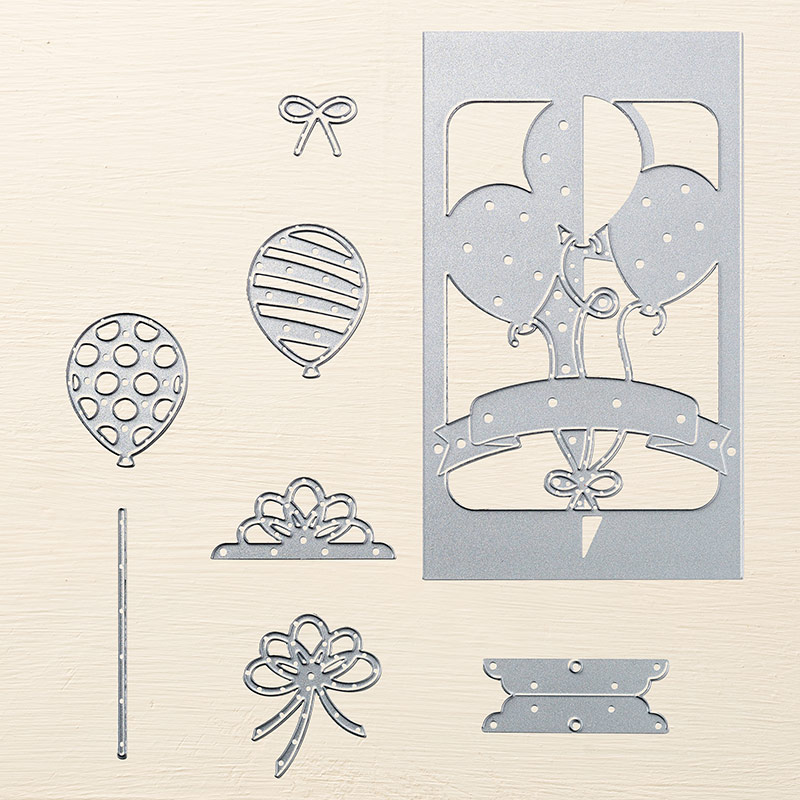
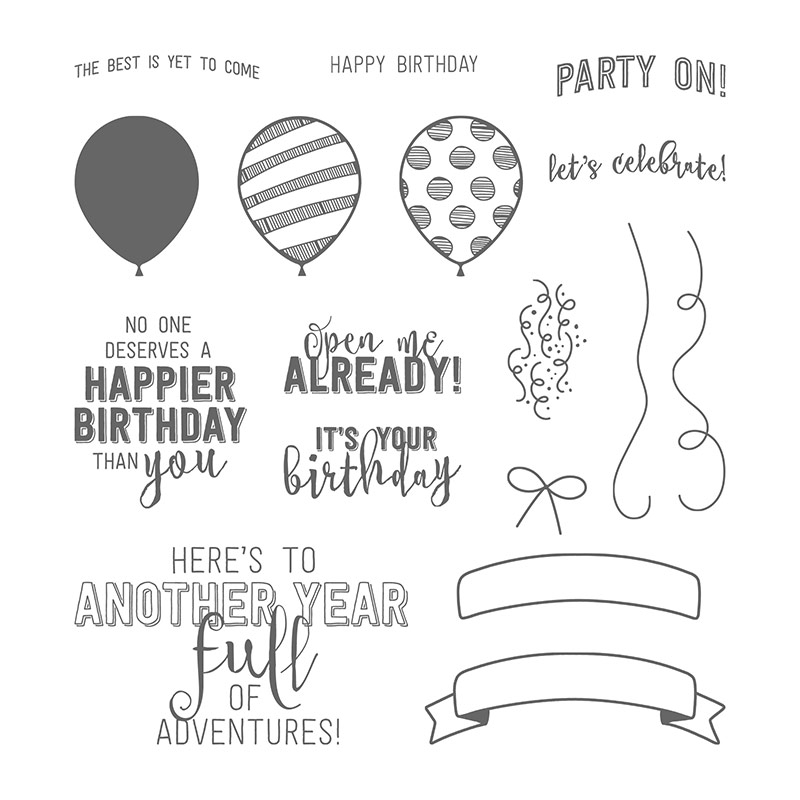
Balloon Adventures & Balloon Pop Up dies...

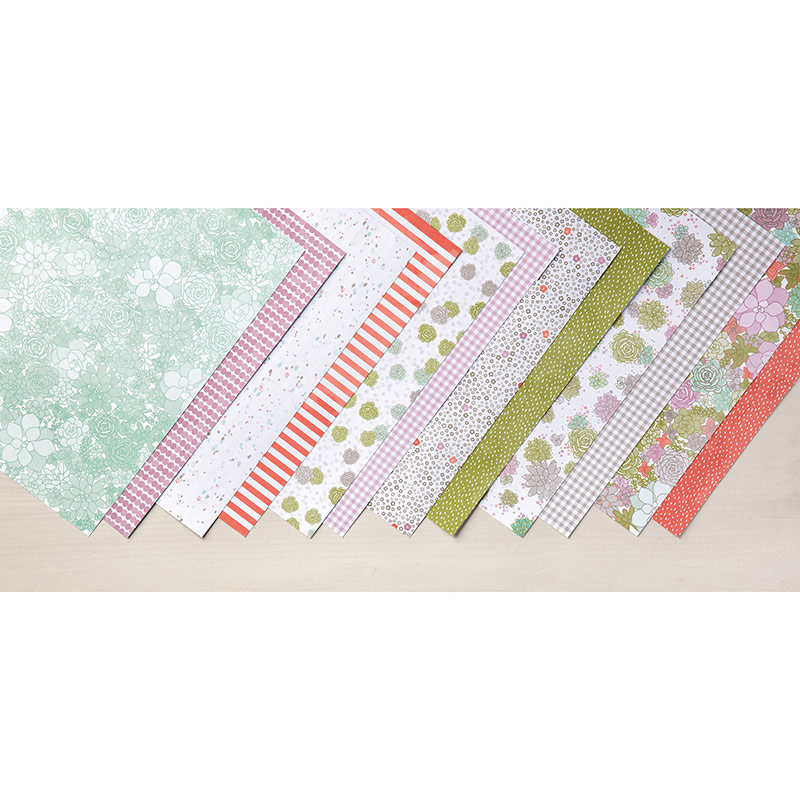
Showcasing another soon to be retiring (sadly) stamp set, Balloon Adventures with the co-ordinating Balloon Pop Up dies... along with a paper pattern from Succulent Garden papers that set the colour scheme...

Now this DL card is simple enough in style... but the combination of steps in a particular order made it somewhat more difficult to put together (and explain!) than first envisaged... so I congratulate all of you that finished it in its entirety! And it still looked fabulous by those that just achieved the front shaker card element...
In fact I even made another inside for follow up classes... but I will have to share that another day as I now realise that I haven't photographed that yet!

And a story for you... I picked up this particular piece of paper from the Succulent Garden  pack... and being honest... I couldn't cope with the concept of using it! Too much going on - even though such a small pattern... 

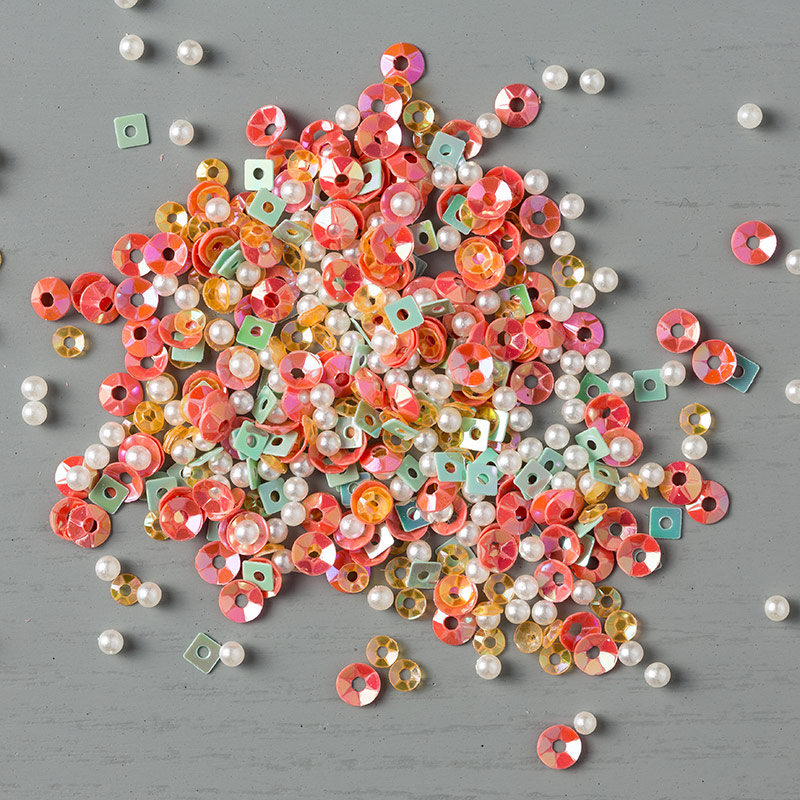
Then I realised that it was a perfect backdrop  - and colourway - to a shaker card that I had also promised for this months' classes using the Sprinkles Embellishments (which are half price now folks! Just £2.50 a pack)... and so here you have it...
It seriously looks to be FULL of Sprinkles! Perfect...

All of these items are reduced... and retiring... so please check them out ... I am sure you will not be disappointed! I for one particularly love the stamps and dies... and I am really gutted to be seeing them go...
Oh and a quick roll call of these products as I have a spare few minutes and really believe in these items for a quick go to but WOW card!... though maybe not this extended version!... 

Click on the photo or highlighted title to go straight to the item in my Online Store...

Balloon Pop Up Dies £21 (were £30)
Balloon Pop-Up Thinlits Dies
Balloon Adventures Stamps £19.20 (were £24)
Balloon Adventures Photopolymer Stamp Set
Sprinkles Embellishments £2.50 (were £5)
Sprinkles Embellishments
Succulent Garden Papers £7 (were £10)
And I also used Window Sheets, Foam Adhesive Strips and Tear & Tape Adhesive to make a simpler job of the Shaker Card element on the front... 


Wednesday, 3 May 2017

Buy now... or pay more later...

Beat the Price Increase... Good items to order in May...

In less than a month you will get to see the new 2017-18 Annual Catalogue... but I thought I should tell you of a few price increases coming our way for items that are available now at the current (lower) price

But first... do remember to check any of the Bundled Items on your Wish List in the Annual and Spring/Summer catalogue... whether they stay or go come 31st May! Click here for a summary... All have that 10% off at the moment if you buy the 2 co-ordinating products as a bundle...

This discount does not carry over to the 2017-18 Catalogue if that product range does... And for the bundles that retire - and are still available -  you may find that there are fantastic reductions for the 2 constituent parts that beat the bundled price in any case!

Back to Price Increases... Just press on the product photo or highlighted title to go straight to the item in my Online Store to order... the prices shown are the current prices...

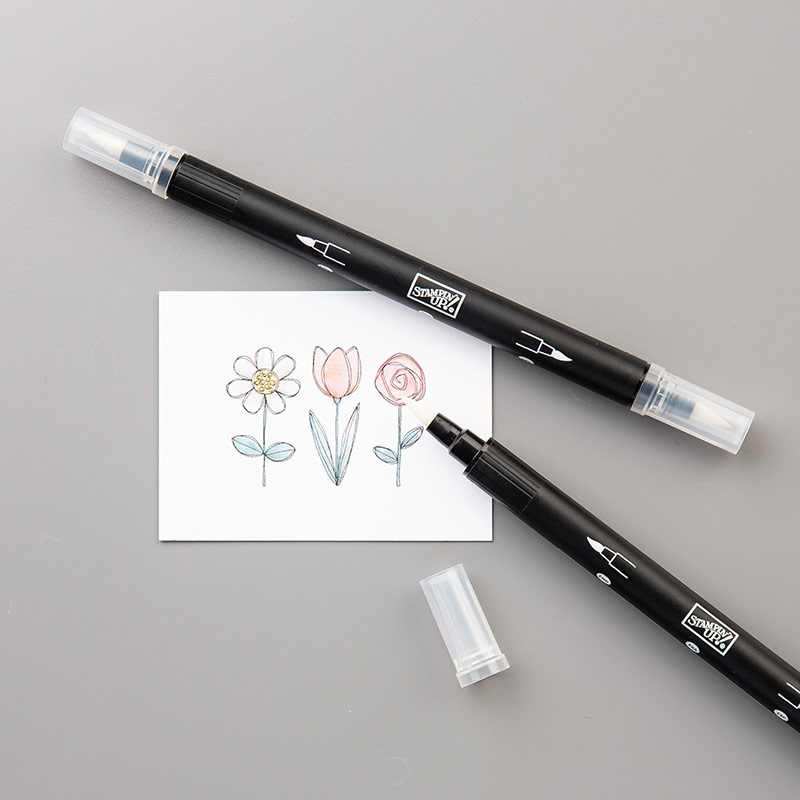
Blender pens (eek!) £9 for a pack of 3
Blender Pens
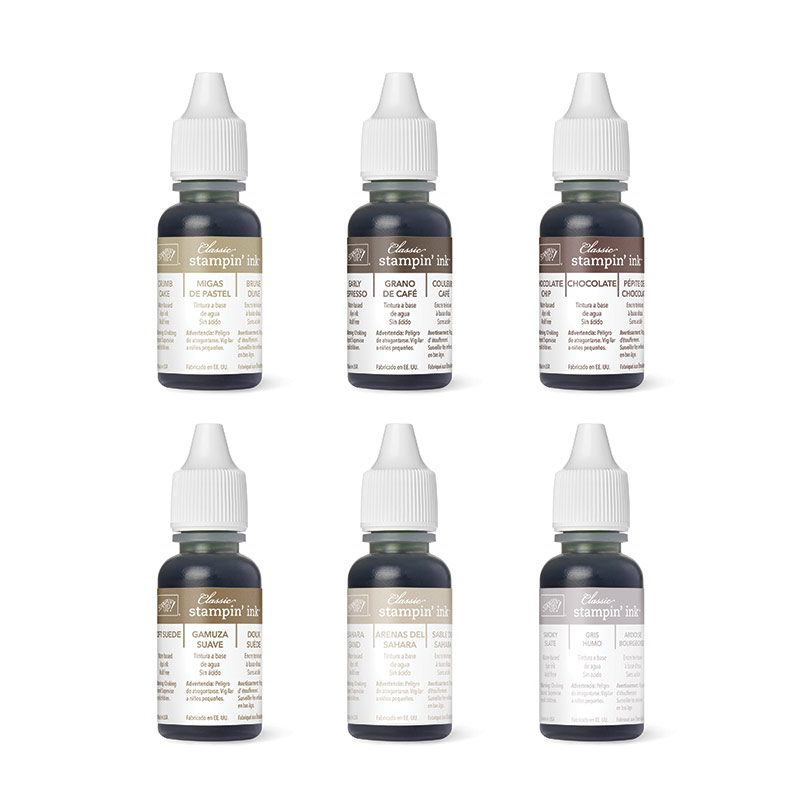
All Classic Stampin' Ink Refills... so check your ink pads and order any Refills now...

Available individually at £3 each or in discounted packs for these Colour Collections
Subtles Classic Stampin' Ink Refills
Subtles Collection Ink Refills £25.50
(note - just gone on backorder but orderable - stocks in early next week...)

 Brights Classic Stampin' Ink Refills
Brights Collection Ink Refills £25.50
Regals Classic Stampin' Ink Refills
Regals Collection Ink Refills £25.50
Neutrals Classic Stampin' Ink Refills
Neutrals Collection Ink Refills £15.50 
(note - currently on backorder but orderable - stocks in early next week...)
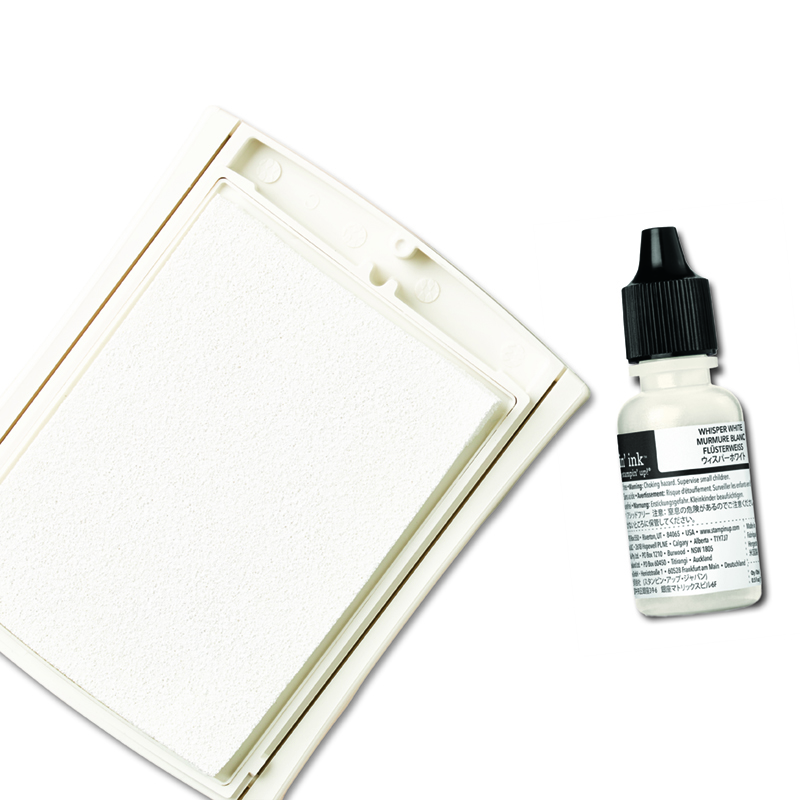
Uninked Stampin’ Pad & Whisper White Refill by Stampin' Up!
Note that this now comes uninked with a Whisper White Craft Stampin ink refill

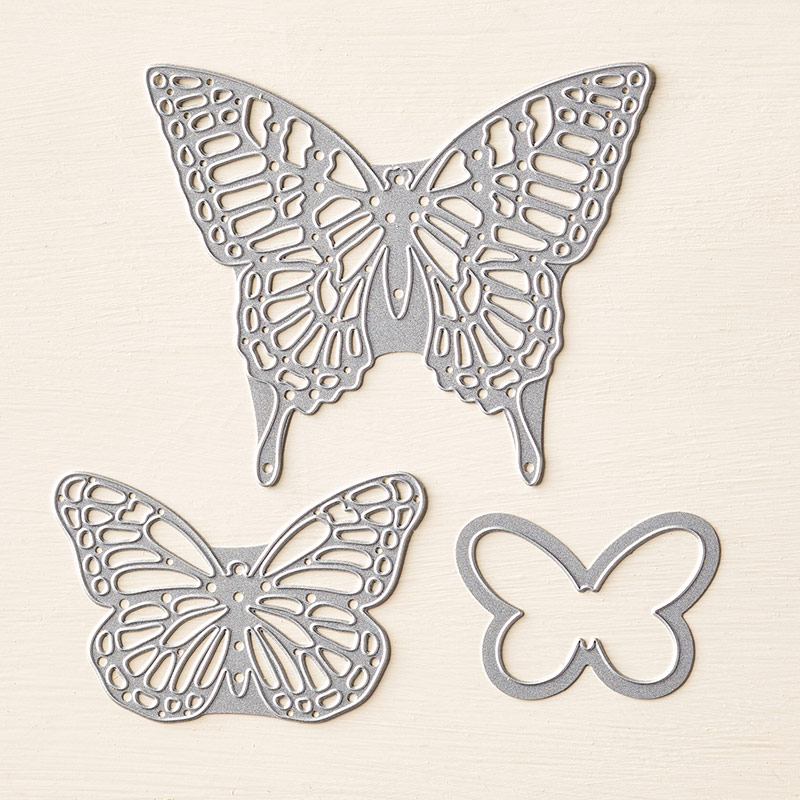
Butterflies Thinlits Dies
Co-ordinates with Butterfly Basics and Watercolor Wings
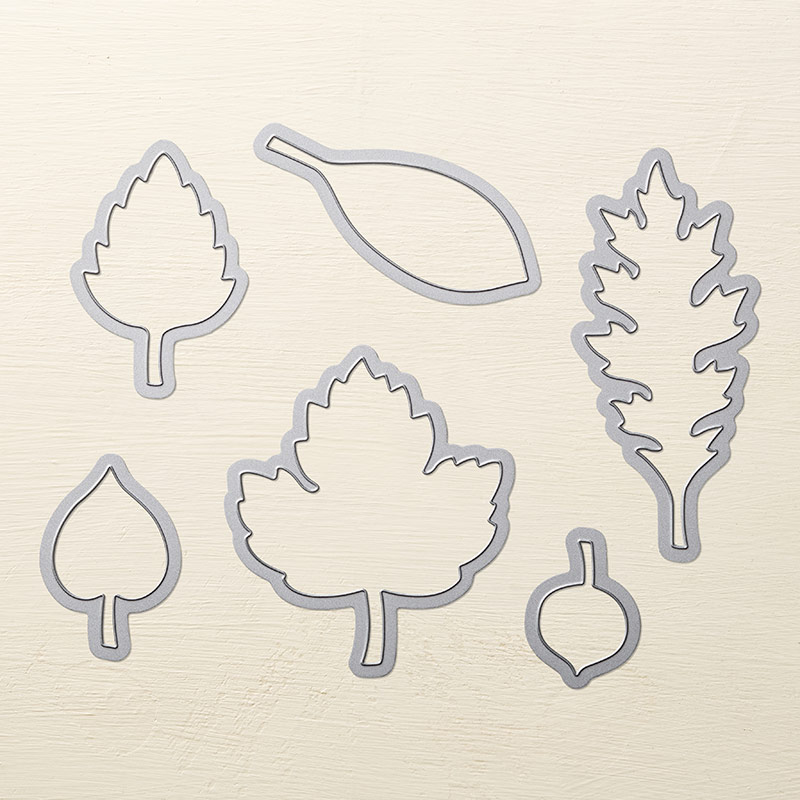
Leaflets Framelits Dies
Leaflets Thinlits dies
Co-ordinates with Vintage Leaves


Tuesday, 2 May 2017

Arriving early... and some of the new In Colors...

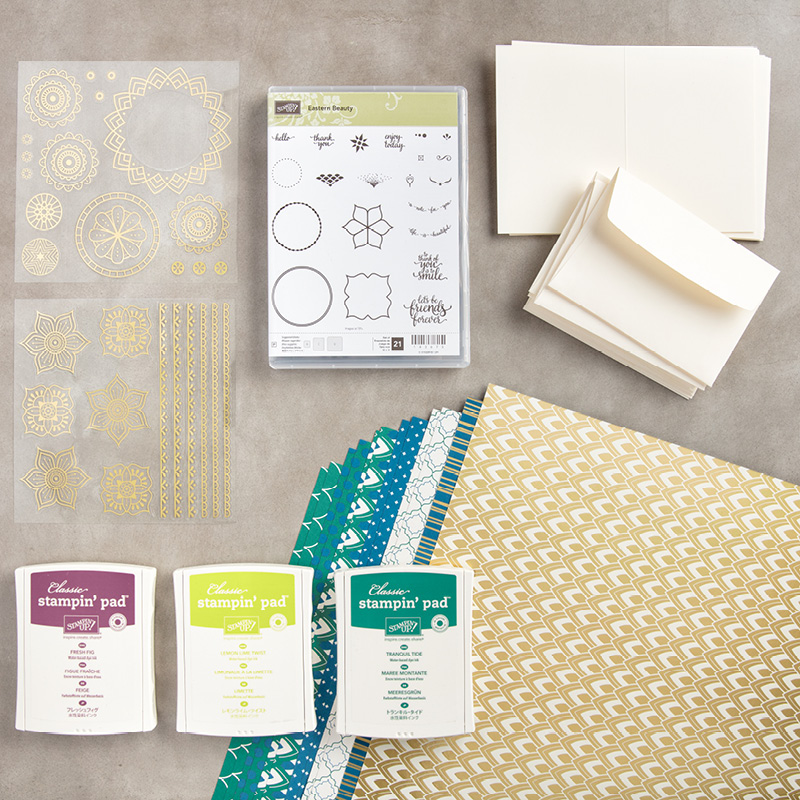
Get your hands on the colourful and exotic products from the Eastern Palace Suite one month before they are released in the 2017-18 Annual Catalogue from 1st June! 

Available from today in 2 exclusive bundles... and only in these 2 bundles...

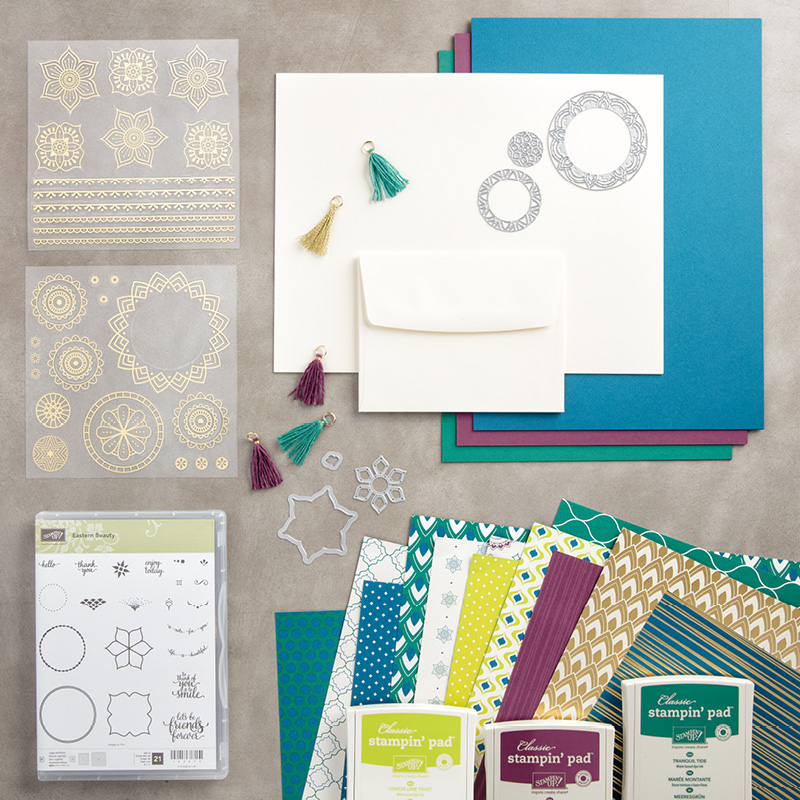
First of all... the Eastern Palace Starter Bundle...
Eastern Palace Starter Bundle
Bundle and save! Buy these coordinating products and get the Very Vanilla Note Cards and Envelopes for free. 

Eastern Palace Starter Bundle.  Experience bold imagery with detailed, Eastern-inspired opulence—plus get three of the new 2017-2019 In Colors! This bundle is perfect for the beginning stamper. Quantity: 7 Items 

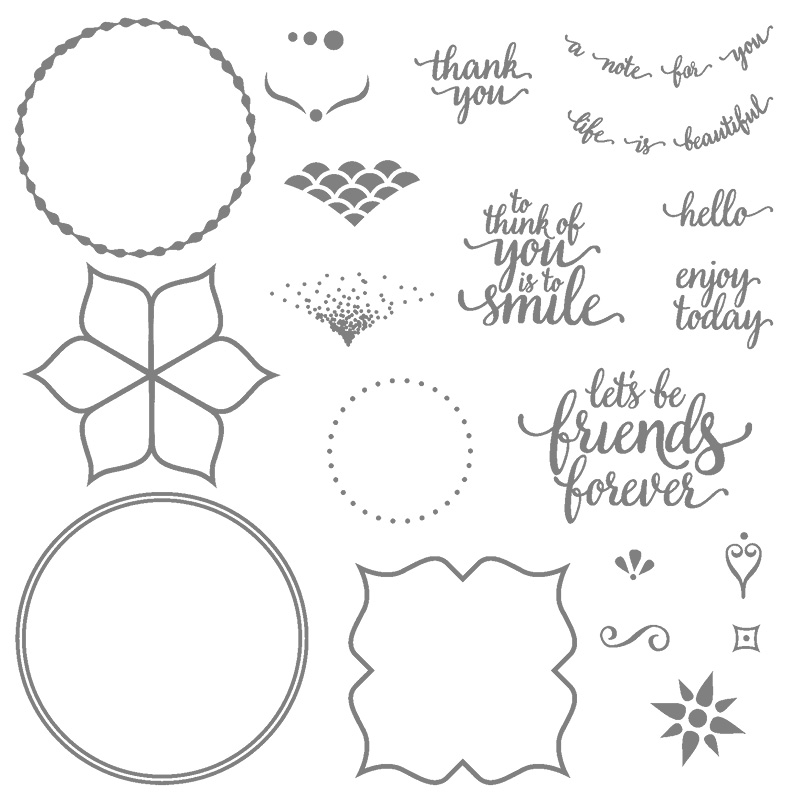
*Eastern Beauty Photopolymer Stamp Set
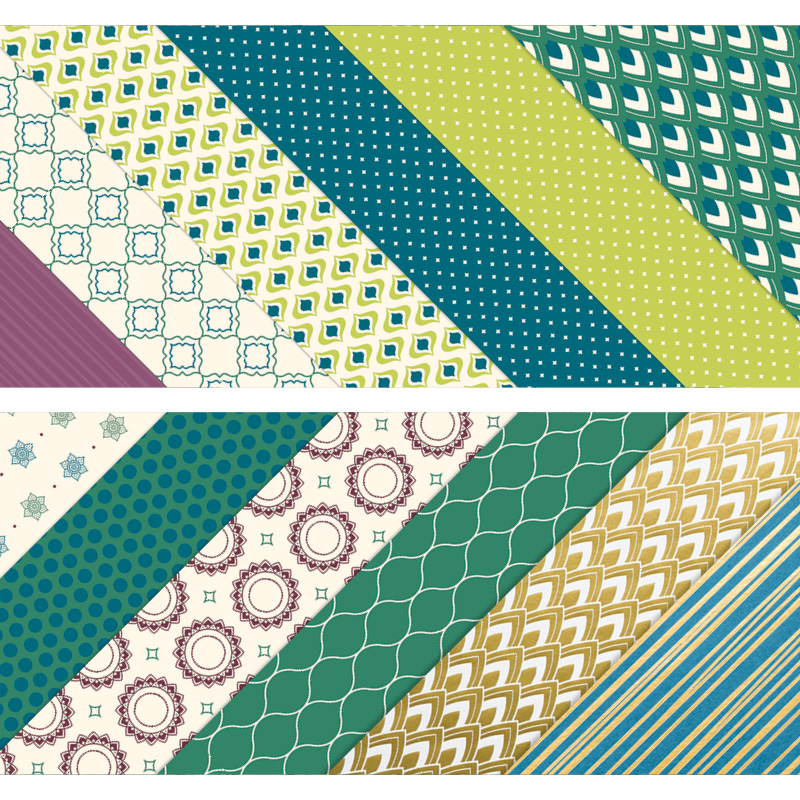
*Eastern Palace Specialty Designer Series Paper
*Eastern Gold Vinyl Stickers 
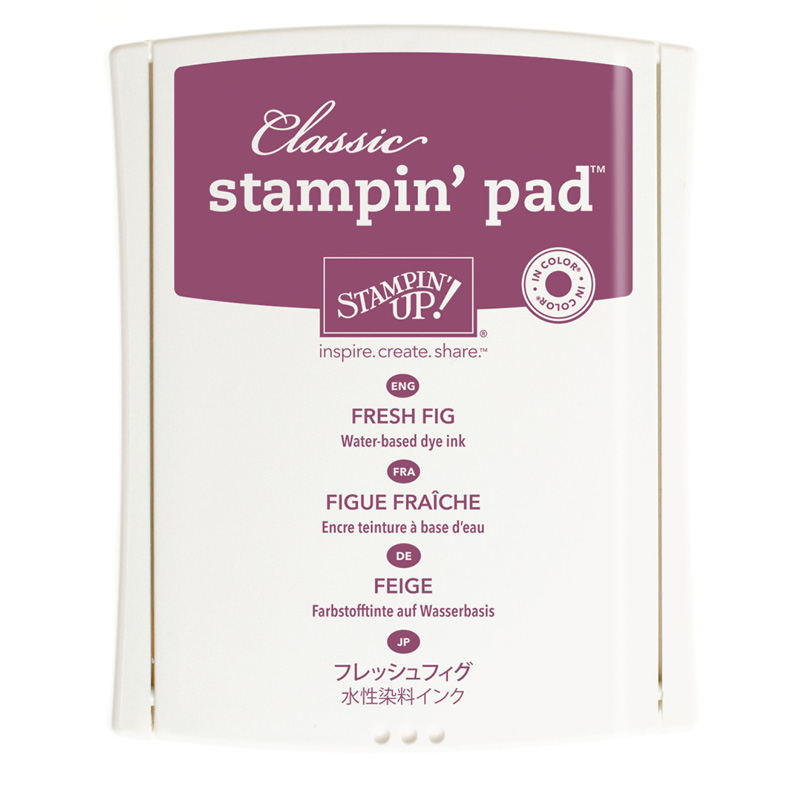
*Fresh Fig Classic Stampin’ Pad (new In Color!)
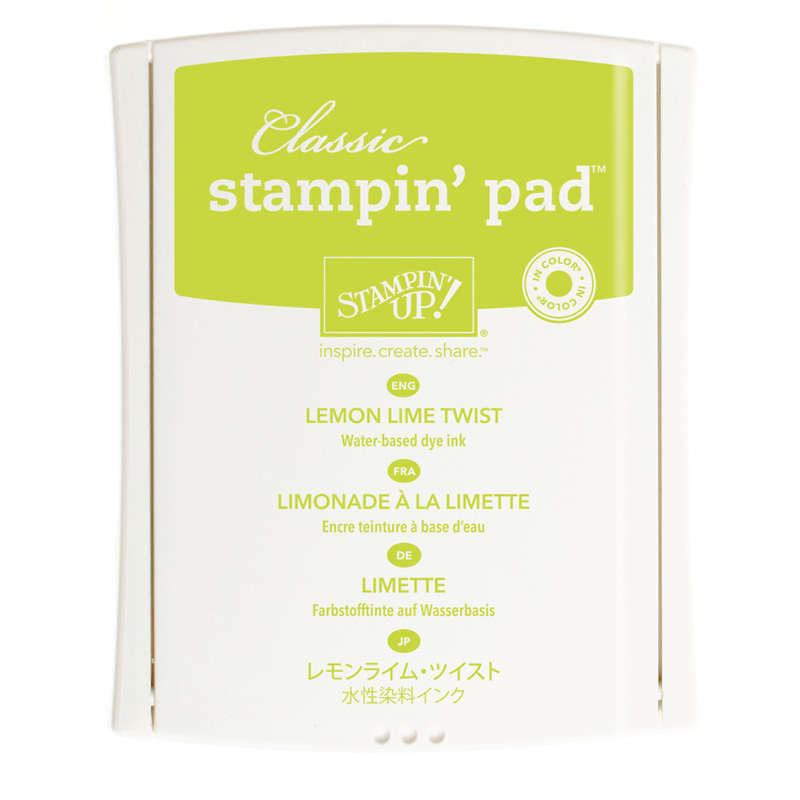
*Lemon Lime Twist Classic Stampin’ Pad (new In Color!)
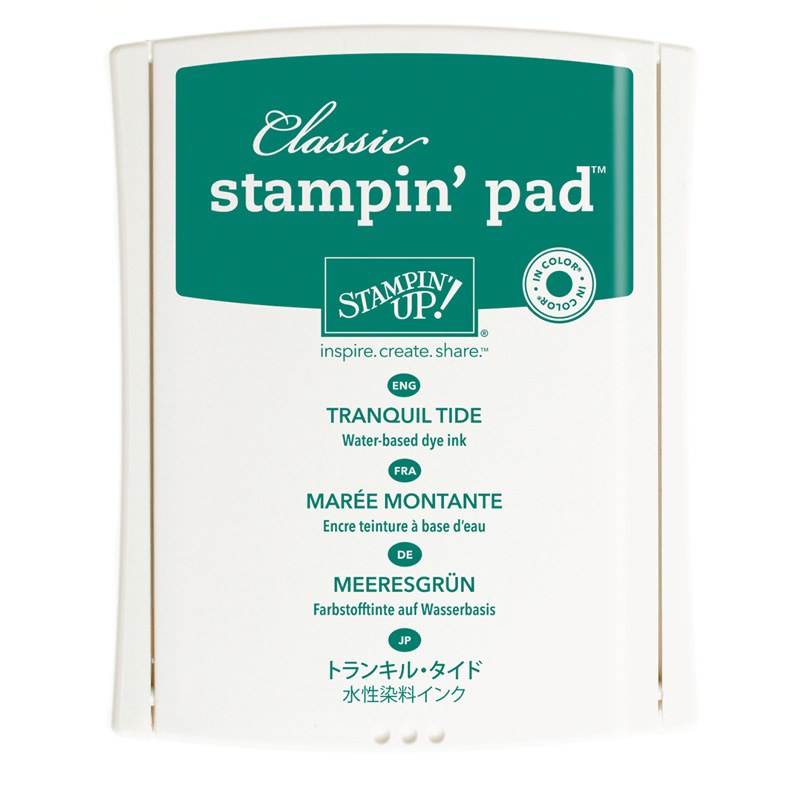
*Tranquil Tide Classic Stampin’ Pad (new In Color!)
*Very Vanilla Note Cards & Envelopes (new!)

Eastern Palace Premier Bundle
Bundle and save! Buy these coordinating products and get the Very Vanilla Thick Cardstock and Very Vanilla Envelopes for free. 

Eastern Palace Premier Bundle Experience bold imagery with detailed, Eastern-inspired opulence—plus get three of the new 2017-2019 In Colors! This bundle is perfect for the advanced stamper.  Quantity: 11 Items

*Eastern Beauty Photopolymer Stamp Set
*Eastern Palace Specialty Designer Series Paper
*Eastern Palace Cardstock Pack
*Mini Tassels Assortment
*Eastern Gold Vinyl Stickers
*Fresh Fig Classic Stampin’ Pad (new In Color!)
*Lemon Lime Twist Classic Stampin’ Pad (new In Color!)
*Tranquil Tide Classic Stampin’ Pad (new In Color!)
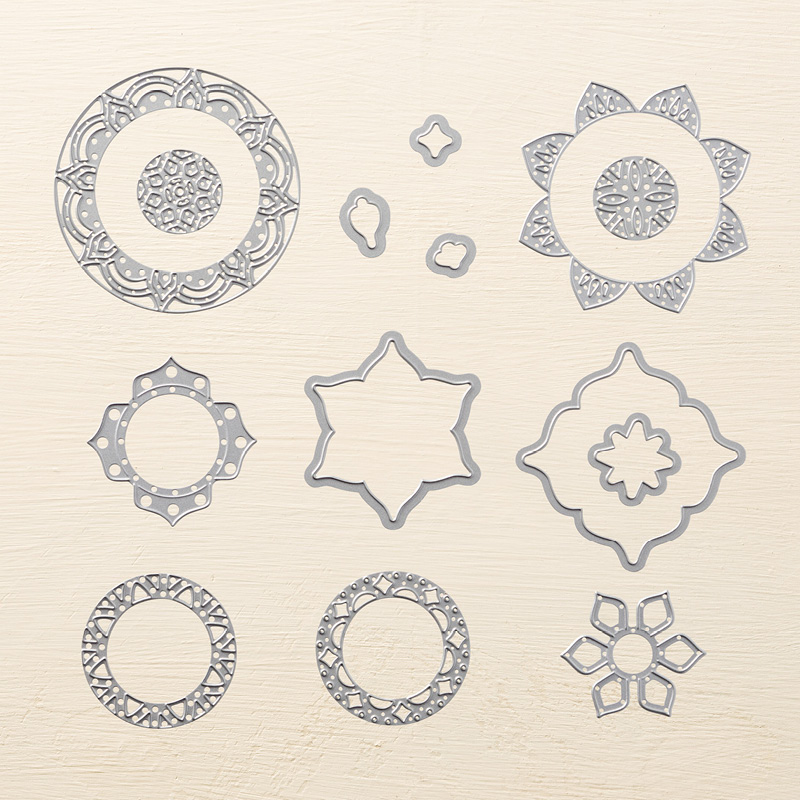
*Eastern Medallions Thinlits Dies
*Very Vanilla Medium Envelopes
*Very Vanilla Thick Cardstock (new!)

Spot 3 of our new 2017-19 In Colors too... introducing Lemon Lime Twist, Tranquil Tide and Fresh Fig... 3 fabulous new colours for you... I have to admit that I am very excited about these new In Colors.... and I hope you will be too...
Eastern Palace Premier Bundle

Did you spot that we have Very Vanilla notecards & envelopes in the Starter Bundle (and coming in the new catalogue).... And did you spot the exciting words in the Premier Bundle.... A4 Very Vanilla Thick Cardstock.... YAY!!!! Coming soon....
Here is a larger view of the Papers...
Eastern Palace Starter Bundle
And the Stamps...
Eastern Palace Premier Bundle
And the Dies...
Eastern Palace Premier Bundle

Monday, 1 May 2017

Upright Double Z Joy Fold Card in Irresistibly Floral

Interesting card fold this one... Super simple... easy to do... 

And one you have just seen before! Just in another orientation...
So click here for the card fold tutorial... bet you weren't expecting that! Hence why I have called it an Upright Double Z Joy Fold Card...

Though I think the photo watermark may have given it away if you are observant!
And here is what it looks like sitting up on the mantelpiece (or a white box in my example!!!)
Again using the reduced Irresistibly Floral papers... and Big on Birthdays for the greetings.... with a mixture of Sponge Brayering, Finger Sponge Daubing and Marker Colouring to achieve the stripey front paper, two tone back paper and the fabulous brayered/coloured in inside the lines small paper at the inside top... 

Great fun to decorate and all my ladies loved it... (apart from maybe all that fussy cutting of the flowers! More details on colouring those flowers here too... )