Showing posts with label Bridge U Fold Card. Show all posts

Friday, 10 July 2020

Friday Field of Flowers....

 
Thought I'd try a Bridge U Fold card with the Field of Flowers as my final moonlit scene trio card...

Didn't quite work out quite as my eyes intended... but effective none the less... but I'll redo for my Class in The Mail using the daylight colours! Hence the delay - sorry!
Also used Lovely You (leaves from the top), Winter Woods (spindly trees at back)  & My Meadow (right hand tree, birds & clouds)
And so here is the complete moonlit trio...

Monday, 7 October 2019

Merry Monday - Farmhouse Christmas Trio... Lit Box Frame, Bridge U Fold Card & Bakers Box Light

I have had a lot of Tutorial orders over the past few days for the Trio of projects I made last year using Farmhouse Christmas along with Winter WoodsRooted in Nature and Merry Christmas To You... (all of which have stamps and co-ordinating dies but only available separately now)
So I have realised that most of the products used are still available OR replaceable... so I thought I should share the information again in the one place... with pointers for creating something very similar this year... 
Just click on the Add to Cart button below to order and pay for the Tutorial bundle. This covers the Box Frame, Bakers Box and Bridge U Fold card  - and is a 15 page pdf document with lots of photos. Payment and currency conversions handled by Paypal. No Paypal account needed as Paypal or major credit cards can be accepted.
Edited 11am UK time to add: the "Paypal button glitch" has now been sorted! Thank you for your patience...
But firstly, Farmhouse Christmas is sadly no longer available (unless you are lucky enough to have it on the Clearance Rack in your territory! Even if you only have the dies for those fences!)
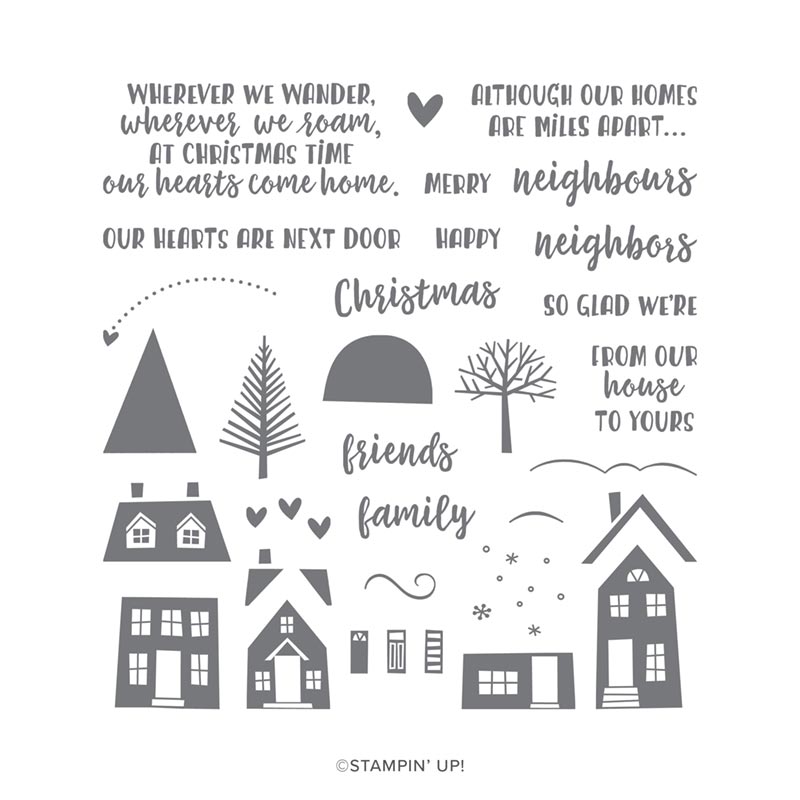
But an alternative tree or a deer would look nice instead.... or we have a few houses around... albeit mostly smaller... such as From Our Home to Yours...
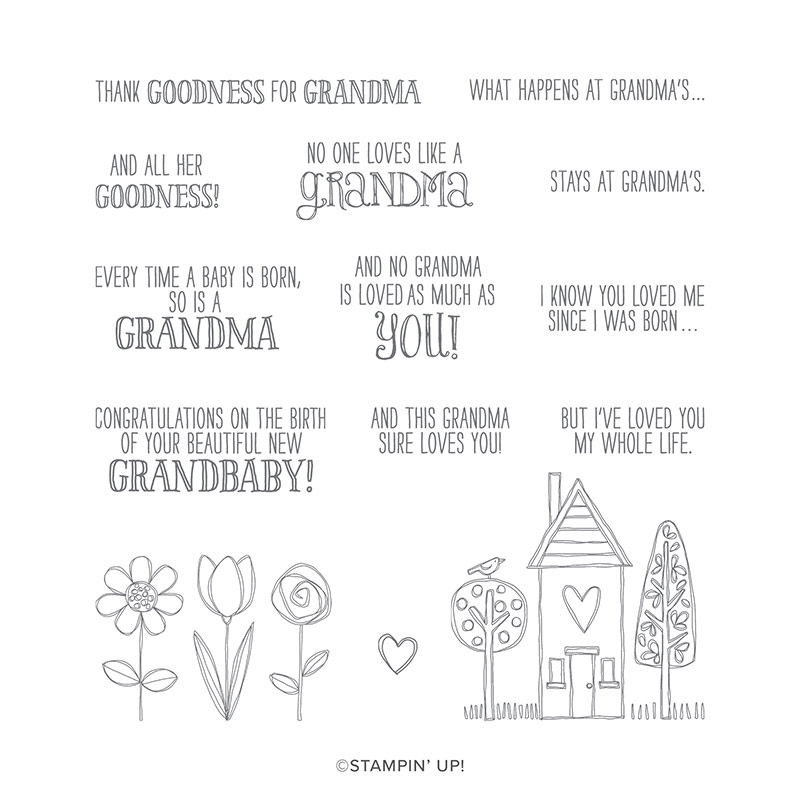
Or even Grandmas House...
And you could even make a simple "Hygge" style one of your own! And there are lots of stamp sets with bare branch trees around... Natures

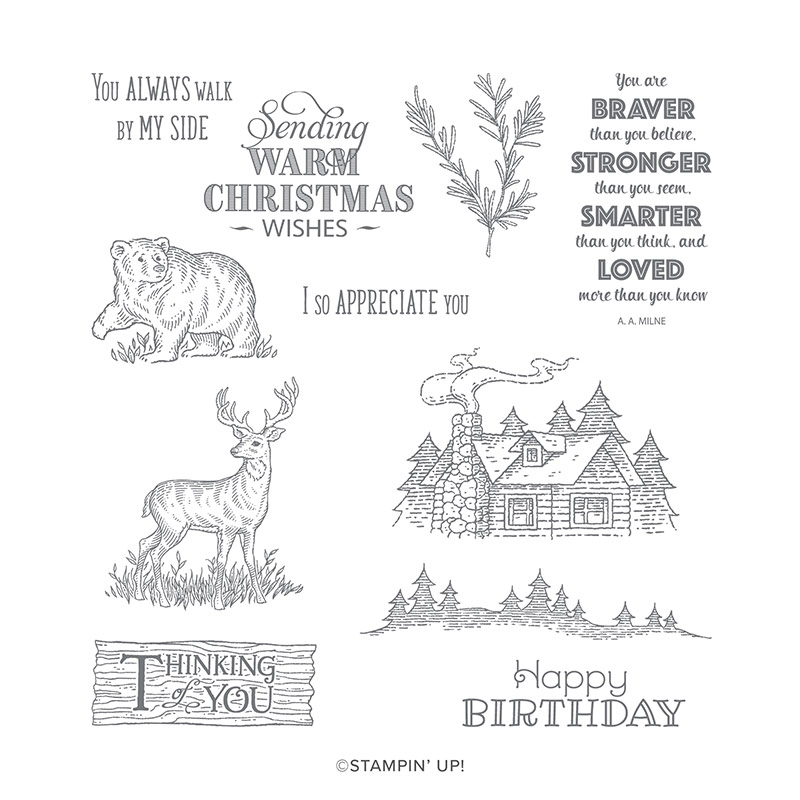
Here's the card example with a couple of Dashing Deer deer instead of a house... yup that would work nicely!
Secondly, the Twinkle Twinkle papers are not around... but there is a fabulous copper foiled stars on Night of Navy sheet in the Brightly Gleaming pack... so that's a really easy replacement...
Incidentally  (as I write this post) Brightly Gleaming has just come back into stock in the UK and so is orderable for us again (in Europe) though I have just checked and it is already on back order... but you can still order it now and it will arrive separately when it is back in stock...

And the Bakers Boxes are still available...
Or you could easily produce a 12x12 background sheet using inks as I did for the Bridge U Fold Card

The wood Merry & Noel embellishments are not around either... but easily replaced with about 5 die-cut Merry Christmas "merry"s - all stacked on top of each other to add the depth...
And last but not least... those die cut fences... I'd just go with an extra snow bank...but...

A picket type fence could be made using the Classic Label Punch and scraps of Whisper White card... shorten the punched shape down to about 1" with the point left to form the top of the picket fence...and stick onto thin strips of white card... with about 1/8"-3/16" gap in between. They won't be as intricate as the pictured fences... but they will do the job...
These projects were incredibly popular last year in classes... and I am definitely glad this is a set I wrote up the Tutorials for... though that was a "labour of love" last year I can tell you!!!

And I am now really looking forward to getting these all out again this Christmas... though I am quite tempted to make the alternative I have just described!! 

Sunday, 16 June 2019

Happy Fathers Day Dad!

My father loves his cars... particularly a convertible!

So it just had to be done... call it Geared Up Garage meets Sailing Home meets Waterfront!
Happy Fathers Day Dad!

Click here for how to produce the convertible car version...
Click here for the Bridge U Fold card tutorial...
Click here for the Waterfront Background Scene Tutorial...

And the yachts are stamped onto Window Sheets acetate with Staz On...

And stamped onto white card with Memento, then the sails and hulls coloured using Stampin Blends.... and just the sails and hulls quickly fussy cut

And then stuck onto the acetate version... and then die cut (or fussy cut)
And apologies to you eagle eyed viewers that have spotted my Very Vanilla lighthouse! But I had to finish this card off within minutes... and there just wasn't time for the production of a new lighthouse on white! And I know my Dad wont notice...


Friday, 3 May 2019

Spot the Difference!

Howsabout simplifying what has gone before!!! 

For a little game of Spot the Difference....
This one really does take minutes... as the "filling in" was definitely the most time consuming part of the card on the right hand side!

Click here for all the details on the card...
And before I forget... do feel free to come back at 9pm UK time tonight for another sneak peek... and an international blog hop to inspire you....


Amanda's Quick Links
Just click on the relevant pictures below for catalogues and/or more information... 

If you are ordering today... do remember to add the Host Code shown below to earn yourself a gift and help support The Craft Spa at the same time... For orders over £150 you should claim your own Stampin Rewards when ordering... you will still get a separate gift from me... 

Please note that this host code is relevant to today's blog post date... it does expire and change over the months... but the current code is always shown at the top right hand side of my blog...

Current Catalogues & Products
Everything is Rosy...available May only... and only while supplies last


Friday, 26 April 2019

Detailed Birthday die cut Bridge U Fold Card


A little gem of a card... with a gem of a die set!
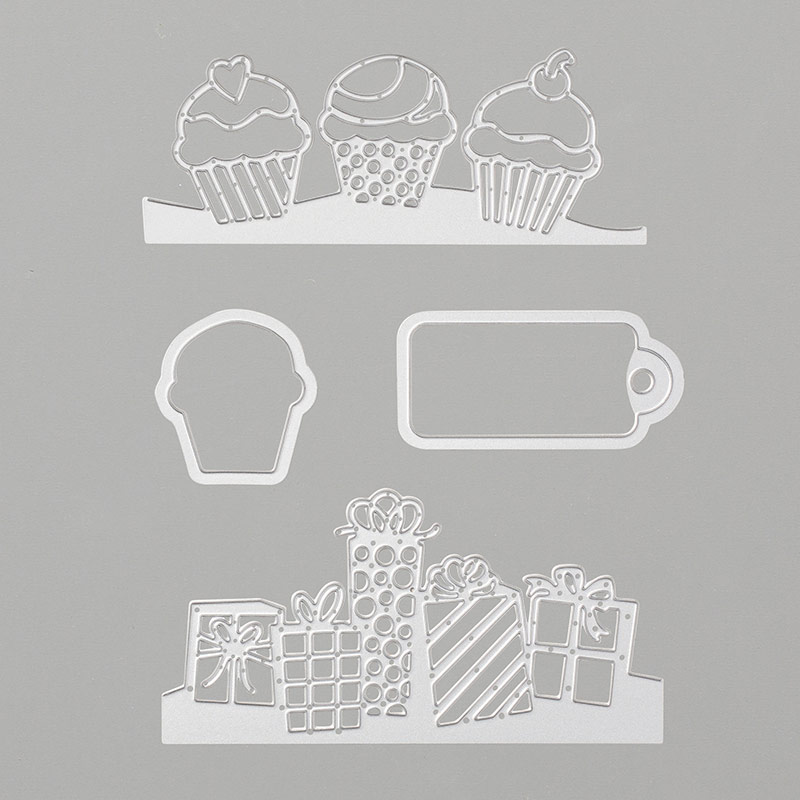
Detailed Birthday dies... Still available here in Europe... but probably not for long... particularly as not carrying over...  Really love both the pressies and the cupcakes!
Detailed Birthday Edgelits Dies
And don't forget the co-ordinating Birthday Cheer stamps... especially this brilliant greeting... as it can be used for birthdays... exam success... or just cos! Kind of a set for all seasons!
Birthday Cheer Cling Stamp Set
Or the bundle with 10% off...

And we are still loving these Tea Room papers...
Click here for the Bridge U Fold card recipe and tutorial... though you don't need the inner box sections parts... and the front Base panel is die cut (and then snipped at the sides) from a 15.5 x 6.5cm (6 1/8" x 2 1/2") high piece of Thick Whisper White card...
Love to make my ladies happy with such a simple but effective make!

Friday, 23 November 2018

The Stove Card Tutorial & Online Extravaganza is Live!

I have had a lot of people ask for a Tutorial for these Homemade Kindness Bridge U Fold cards...

But before I start... the Online Extravaganza Sale is now live!.
Discounts off most Annual Catalogue products over three 2 day sales... So a great time to stock up! Deals from today, 23 November (Black Friday) through 28 November. Click here to go straight to the relevant products in the Online Store... And/or click here for more details...

So back to the card...Make one of the Bridge U Fold cards as per this Tutorial here...

Cut the Festive Farmhouse papers as per the background scene papers in the Tutorial... Note that these 2 stove versions are just using the 2 sides of the same piece of paper...

The hearth front  is just a 1/2" x 15.5cm (6 1/8") high strip of the wood effect Farmhouse Christmas paper stuck to a piece of 1/2"  x 15.5cm (6 1/8") high piece of Grey Granite card for strength

But add a 5.5 x 8.5cm (2 1/8" x 3 3/8") Whisper White panel, scored when PORTRAIT at 1cm (3/8") from either side. This forms the top of you hearth (and is instead of those centre/box panels at the bottom) and is stuck to the card at the centre/back.. so that the hearth top and front lift up and fold onto the back of the card.. so you can fold the card flat...
And add a 12x4cm (4 3/4"x 1 1/2")  piece of Basic Grey card scored when LANDSCAPE at 2, 5.5, 7.5 & 11cm. (3/4", 2 1/8", 2 7/8" & 4 1/4") Stick this "open at the sides box part" behind the bottom/front part of your fussy cut stove... and then stick the back to the back/centre of the card... lining it up so the stove legs sit on your hearth!

The stove is black embossed on Basic Grey - only one stove needed as you chop the bottom section off the chimney! (unless you want legs at the back too - as I have on the stripy green one!) Chimney goes on back of card, rest onto that "open box part"

Though you do need another Memento Black stamped stove onto Whisper White... for colouring just those kitchen paraphenalia parts & pie... including the towel! Reduces the fussy cutting/colouring timings...
Two 1/2" Circle Punched Basic Black circles for the hob... and some Basic Black marker or Stampin Blends colouring to finish... I have also added silver highlights using a non SU silver Uniball Signo pen on the tartan papered scene...

Hand cut a few log rolls from the Wood Textures papers...
And finish off with a stamped and die cut Winter Woods large tree... (the die that cuts out within the tree shape with the extra cuts!)

And a final tip for you... after opening up... I find that the hearth/stove/fold is better if I pull the hearth and stove down through the base of the card...and then push both up into position...

Friday, 16 November 2018

Dashing Deer in the Winter Woods...

Another little scene built using my favourite Winter Woods and Dashing Deer stamp sets... with some Rooted in Nature trees thrown in for good measure...

Click here for the card tutorial... though I added 2 hand-torn and glittered pieces of 8cm wide x 2.5cm high Whisper White to the back and central section too...

Set on A Twinkle Twinkle Paper background.... no sponging required!
Finished off with a 1 1/2" circle punched moon... and lots of Dazzling Diamonds Stampin Glitter....

Friday, 19 October 2018

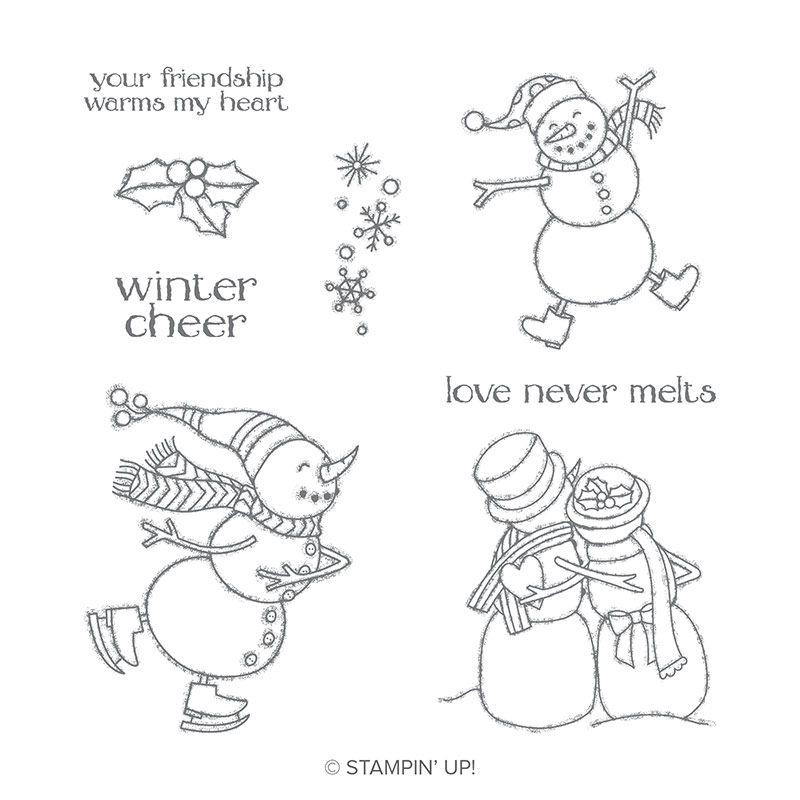
Lovey Dovey Snowmen Couple In the Woods!

Had to be done whilst the Spirited Snowman were out and I was demonstrating another Bridge U Fold card in classes this week...

Thanks to the lovely and talented Joanna Wragg for some brilliant inspiration... but more on that another day!
Spirited Snowmen comes in both Wood Mount and Clear Mount... and I am loving them!!! Who would have thought...  

Spirited Snowmen Wood-Mount Stamp Set
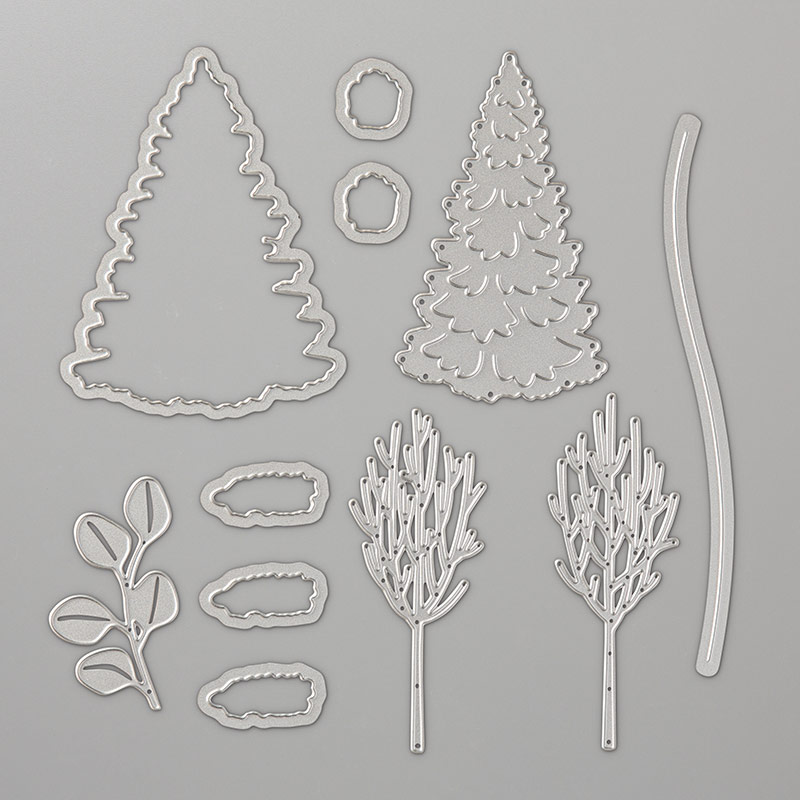
Used with In the Woods dies for those "spindly trees" to the left and right...  both cut at the same time... which is a real treat to be able to do... then a sprinkling of Stampin Glitter to finish them off... 
In the Woods Framelits Dies
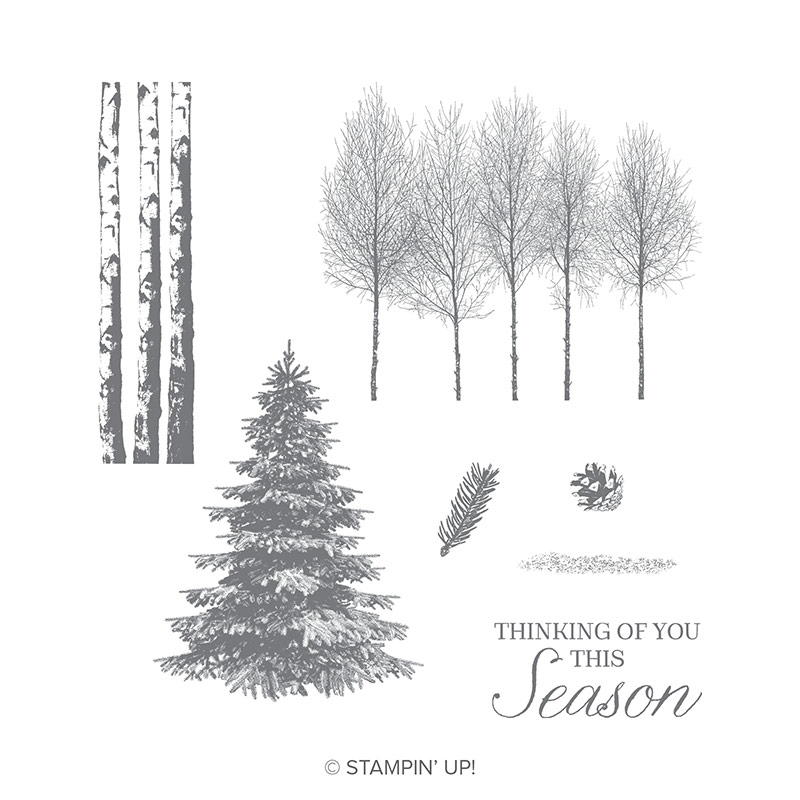
Which co-ordinate with the lovely Winter Woods stamps that I have been using a lot... that also come in clear mount or wood mount...
Winter Woods Wood-Mount Stamp Set
Bridge U Fold Card tutorial here... And yes the card does fold totally flat to go in an envelope...
Really do think this must still be favourite card fold ever!! In all its versions...