Showing posts with label Broadway Lights. Show all posts

Friday, 27 July 2018

Fancy Fold Friday - Broadway Bound Swing Easel Card


A really quick share for you today... with the last of the Broadway Bound  & Broadway Birthday Swing Easel card series...
Sorry this is so quick a share... but sometimes things aren't as you think they will be and then they just get in the way of your To Do List!
But I had to share as I think this one ended up as my favourite!! Who would have thought...
Original Cut & Score card Tutorial here (which was used for this card) ... Simpler Die Cut & Score version Tutorial here!!! (which is how I will make it in the future!!)
This one is definitely worth a try!!

Wednesday, 25 July 2018

Make a Wish Peekaboo Gatefold card... with a punched closure

Another of the standard A6 size Broadway Bound Peekaboo Gatefold Cards... for which you will find the recipe and Tutorial here...

But with a different closure this time... care of a punched Classic Label greeting... so that the stitched circle can just be popped behind and the card closes really nicely...
Note that the greeting was inked & stamped with the line beneath it (ie as it comes) ... as the Classic Label punch then punched "the line off"
Broadway Birthday Photopolymer Stamp Set
This is where the 2 parts of the Wish die cut Broadway Lights greeting really come into their own...  as you can place the 2 parts where it makes sense for your project!!
Broadway Lights Framelits Dies
Love this Suite of products...  which we will be using in August classes... so don't hesitate to contact me today if you would like to attend a class... or if you are interested in a Class At Home... aka Class in the Post... 
Broadway Bound


Friday, 20 July 2018

Fancy Fold Friday - bright Broadway Bound Birthday card

So ... you may have noticed that all of the Broadway Bound cards I have shared to date have had one thing in common... and that is ... that I have used the foiled side of the papers only...

Being really honest... I found myself unable to use the somewhat brighter, lighter, younger in heart side... I was REALLY struggling with colour & imagery overload!

But then I demoed the card in my first class... and made myself put glue on the shiny foil side... and so use the brighter side... and I then became hooked!! I think it was something to do with cutting out the aperture in the centre... so then my eyes were not overloaded anymore...

And now... I love both sides equally... which makes the paper pack even better value for money... suitable for all ages and occasions! Love it when that happens...
And this of course used my new Simple Swing Easel Card method... click here for the Tutorial...
The hats are die cut out of the papers... great touch! 

And the WISH sign/frame was created as described in this post here... which shows the same card using the flip (foiled) side of the papers... and also has more information and photos of the products I used on both cards... 

SU! Products Used
Papers – Broadway Bound
Stamps – Broadway Birthday
Punches - Classic Label
Dies – Broadway Lights, RETIRED Squares Collection OR Layering Squares with front aperture slightly smaller

Friday, 13 July 2018

Fancy Fold Friday Tutorial for the Simple Swing Easel Card

So as I was busy creating Swing Easel cards for my July classes... a sudden "paper-engineering" thought came upon me... and the trial luckily proved VERY successful...

So put away my original cut and score method for the Swing Easel Card... and try this simple way instead! It is definitely a lot simpler...
But whilst I am in the process of converting all of the Swing Easel Card Tutorials to this Simple method... just click here for the A4 cardstock version...or here for the 12x12 cardstock version... and the same card size 5 1/2" (14cm) square one is here...

So this is another 5 1/2" (14cm) Square card size.... or as we say around here ... the one size fits all the world version!!
So without further ado... here are the Tutorials...

First up a pdf version of the Card Tutorial... for you to click...and download/save/print...
Second up ... the written version with an extra picture of the crosspiece position... and extra details of the final decoration... as well as the Shop links in the Recipe...


Craft Spa Recipe
Card Gray Granite 14 x 29 cm (5 ½” x 11⅜”*)
* With US Letter card… cut 5 ½” x 11”for card blank and separate 5 ½” x 3/8” for the crosspiece
Paper (Top) 13.5cm (5 ¼”) Square
Paper (Base) 13.5cm (5 ¼”) Square
Card Basic Black 9cm (3 ½“) Square
Card Gray Granite 8.5cm (3 ¼”) Square
Card Whisper White 8 cm (3”) Square
(D) Basic Black 5 x 10.5cm (2 
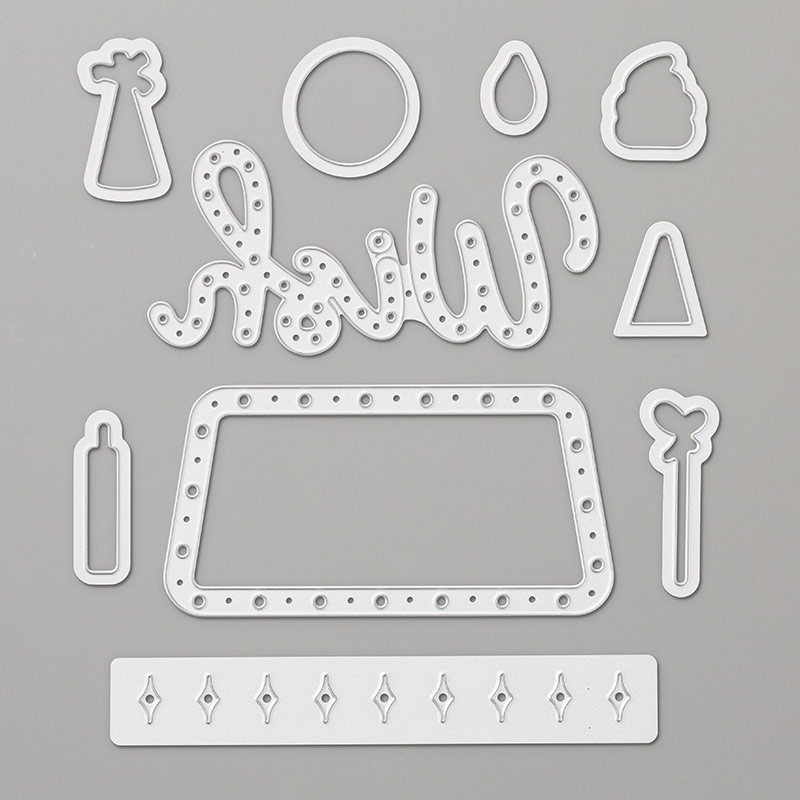
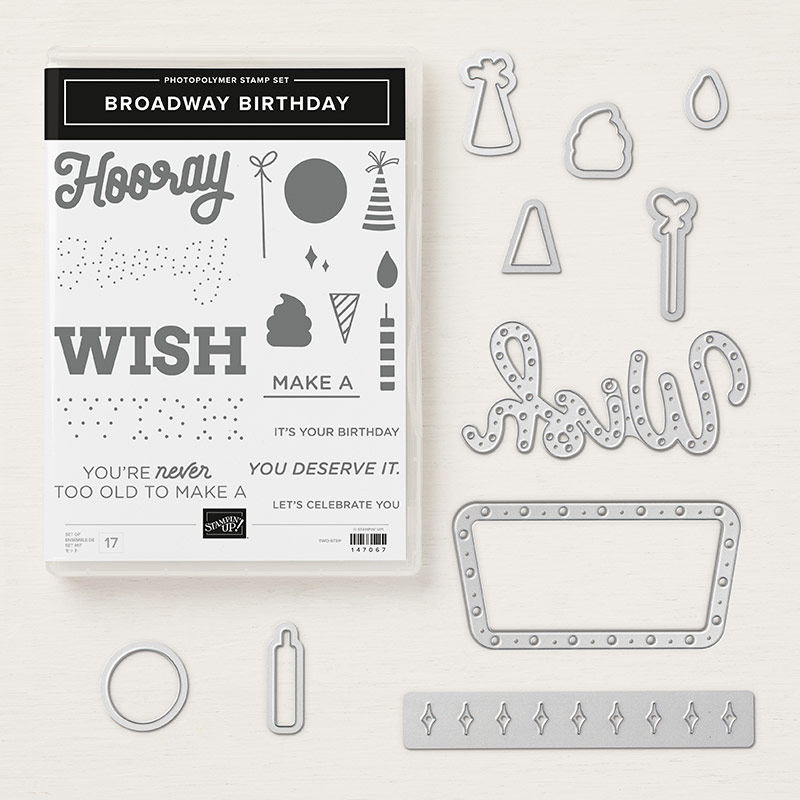
x 4”) (for die-cutting WISH)
Papers – Broadway Bound
Stamps – Broadway Birthday
Punches - Classic Label
Dies – Broadway Lights, RETIRED Squares Collection OR Layering Squares with front aperture slightly smaller
Embellishments  - Metallic Pearls

Craft Spa Instructions
1.      LANDSCAPE. 28 cm (11”) on Trimmer Top Bar and cut across whole of card and retain the cut-off 1cm/3/8” sliver as a crosspiece…
* NOTE - With US Letter card… cut 5 ½” x 11”for card blank and  5 ½” x 3/8” for the crosspiece separately

2.      LANDSCAPE. 14cm (5 ½”) on Trimmer Top Bar. Score across whole card
3.      Mountain Bone Fold
4.      Place in a tent fold orientation (ie with score across top)
5.      Adhere Top and Bottom papers

6.      Cut out Top aperture with trimmer at 2.5cm ( 1”) all round
ie Line up at 2.5cm
( 1”) ; Cut 2.5 to 11.5cm ( 1-4 ½ “) ; Turn 90degrees, Cut 2.5 to 11.5cm( 1-4 ½ “) … and so on…
OR Die cut the Top central square aperture using the largest RETIRED Layering Squares die…  TIP – draw diagonal lines from tip to tip if you need help lining up centrally with a die)
 
7.        Place opened out card blank back on trimmer LANDSCAPE with aperture/top papers to the right hand side…
8.      Score top and bottom sections at 8”, 8 ½” and 9”
9.      Fold the 2 side sections as Mountain, Valley, Mountain. 

10.  Open out in tent fold orientation (ie with aperture to Top)
11.  Adhere the sliver to first/bottom (mountain) section

12.  Fold back over with card in tent fold orientation but closed
13.  Apply glue to front face of sliver
14.  Adhere largest square mat…lining up carefully with your card aperture!

15.  Decorate as necessary
I left it fairly simple for this one...
(a) Gray Granite stamped Hooray, with gold embossed Hooray dots over.. plus metallic pearls
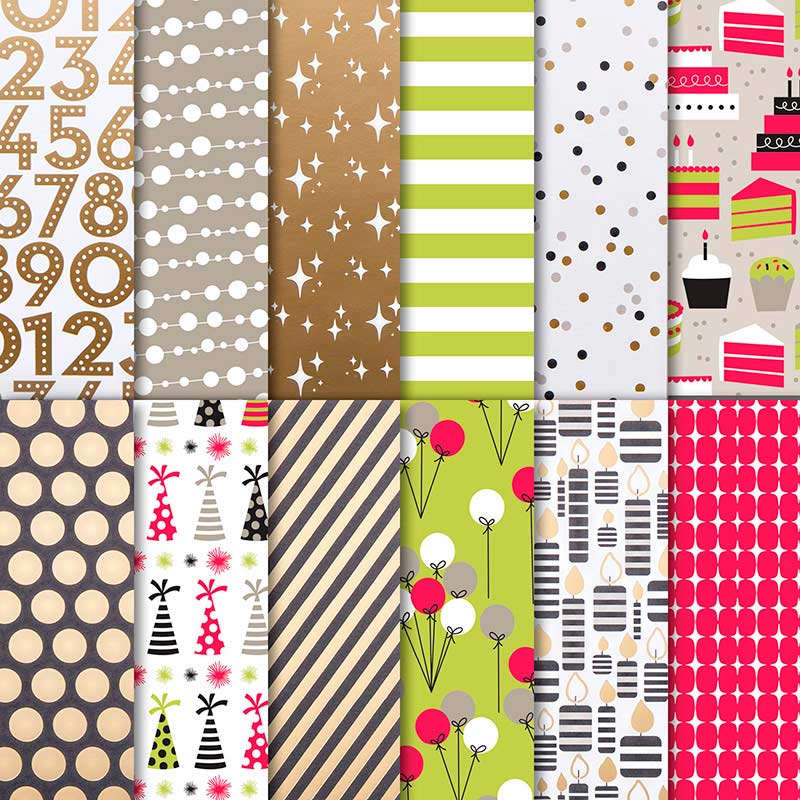
(b) die cut hats from the papers
(c) Die cut Basic Black Wish... with another metallic pearl on the dot of the "i"
(d)  "MAKE A" stamped in Black and then punched with the 
Classic Label punch.. popped up with mini 3D foam dimensionals...  And you will be delighted to know that you can stamp the "MAKE A" image as it comes (ie with the line underneath) as the punch spacing just removes the line!

Tuesday, 10 July 2018

Tuesday Tip - Broadway Lights Wish die

A quick share of a die cut... and an alternative use for said die cut! This is the lovely big Wish die cut in the Broadway Lights dies... or the Broadway Birthday bundle... 
Broadway Birthday Photopolymer Bundle
I didn't realise that the W... and the dot of the i... are cut out separately... so thought I should share that with you... as it does mean you have a lot more flexibility with the size/width of the word depending on where you stick the parts!

And it also means you can also have an M... or a YOU... or a YAY (not pictured!! As I have only just thought of that one...!)


Monday, 9 July 2018

Broadway Bound Birthday Swing Easel Card

As soon as I saw the die cut "marquee sign" shape in the Broadway Birthday bundle... I knew a Swing Easel card had to be made for classes...

Well a few actually... but more on the others another day...
So this is the Broadway Birthday bundle... love it!
Broadway Birthday Photopolymer Bundle
And here are all the Broadway Bound papers for you... foiled on one side ... light and bright on the other...
 Broadway Bound Speciality Designer Series Paper
To make this sign... I die cut it in both Basic Black and Whisper White... drew around the outer frame onto Gold Foil and then cut out the gold foil mat by hand... stuck the black outer frame onto the gold foil mat... and then popped and stuck... the stamped white inner part into the centre

And spot the detail of the little Candle Embellishment on the I of the die cut word Wish
Aren't they just the cutest things ever! In Gold and silver... About 3/4" (2cm) big...
Candle Embellishments
And this is the card closed as it will appear in the envelope...
Now as I made this Swing Easel card... I came up with a different way of making it... which I will be back to share in the next week... as it makes life SO much easier... 

But in the meantime.. click Click here for the original Swing Easel Card tutorials... this is another 5 1/2"(14cm) one... 
And oh... the Classic Label Punch was used to punch out the small Broadway Birthday greetings...