Showing posts with label Scrapbooking Class North Yorkshire. Show all posts

Sunday, 25 September 2016

Candy Cane Lane Fold It Flip It Book

Or shall I call it the FIFI Book for short!?
Love this mini book...can do 18 photos perfectly presented...

And simple enough to make when you work through step by step! Think it surprised everyone at classes...
Also purposely left very simply decorated... mainly from the Candy Cane Lane papers....

Simple decoration for 2 main reasons...
Firstly the end result should really be about the photos...

And secondly.... my ladies had a lot of other projects to work through for the day!
Now this mini book is an amalgam of favourite mini books I have made over the years... all re-designed to make a 6" Square Book...

Outer book format inspired by an Andrea Walford Flip n Fold Book (of which I made a few - though looking back- I never did share the finished mini books on my blog - maybe too many personal family photos on the finished albums)
Inner page format an update on a much used format - here in 2010, here in 2011 and a small one here in 2012

Now what do we reckon... Worth me offering a class-at-home kit for sale? Worth me writing up a tutorial?


Thursday, 26 May 2016

Going Places Mini Scrapbook Album

Another of the projects from All Day Crafting event last weekend... a 6" flip flap fold mini album using the Going Places paper stack... 
And a few shots of some of the inside pages...
Back with more on this another day... Must dash... 6 Stampin' Up! events in 10 days has somewhat made its mark!!! And breath... 


Saturday, 19 March 2016

When is a Bag not a Bag...?

So ...moving on from Easter Treats.... 

To one of the projects I made for my Quarterly All Day Event last Saturday.... This event is really special to me... not only do I get to share crafty time with a great group of ladies... whose oohs and aahs are SO appreciated as they spy projects I have been making over the last 3 months around the room.... always makes me laugh!!
But I also get to make projects other than cards for a change! And you know what they say... a change is as good as a rest!  Certainly helps me to re-charge my mojo!!
One of the papers we used was the fabulous It's My Party stack...such a wonderful array of colourways and patterns for all occasions...but also such great value for money... 

So when is a bag not a bag... when it is a mini-book of course!! This is a project we first made years ago... we did a small one from a 6" square of paper in class - and then Debbie came back to the next class with a full re-sized one from a 12x12 piece of paper ... with lots of photos decorating it... still love these Debbie! Thanks yet again.... 
Just a few photos to be added to complete the look! Or leave as it is and fill full of treats... or even a gift card
And have to say the free Sale A Bration Party Pants stamp set was particularly amazing in making this is a simple stamping project.... 

And I have to draw your attention to the paper clip bows.... dressed up with a colouring of pink Sharpie pen and a scrap of Melon Mambo underneath (I just used the bow as a template to draw round, cut out that rough shape with scissors and then trimmed as necessary!)

Edited to Add... as I have been getting lots of lovely comments today from around the globe.... watch this space for a tutorial... now coming soon!! In the meantime here is a link to a previous posting of a mini book bag...which gives you the idea of the bag as a mini book with photos in it! Though note that ... the linked version is a different shape!!


Tuesday, 20 October 2015

Another Winter Wonderland Mini Book & Another Tutorial...

 
Another of my favourite simple mini books.... though this looks very dressed up in the stunning black and gold foil stripy papers...
A few pages to add your photos too...
Simple in its decoration for now... the photos should be the main event after all...
So opening up....
Simplest of decoration... Just a triple embossed snowflake element along with a strip of washi tape...
Opening up again...
And again...
So back to the front....
 A simple wrap round ribbon as the closure...
 Covered over at the back...
And a little detail.... difficult to see....but there is a die cut circle behind the gold foil doily...just stiffens up the decoration sufficiently....
And an admittance.... I had to use Hello Honey 12x12 card for the left and right pages... given a choice I would have used Basic Black .... but my supplies had not turned up! And the cupboard was very bare...

And seeing as it is Tuesday.... so Tips, Techniques & Tutorials Tuesday....a tutorial for you....
Recipe
Cardstock 
Basic Black 12" x 6"; 6" Square (x2)
Whisper White 12" x 5 3/4"; 5 3/4" Square (x2)
Hello Honey ( Basic Black!!) 12" x 5 3/4" (x2)

Papers
Black/Gold Stripe 5 1/2" Square (x2)
Wide pages - 5 3/4"W x 5 1/2"H
Narrow Pages - 2 3/4" W x 5 1/2" H
Ribbon Gold Satin x 30"
Large Gold Metallic Doily

Tutorial
1. Score LANDSCAPE 12" Basic Black panel at 2 1/2", 3", 9" & 9 1/2"
2. Bone Fold (all mountains) and lay down with short flaps to front
3. Adhere the two 6" Basic Black squares to the short flaps ( Tip - put your glue on the short flap!)

4. Score other three 12" panels at 3" & 9"
5. Bone Fold (all mountains) and lay down with short flaps to front

6. Adhere White panel to centre back of book
7. Adhere Hello Honey panels to left and right of the Whisper White panel ( ie stick narrower panels together!)

8. Decorate as required....


Built for Free Using: My Stampin Blog

Monday, 20 July 2015

Top 30 Blog Posts

Thank you for all your emails and messages today and yesterday - they were SO appreciated - and it was SO lovely to hear from old and new crafting buddies!

OK OK ...so you asked for more after my Top 20 yesterday... so here are my next 10 top blog posts of all time.... so here we have positions 21 to 30...

Again apologies for the different sizing and positioning of these photos... they do seem to have a mind of their own!!

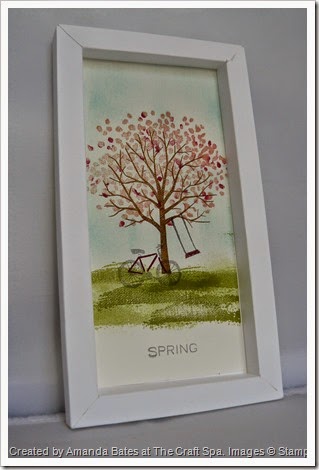
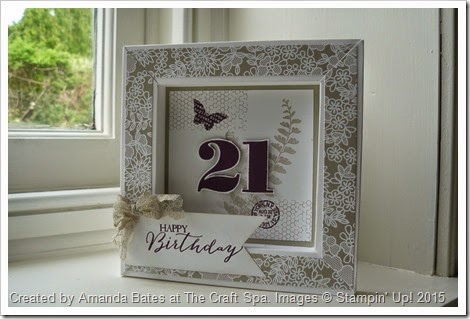
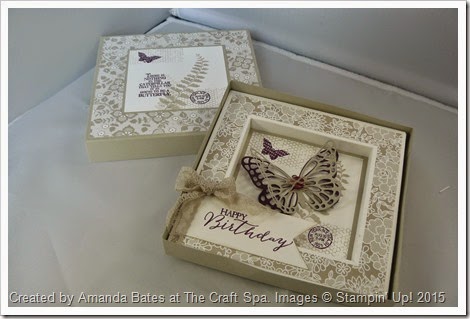
At 21... the Shadow Box Frame Tutorial... this one is rising fast this week! I must have been sharing a few Box Frame cards!!
Shadow Box Frame, Sheltering Trees for All Seasons SPRING by Amanda Bates at The Craft Spa   (1)

At 22... a Blog Hop Trio from 5 years ago!


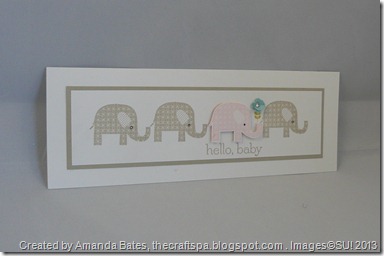
At 23.... Patterned Occasions trio... still loving those elephants!
SU, The Craft Spa, Sale A Bration, SAB, Stampin Up 001

Patterned Occasions, The Craft Spa, SAB 2013, Stampin Up, SU (14)
Patterned Occasions, The Craft Spa, SAB 2013, Stampin Up, SU (15)

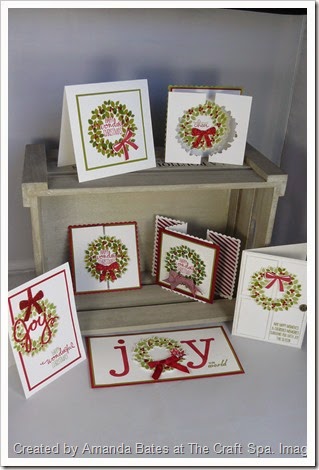
At no 24... Wonderful Wondrous Wreath...so so  pleased to still have this in the catalogue...
Amanda Bates, The Craft Spa, 071
At no 25... Charlie Chick with the tutorial...
The Craft Spa, Amanda Bates, Easter Chick, SU Fancy Favour Box,  (5)
At 26... my  Tri Fold Mini Album.... Tutorial for Sale coming along very soon!! Yes...finally!
Amanda Bates at The Craft Spa 005
Amanda Bates at The Craft Spa 010
At 27... oh still so cute! Petal Card Punch handbag...
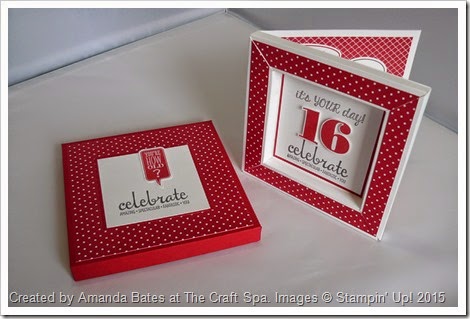
At 28...and rising even faster! The Shadow Box Frame Card Tutorial... and the 3/4" deep box to put it in...
Shadow Box Frame Card - Joe 16 - by Amanda Bates at The Craft Spa (4)

Shadow Box Frame Card - Joe 16 - by Amanda Bates at The Craft Spa (17)
And a quick show of the other "prettier" versions of the card.... as I think that all 3 have contributed to the no. 28 position....
Butterfly Basics 21st Box Frame Card 001
Created by Amanda Bates at The Craft Spa 015
At no 29... another Easter Chick! Another Tutorial...
2014_03_Easter Chick Tag Punch Treat Holder 5
And rounding the Top 30 series off... at no 30 ... the Gift Bag Punch Board Box Card ... Gosh I am surprised to see this one in the top 30 already.... didn't spot the popularity of this one!! & still rising fast... 
and here is the Quick Link to the Tutorial...
Wow...So many years...so many posts...where has the time gone!!!?


Tuesday, 7 July 2015

10 Tips on Tuesday - Project Life Moments Like These

Well I haven't just got the one tip for you today for my Tuesday Tips, Techniques and Tutorials posts - but 10 instead!!! Hope you find them useful....

Tip no 1 - the Neutrals Paper Stack co-ordinates so perfectly! Top Tip!!
Check out the text on the paper and on the PL cards. It is the same font, spacing and layout - albeit that the words are different... Perfect co-ordination - Thank you Stampin Up!

This is why my Mega Bundle includes half a stack of paper....  Most of the paper stack sheets/colours can be used (just the 3 darker browns that don't co-ordinate  - Chocolate Chip, Early Espresso & Soft Suede)

So you can easily make extra pocket cards...

And you can do this! Just cut up a sheet of paper the size you need to cover a few pockets ( this is 6" wide x 8" high) - mount a photo - decorate as required... cut the sheet to fit in the pockets ...
And as an extra tip... the new In Color Paper Stack also co-ordinates so well in the same way but with the colours - well 3 of the colours  - Mint Macaron, Tip Top Taupe & Watermelon Wonder...

Tip no 2 - Give your pages a colour pop #1 
Colour in random words on the paper/PL cards with your marker pens. You will be amazed at how many words fit the theme of your pocket/page....

Tip no 2 - Give your pages a colour pop #2 
Colour symbols etc on the PL cards with your marker pens

Tip no 3 - Give your journalling a colour pop!
Grab your marker pens and write select words in your journalling in  colour
Or scribble over words instead...

Tip no 4 - How to make those little numbers easy to use! ( My favourite tip!!!)
Set up all 10 number circles on your clear block.
Ink them all up in your first colour eg Black & stamp on a strip of Whisper White card.
Repeat for the length of the strip.

Ink them all up in your 2nd colour eg Mint Macaron. Stamp on a 2nd strip. Repeat for the length.
Same again for 3rd colour eg Tip Top Taupe.
And for 4th eg Watermelon Wonder
When you need a number, grab a pre-stamped strip and a 1/4" circle punch and quickly punch as needed.

Tip no.5  - Need a feature - create it!
I needed a rocket to go next to the Rocket Tower at The Space Centre. No stamp. Could have used Punch Art ...but... a quick look at Build A Birthday and Sprinkles of Life - and all became clear! Blast off! 

Tip no 6 - Neaten up photos with Washi Tape
Got photos with borders at either side. (note that the photo is a collage created by some free software I found - can't remember which one I used now...sorry)
Grab your washi tape and cover up those gaps!
Tip no 7 - Find your logo
Amazing what you can find in a leaflet from the place you visited - or on the web...

Tip no 8 - Index your memories
Make an index card and number your photos too. This index card came in the pack...but I had to cut it in half to fit the page. So my coloured number circles are punches out and popped on top of the pocket....


Tip no 9 - Doodle your art
Label on a photo a bit plain - don't hesitate to doodle around the edge....
Tip no 10 - Leave a clear pocket
Looks great when you can see the next card/photo through a window.
The small square pocket cards in the accessory pack are brilliant for this type of feature.
Do remember that goes for both sides though....
And I could go on and on pointing out tips, features and details on these pages. But I won't or this will become the longest blog post in history!! Needless to say I REALLY enjoyed producing these pages. And now I have a great log of a great day all those years ago...

So where were we? At the National Space Centre in Leicester (UK). A great day out for an 8 year old boy with an inquisitive mind!

But last but not least... I have to show and explain my favourite pages from this day! Precious moments indeed.... especially as he is now 16 and I am lucky if I get one photo a year!
These represent a silly couple of minutes in the cafe... me with my camera out...Joe pulling silly faces and letting me photograph away! 
And then Dad arrived with hot chocolate and Rolos... so there were more silly faces as the Rolo went in... and then finally the face buried into the cup as the hot chocolate became of much more interest...