Showing posts with label Washi Tape. Show all posts

Friday, 5 July 2019

Fancy Fold Friday - Pressed Petals Pop Up Front Step Panel card

So back to my coloured Floral Centre posted earlier in the week... which had to be made to co-ordinate with the flowers in these papers!
I just couldn't resist making another of these Pop Up Front Step Panel Cards  using my new Pressed Petals papers
and Pressed Petals Washi Tape... with a bit of help from my Leaf Punch... 
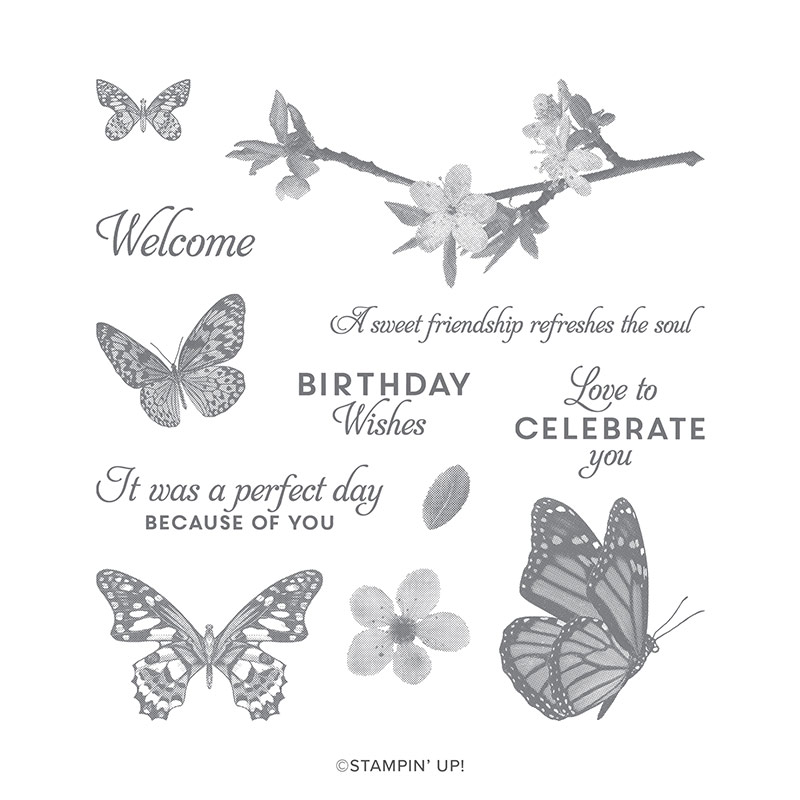
Along with the new and simply gorgeous Butterfly Wishes stamp set...
Though unfortunately the tutorial I had planned (and even written!) isn't posted today... as there were far too many words in a step by step as not enough photos!! So it all became a bit confusing...
 So sorry... for another day after all...
Click on the highlighted links below to see other examples of this card using Spring Summer (aka Occasions) catalogue products already shared with you...


Amanda's Quick Links
Just click on the relevant pictures below for On Line Store, Catalogues and/or more information... 
If you are ordering today... please add the Host Code shown below to earn yourself a gift... For orders over £150 you should claim your own Stampin Host Rewards... you will still get a separate gift from me... 
Kits & Product Shares


Current Catalogues & Products


Thursday, 12 October 2017

What's in your Mini Pizza Box....

First of all ... a little update to my pizza box shared here... just the addition of the thin gold Year of Cheer washi tape above and below the thicker one ... makes it really pop!

But you should have seen everyone searching through the box trying to find the very thick gold rimmed washi tape!!

And after searching high and low for something sweet to pop inside as a treat... an almost great creative moment and a laugh for you...
So I found some Frangipannes which are the perfect size... that don't look particularly inviting... but that tasted delicious!

But I wanted to decorate them slightly! There is a white icing disc on the top... so I thought "I could stamp on that".... so I grabbed some food safe pens out of the cake decorating box (years of dust on that box!!) and carefully applied the red pen to a stamp... tried it out on a piece of paper and it worked!!

So over I went again... and stamped on the icing disc... #bigfail... what looked flat wasn't... so only part of the stamp image appeared!! Such a shame...
So I just punched a Year of Cheer snowflake and popped that on for display purposes!!
And I don't need to worry about anyone else eating the paper disc... too nice to get through this evening!! I am in need of a treat!!

And you can have another laugh on my behalf... I didn't want to get my Pizza Box dirty!! So I chopped up the plastic tray that 3 Frangipannes came in and made sure it fit!!

But back to mini cards and envelopes to pop in now!!

Thursday, 2 February 2017

Nailed It Build It #1

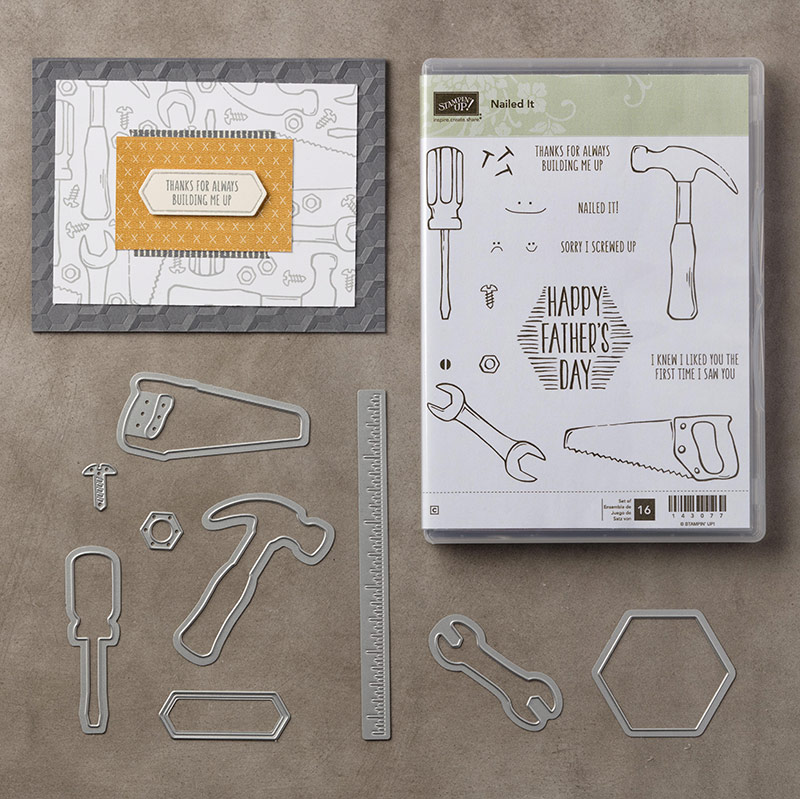
Nailed It! is one of my favourite bundles in the Spring Summer catalogue... great to have some tools to play with to make cards for the men in my life... and be warned I have a very long list of project ideas inspired by this set.... though it will be a few weeks before I get to use them properly...

Had my first go at using them at our Quarterly Team Training the other week... so here is one Julie made earlier! Nice one Julie...
Great simple little card using the Hardwood background stamp (stamped in Basic Grey on Crumb Cake), Stitched Shapes Framelits (as they are now back in stock), Urban Underground Washi Tape and strongly featuring some Nailed It! paper pieced tools....
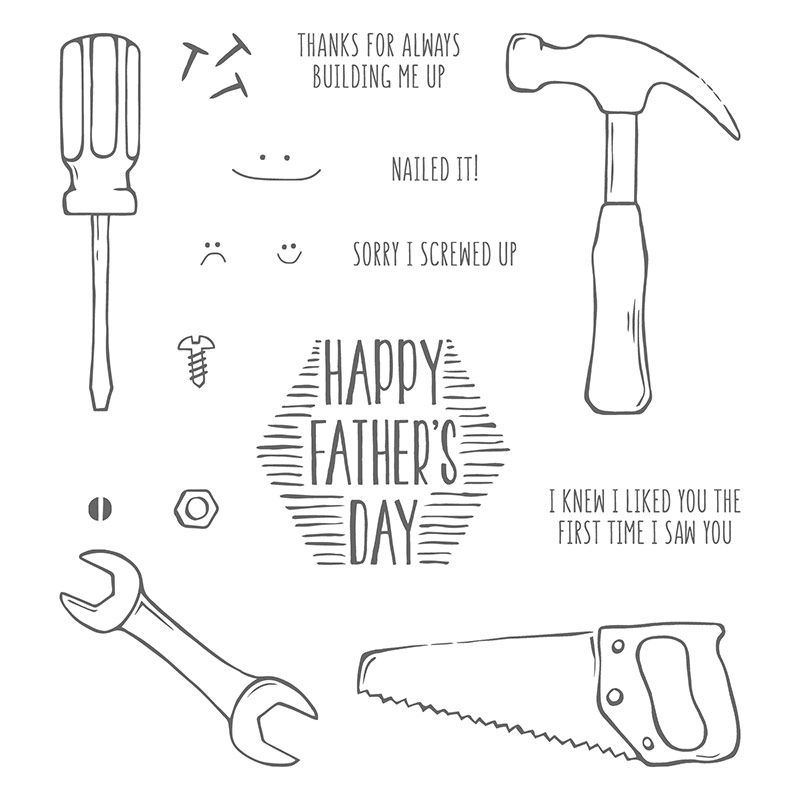
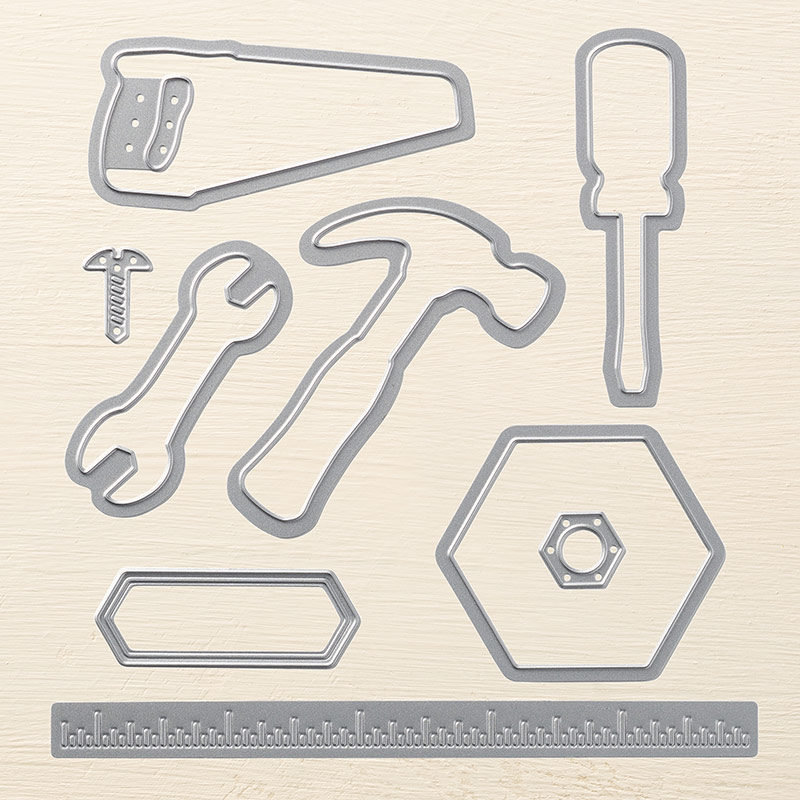
And here are the product images... remember that the stamp set/bundle is available in both wood and clear mount...
Nailed It Clear-Mount Bundle

Monday, 22 August 2016

Wonderful Year & Pine Boughs Embossing Part 2

So here is the clean & simple card I was intending to make in the first place....

Just a copper embossed greeting from the fabulous Wonderful Year stamp set...coming soon...
Plus a dry embossed pine bough from the Pine Boughs Embossing Folder... coming soon...

All on a Copper Foil mat...coming soon...
And finished off with Fancy Frost sequins... coming soon... Now these are actually Sweet Sugarplum (ie quite pink!) but in the flesh they take on a copper hue...so I reckon they do the job rather nicely! the pack also has Soft Sky and White Gold sequins (just so you know for 1st September!)

Sunday, 21 August 2016

Copper Embossed Wonderful Year & Pine Boughs

Another spoiler alert!

So whilst I had the copper embossing powder and Copper Foil sheets out for the Baptism card... A quick little christmas card using the new and coming Wonderful Year stamp set popped into my head...
But bear in mind everything was going wrong that day... so I cut my mats wrong!! Which meant 2 things... firstly I couldn't use the intended (very large) greeting  - and secondly the mats were short!

Not one to be beaten... I remembered my dotty copper washi tape in the Affectionately Yours pack and my white mini Pom Pom Trim... so a quick dressing up and a bit more depth later... and here you go...
So much coppery shine!!

Though I'll attempt to cut things right tomorrow and have another go!!

Sunday, 29 May 2016

Beautiful Ride Beetle Gift Card Holder in A Box!

So here is the other version of the explosion box with its tutorial posted yesterday... 
Half my ladies did the boat...and the other half did the Beetle Gift Card Holder....
Everything was the same apart from that centre square... so go here for the main box tutorial (ignoring the For the Boat parts) - and here is the Gift Card holder bit...

1. Cut a piece of 13.2 x 6cm Bermuda Bay cardstock (5 1/4" x 2 1/4")
2. Score PORTRAIT every 1 cm (ie 54321) ( 3/8", 3/4", 1 1/8", 1 1/2", 1 7/8")
3. Concertina fold ( note-valleys on outer and central section)
4 Adhere outer sections on the back .... and about 1.5 cm (1/2") on inside from either side of central section
5. Cut squiggly paper square diagonally
6. Adhere diagonal to outer sections of the gift card holder
7. Trim at ends
8. Adhere to Bermuda Bay Square

Saturday, 28 May 2016

Ahoy There Shine On ... Boat in A Pop Out Box with Tutorial...

Back to another of my All Day projects... I think this was the overall favourite!!
This project was borne from a mixture of my own idea(s) and further inspiration found on the web.... which all came together to form a lovely whole!!
I knew I was going to do a re-sized project (using 12x12 Shine On card) of my  Explosion Box Gift Card Holder (Tutorial & Emerald Envy version here, It's My Party version here)... and I wanted to put a sailing dinghy - or a car - or a bike  - or whatever - for the man each crafter was making for!!

And then I was sent a photo of this fabulous project by Jessica Winter with those immortal words " can we do something like this"... well yes... right up my plan/thoughts street!! The cake quickly becoming that sailing dinghy in my head!!
I then searched for the originator of the project (as I hadn't been sent a link)... and whilst I was looking I happened upon this fabulous project by Doreen... and then all those ideas in my head and on the screen just all pulled together...

Come back tomorrow to see the other version I made for my brother or Dad.... and maybe I should complete that sailing dinghy for hubby too...
And for those of you that love a Tutorial or Two....!

For the Box
1.       Take a 12x12 piece of Kraft cardstock
2.       Score at 4” and 8”
3.       Turn 90 degrees
4.       Score at 4” and 8”
5.       Bone Fold all score lines
6.       Cut 4 corner squares diagonally  (from outside corner to inside square/corner)
7.       Fold & adhere 2 diagonal sections from either side of central section onto the central section
8.       Repeat for opposing side
9.       Do the same for the 2 other central sections but do not glue down totally so as to form the pockets

For the Lid
1.       Cut a 5 7/8” Square of Kraft cardstock
2.       Score at 7/8” on all 4 sides
3.       Dart 2 scorelines on the one side
4.       Repeat for the opposing side
5.       Assemble and adhere the lid on the finished box ( ie the totally decorated box)

Recipe for Decoration
Bermuda Bay Card 9.9cm Square (approx. 3 7/8”) (x10)
Shine On Stripe/Cloud 9.3cm Square (approx. 3 5/8”) (x7)
Shine On Wiggle/Raindrop 9.3cm Square (approx. 3 5/8”) (x3)
Kraft 2.5cm (1”) x 12” (add Washi tape and bow punch to form bow parts)

For the Boat (Beware  - inches conversion not tried and tested!!!)
1.       Die cut 2 Cutie Pie triangles from Kraft cardstock
2.       On one of them, hand punch a small hole for the mast (centrally...about 1/2cm [3/8”] in from straight edge…)

3.       Cut a 16 x 3.5cm piece of Kraft cardstock [6 ¼” x 1 3/8”]
4.    Score LANDSCAPE at 8cm [3 1/8”]
5.       Bone Fold
6.       Hand punch a small hole for the anchor/Bakers Twine

7.       Cut a 22 x 4.5cm piece of Kraft cardstock [8 5/8” x 1 ¾”]
8.    Score LANDSCAPE at 8,16 & 21cm [3 1/8”, 6 ¼” & 8 ¼”]
9.       Score PORTRAIT at 1 cm [3/8”]
10.   Turn 180degrees
11.   Score PORTRAIT at 1 cm [3/8”]
12.   Bone Fold
13.   Dart 1cm [3/8”] section score lines as necessary to form the triangular box (you will know when you get there!!! I produced a template for my ladies to ease the process on the day – this also included a notch to allow for the punched circle for the mast…)
14.   Adhere parts

15. Adhere die cut triangles top and bottom… trapping in some Bakers twine at the peak before assembly)

Stampin’ Up ! Products Used

Stamps - Going Global, Project Life Let's Get Away, Guy Greetings (anchor)
Card & Paper - Shine On Speciality Designer Series Paper, Kraft 12x12 Cardstock, Silver Foil, Bermuda Bay
Dies – Cutie Pie Thinlits
Punches – 2” Circle, 2 3/8” Scallop Circle
Ribbon & Trim – Bohemian Washi Tape, Silver Bakers Twine, Silver Satin Ribbon, Kebab Stick (trimmed for mast)

Saturday, 16 April 2016

It's My Party Gift Card Holder Box

Another quick share... back to normal service next week...honest!
Is it a box... Or is it a Gift Card holder... you choose!
More on this explosion box project another day... but I just had to share another of the projects we have been making at classes this week....

Edited to Add - Link to Gift Card Holder Explosion Box Tutorial here. The only differences for this one compared to the recipe in the Tutorial being ...
  • the decoration around the Lid.  I wrapped washi tape all the way round. Then I put washi tape onto a piece of white card, punched 2 bow sides and centre piece from the stiffened washi tape. Then trimmed off the white card showing at the top and bottom... Does a great job... love it!
  • a few card/colour mat quantities in the Recipe are different as I simplified the other one to just 2 colours.... This one uses 6 x 6.5cm Crushed Curry, 1 x 6.5cm Basic Black and 2 x 6.4cm Melon Mambo (and 1 x 6.9cm Crushed Curry for the lid)
  • the decoration for the diagonal/tag pocket flaps. I stuck the paper onto the card mat first and then the matted triangles onto the triangular side sections

And don't forget to check out the fantastic Weekly Deals this week... too good not to miss... and remember 8 pm next Monday for the Retiring List....

And finally... the gift card pictured caused a few laughs! Not only did we think of what co-ordinated black gift cards we could buy....  ( tee Hee...Pizza Express for tonight for our Jems Stampin Up! Team meet up!)  but then I said.. What can you buy from Cotton Traders!? No idea where I got the card from!... Sorry Cotton Traders.... But hey then I looked it up... clothing, footwear and rugby apparel.... And 4 of us in the room are rugby mums! Then we remembered!!! Oops! Don't tell the boys!


Saturday, 19 March 2016

When is a Bag not a Bag...?

So ...moving on from Easter Treats.... 

To one of the projects I made for my Quarterly All Day Event last Saturday.... This event is really special to me... not only do I get to share crafty time with a great group of ladies... whose oohs and aahs are SO appreciated as they spy projects I have been making over the last 3 months around the room.... always makes me laugh!!
But I also get to make projects other than cards for a change! And you know what they say... a change is as good as a rest!  Certainly helps me to re-charge my mojo!!
One of the papers we used was the fabulous It's My Party stack...such a wonderful array of colourways and patterns for all occasions...but also such great value for money... 

So when is a bag not a bag... when it is a mini-book of course!! This is a project we first made years ago... we did a small one from a 6" square of paper in class - and then Debbie came back to the next class with a full re-sized one from a 12x12 piece of paper ... with lots of photos decorating it... still love these Debbie! Thanks yet again.... 
Just a few photos to be added to complete the look! Or leave as it is and fill full of treats... or even a gift card
And have to say the free Sale A Bration Party Pants stamp set was particularly amazing in making this is a simple stamping project.... 

And I have to draw your attention to the paper clip bows.... dressed up with a colouring of pink Sharpie pen and a scrap of Melon Mambo underneath (I just used the bow as a template to draw round, cut out that rough shape with scissors and then trimmed as necessary!)

Edited to Add... as I have been getting lots of lovely comments today from around the globe.... watch this space for a tutorial... now coming soon!! In the meantime here is a link to a previous posting of a mini book bag...which gives you the idea of the bag as a mini book with photos in it! Though note that ... the linked version is a different shape!!