Showing posts with label Stampin Up Demo Yorkshire. Show all posts

Wednesday, 26 August 2020

Wednesday Wreath - Blossoms In Bloom in the blues Stamped One Sheet Wonder....

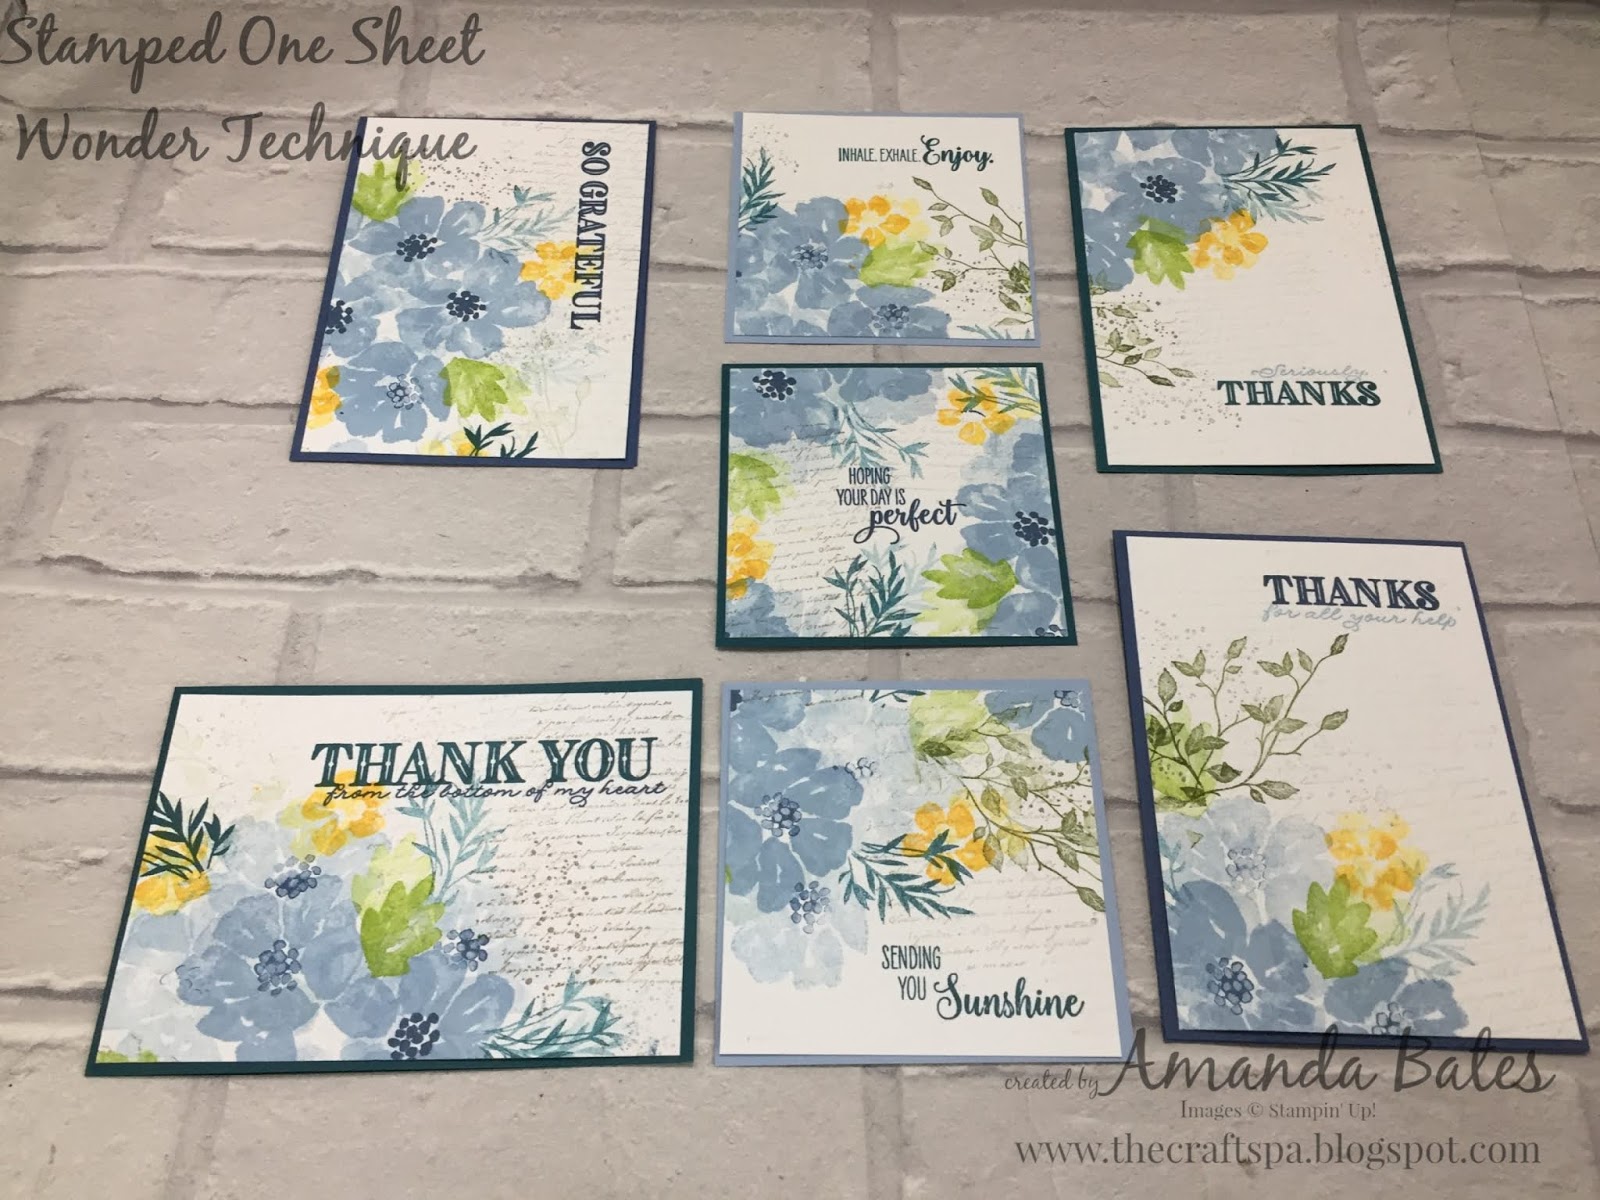
So this was the third of my Stamped One Sheet Wonder sheets created last week...
Another wreath on a 12x12 Whisper White sheet... resulting in a set of 7 cards...
Featuring Blossoms in Bloom ( flowers and leaves), Very Versailles (leaves and text), Sending Sunshine (leaf frond) and Waterfront (splodges)  along with Sending Sunshine and Ornate Thanks for the final greetings...

Using my favourite floral colour palette of blues &  greens with a touch of yellow... or Balmy Blue, Misty Moonlight, Granny Apple Green, Mossy Meadow, Pretty Peacock and Mango Melody... with Gray Granite for the textural background features... and splodges...
And I can't wait for my next delivery to arrive next week... as I have some lovely flowers and leaves in there! Can't wait to play again...

PS Thank you to my customers and fellow demonstrators who have shared their Stamped One Sheet Wonder cards with me... I am so happy to have inspired so many of you to give this technique a go... it is definitely worth it! Though beware the need to buy more flowers and leaves !!!

Sunday, 5 July 2020

Sunday Suite - Whale of A Time

Introducing the lovely Whale of A Time suite... great for the water lovers out there and for the young at heart... such fun!

Now there are many great creative makes around using this suite already... just click here to hit the Google search...  you won't be disappointed...

And here are all the product images... just click here to go see all the details...

Staring with the "Buy It All with one click " bundle...
The Whale Done bundle- with the 10% off...

The Whale Done stamp set
The Whale Punch
The gorgeous Whale of  Time papers... just great for water scenes... and click here to see each sheet..by sheet...
The beautiful Seabed 3D embossing folder...
 
Whale of a Time sequins...
 And finally Pool Party 3/8" Sheer Ribbon....
 And finally a few creations to showcase the Whale of A Time Suite ...


Tuesday, 22 October 2019

Noble Peacock Birthday Concertina Box Card with Tutorial

So I have a tutorial as requested for you today... today's Noble Peacock card being for a birthday... whereas the previous share here was for Christmas (using Brightly Gleaming) 

But before I start on the Tutorial...

Stampin' Up! are bringing us a One Day Flash Sale starting 11pm UK time tonight... until 10.50pm tomorrow 23 October... 15% off a large range of stamp sets in the Annual Catalogue...
Click on the image below to see all the discounted stamps ... or click here to email me for a full copy if you have not already had an email from me... or the click on the image doesn't work!!!...
And remember to come back tomorrow to place an order... as it's not often that stamp sets get discounted! And don't forget to add this months Host Code MGZDUYGK where prompted... for a free gift from me!
And so back to my Tutorial for the Concertina Card in A Box...

Craft Spa Recipe
Paper 4" x 12"; 4" x 10"
Coloured mats - 1 3/4" x 3 1/4" (x 4 each of 2 colours) 
Whisper White mats - 1 1/2" x 3" (x8)  
Box Lid Bermuda Bay  6 3/8" x 4 7/8"
Box Base Bermuda Bay 6 1/4" x 4 3/4"
3/4" Circle Punch
Papers - Noble Peacock PapersNoble Peacock Foils
Cardstock - Bermuda Bay, Granny Apple Green, Whisper White
Stamps - Butterfly Wishes, Well Said
Dies - Large Letters (retired - Sorry!)

Embossing Folder - Tufted

Craft Spa Tutorial
1.  Place  12”paper piece LANDSCAPE on trimmer
2.  Score at 2 ½”, 5”, 7 ½” & 10”
3.  Place  10”paper piece LANDSCAPE on trimmer
4.  Score at 2 ½”, 5”& 7 ½”
5.  Bone Fold 12” piece Valley, Mountain, Valley, Mountain
6.  Bone Fold 10” piece Valley, Mountain, Valley

7.  Apply ink to left side/edge of 10” strip if necessary
The Noble Peacock papers used here have a white core so better to ink up with some Noble Peacock ink – I just placed the edge onto the ink pad… and used a tissue to wipe away any excess ink ( as these papers are foiled so the ink will not sink into any foiled parts!

8.  Place 12” section to left and 10” section to right in front of you
9.  Adhere 2 together placing the left hand side of the RH 10” piece over the short width of the LH 12 piece”

10. Score both box panels at 1” on all 4 sides
11. Bone Fold and dart on 2 opposing sides
12. Punch larger box section (ie lid) on 2 longer sides with ¾” circle punch
13. Apply glue and adhere (smaller) Base Box
14. Apply glue and adhere (larger) Base Lid whilst on the Base

15. Adhere sides of Main Card onto Box Lid and Box Base (my Lid is on the LHS, and Base on the RHS)


16. Decorate as necessary.
I die cut 4 
Noble Peacock paper Old Olive letters and 4 Noble Peacock Foil Bermuda Bay letters (which are then embossed using the Tufted embossing folder for a bit of texture!)

But before I go... remember the Flash Sale tomorrow... for one day only...

Monday, 9 September 2019

Merry Monday - Still Scenes with Video...

So I know that many of my "crafty girls" are going to be so happy creating with this set... as the snow globes we made last year went down SO well!! So I have a new cunning plan for this year now... heavily featuring this little gem...

Click here for the Still Scenes product video... but I have to share all this with you!! Can you hear the excitement in my voice!

The whole Still Scenes bundle (with the 10% off)

The Still Scenes stamps

The Snow Globe Scenes dies
And not forgetting the Snow Globe Shaker Domes... I can foresee many uses for these!! Watch this space...
Yup! Loving it!

Friday, 6 September 2019

Magnolia Lane Pop Up Front Step Panel Card

What do you get when you combine the Nested Labels with the A6ish Portrait Pop Up Front Step Panel card...
Yup! A new variant for you!
In a few different Magnolia Lane paper-ways... as I had 6 to make... 4 being the same... and then a couple of others...
Back with the specifics another day...

But in the meantime... I just had to share these Nested Labels featuring Magnolia Lane & Magnolia Blooms version with you...


Friday, 1 March 2019

Step It Up Global Stamping Friends Blog Hop...

Hello and welcome to the March Global Stamping Friends Blog Hop from Amanda Bates at The Craft Spa in the UK... 
Today's Blog Hop has a Step It Up theme... meaning that each project builds upon the previous... so I have 3 projects to show you today... 

So ... not only do we have a decoration progression from one card to the next... but we also have a Z Fold Card progression all featuring  - and being sized for - a Stitched Rectangles die cut... Each one a step up from the one before... 

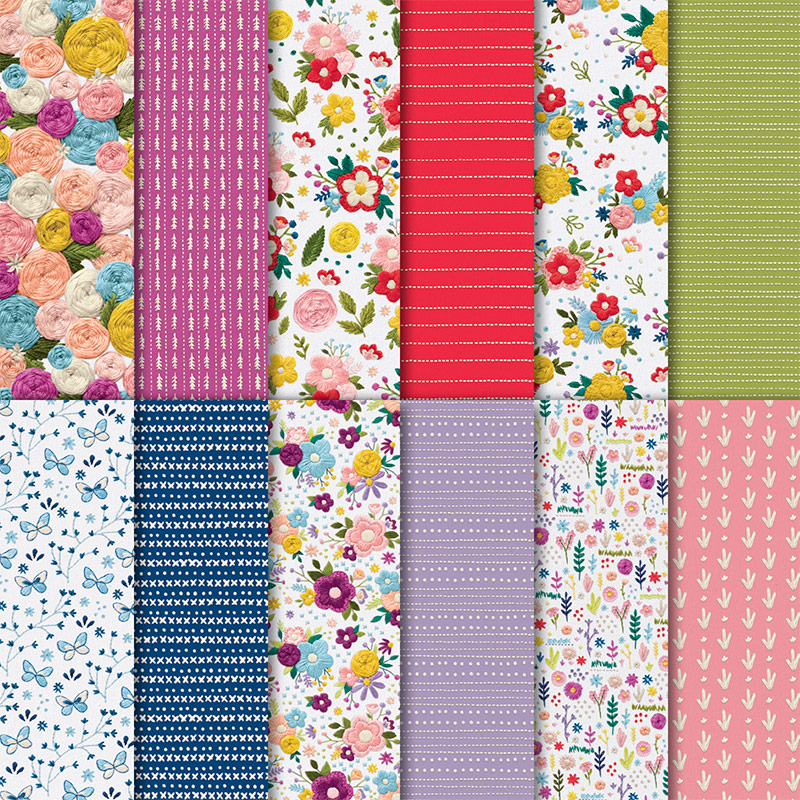
As well as using the Needlepoint Nook papers 
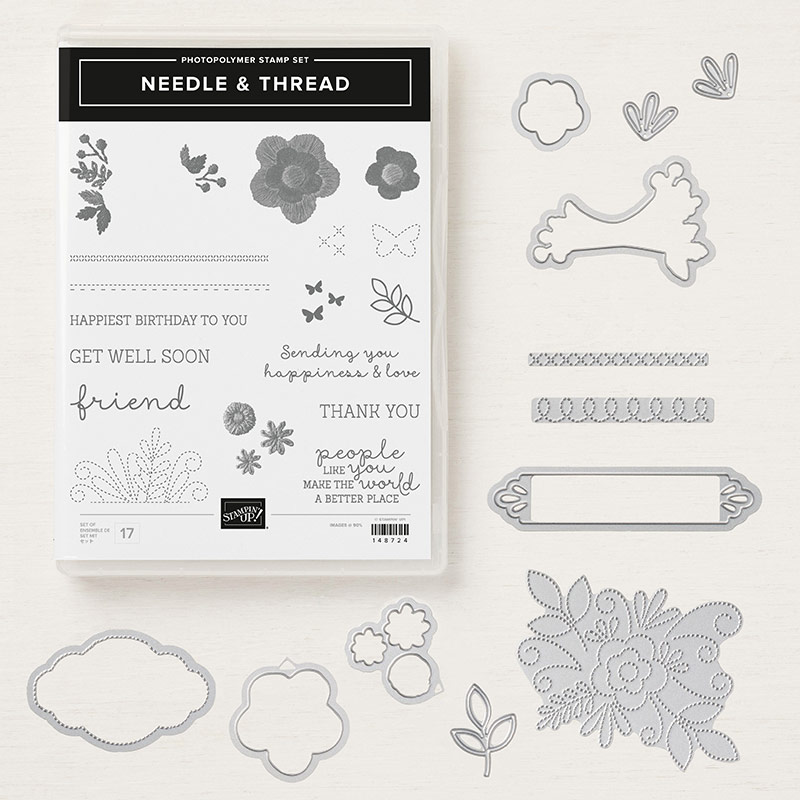
And the Needle & Thread bundle... for the decorative elements... 
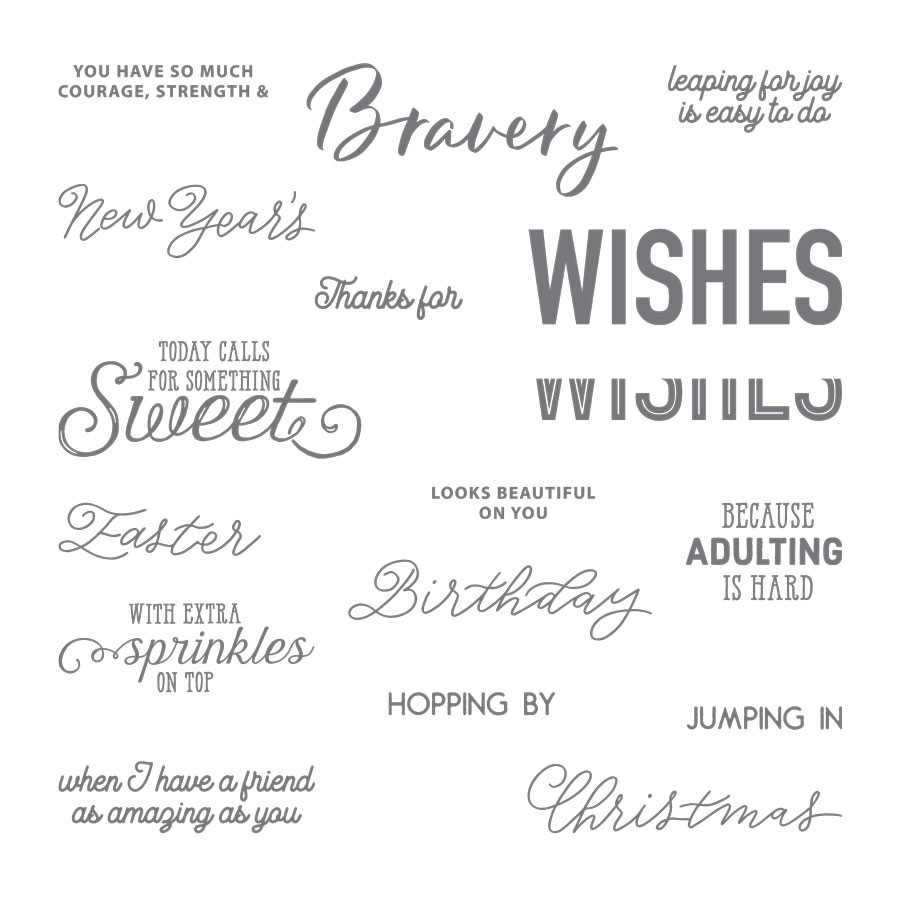
Along with the new Sale A Bration Co-ordinating More Than Words.... and a few other favourite greetings sets...
More Than Words Photopolymer Stamp Set
Starting with the Simple Z Fold.... 
With all the greetings being from More Than Words... 
Then the Joy Fold... 
Again main greeting from More Than Words... and the TO YOU being from the "Happy Birthday to You" in the Needle & Thread stamp set...
And finishing off with one of my Double Z Joy Folds... 
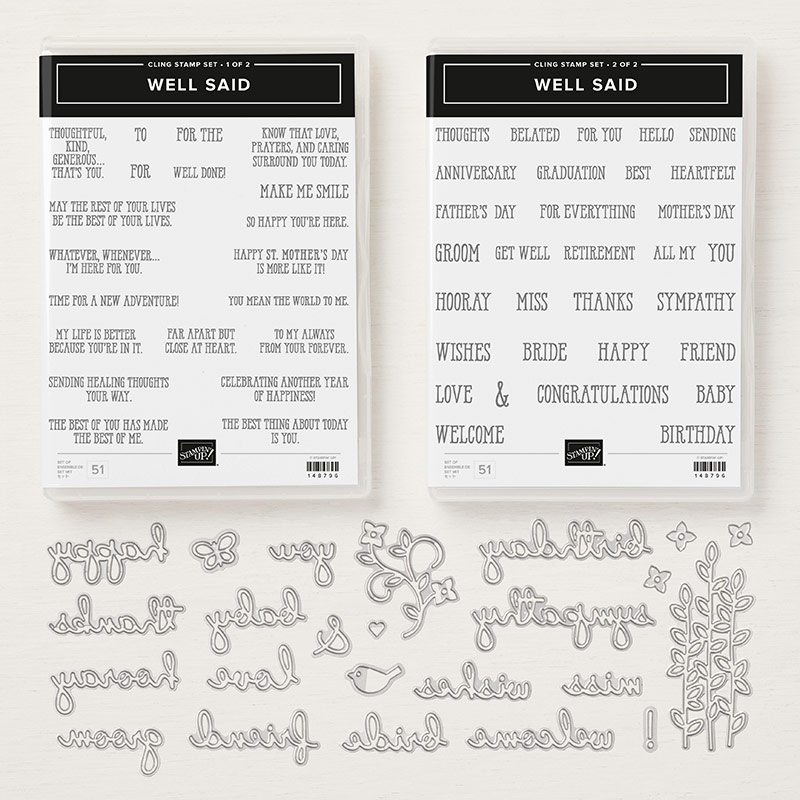
Which also features the fabulous Well Said stamps and Well Written dies for all the greetings... 
Spot the double die-cut shadow "happy" greeting... just a Crushed Curry "happy" stuck onto a Poppy Parade "happy"...  
And the lovely Needlepoint Nook Mini Buttons on the small flowers at the left to finish it all off...

Now I was going to go into each of the cards chapter and verse... but you would be here for a long while!!! And this is a Blog Hop after all... So instead I will be posting the tutorials for the card fold and decoration over the next week... be sure to subscribe (FOLLOW BY EMAIL OR SUBSCRIBE TO FEED down the right hand side) if you want more details...

Though... in the meantime... the tutorials for my standard A6 Double Z Joy Fold Card is here... and the US A2 version here... 

And so now it is time to pass you onto the lovely Angelique in the Netherlands... Just click on the big arrow below to go straight to her post...

Blog Hop Roll Call


Thursday, 28 February 2019

Sale A Bration Co-ordinating products - The Full Story!

Gosh I apologise.... I was reminded yesterday that although I have been hinting at (and sharing) many of the Sale A Bration co-ordinating products coming our way in March... I haven't yet given you the full picture....

So seeing as time is of the essence... as it is 1st March tomorrow.... and I know a lot of you have been holding off orders until then.... here you go... the full brief... and note that these will all go live from 11pm UK time tonight...
So the background... Stampin' Up! have put together some products that co-ordinate with some of the Sale A Bration products that you have been earning (or will earn) for free during the Sale A Bration promotion.... These co-ordinating products are available to purchase for the month of March only... and are available while stocks last...

Here are the 2 pages of the flyer... but you can click here to download it for yourself once Stampin Up! have loaded it...


Firstly... spot all the co-ordinating dies... shared with lots more photos for you... dies first... co-ordinating stamp set 2nd... sample project third...

Lily Framelits to go with Lasting Lily...
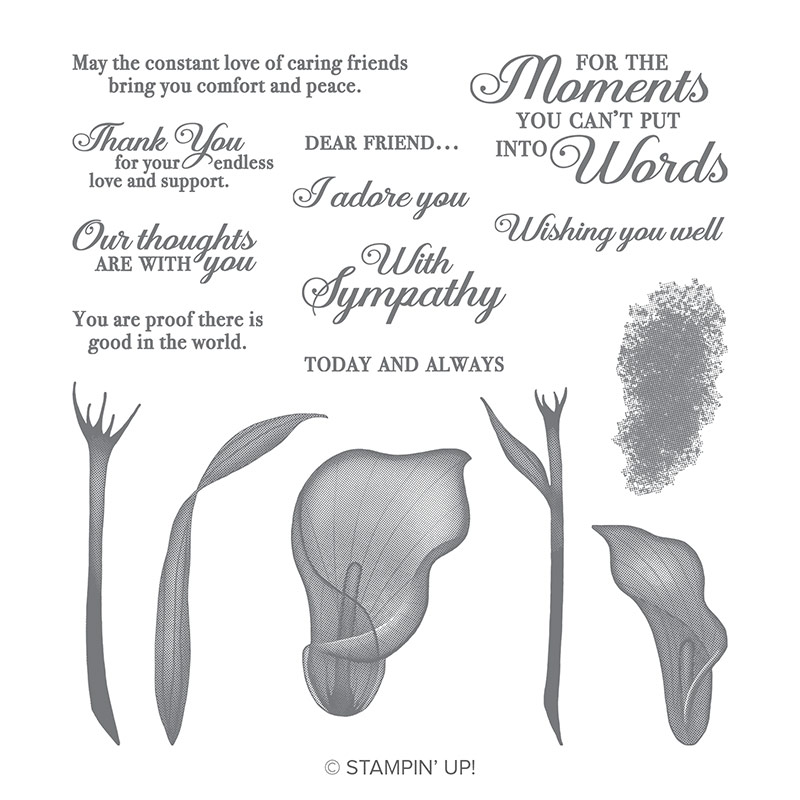
Lasting Lily Photopolymer Stamp Set
Call Me Cupcake Thinlits to go with Hello Cupcake... and do check out the amazing Bell Jar dies!!! I love those just on their own!!
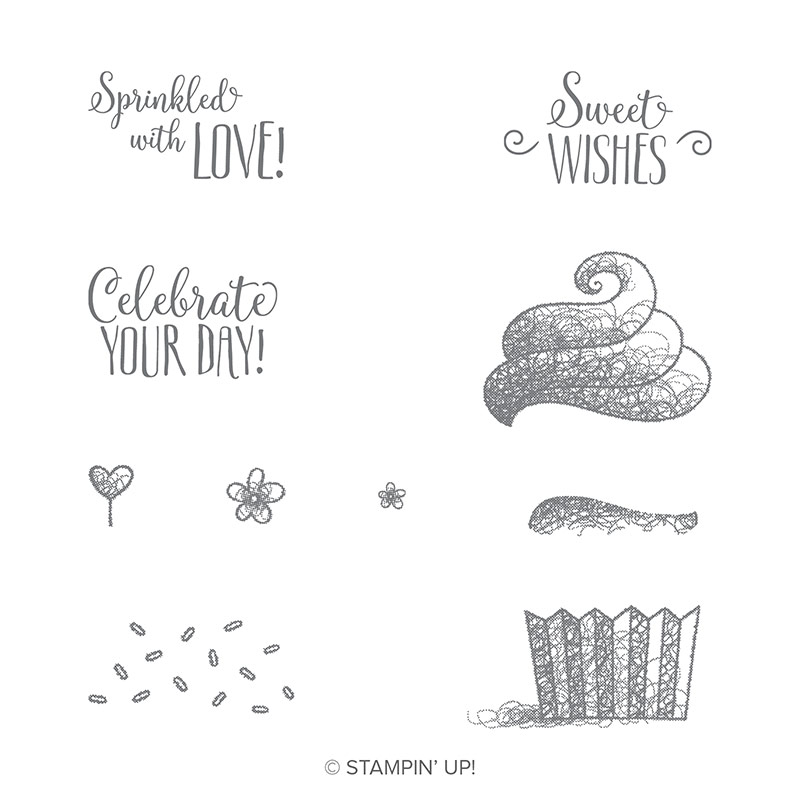
Hello Cupcake Photopolymer Stamp Set
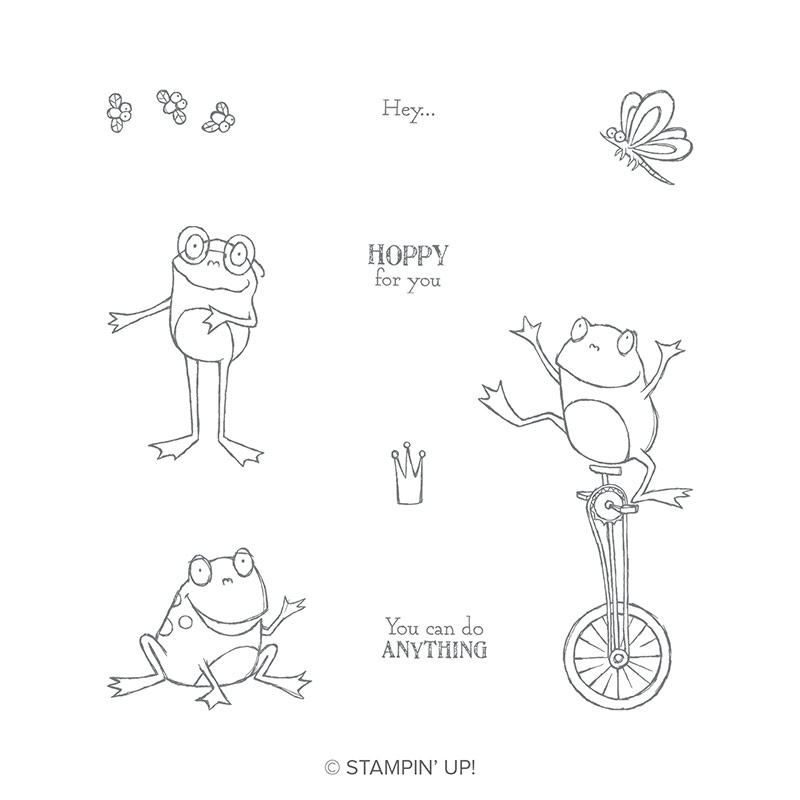
Hop Around Framelits to go with So Hoppy Together... check out that lily pad too!
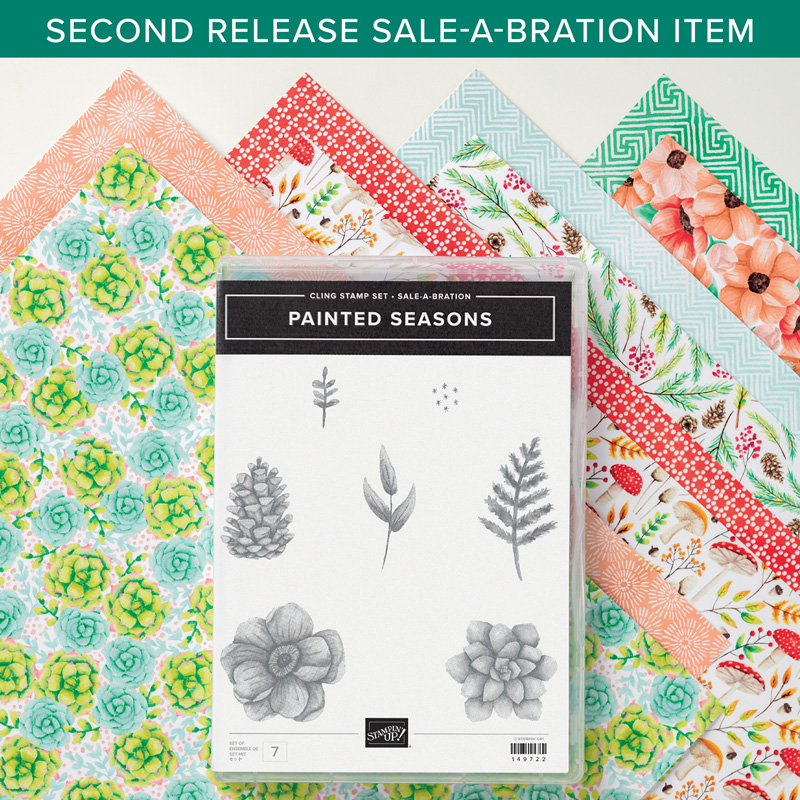
And Four Seasons to go with the new/2nd release Painted Seasons bundle ...spot how you can cut more than 2 set of leaves at a time...
UNSET

Secondly we have an amazing new greeting set, More Than Words... for which I shared more details and a project yesterday... but I have to point out now that it does co-ordinate so well with the So Hoppy Together frogs and Hello Cupcake shown above...
And last (but not least)... the fabulous Story Label Punch... such a great size and shape for so many of our greetings... and particularly the More Than Words set....
And just one punch of coloured cardstock etc (cut in half horizontally... and then halves stuck above and below) give you a quick and frugal coloured mat too...
And don't forget... there are 2 lots of Sale A Bration free products to choose from as you earn them (one for free for EVERY £45 you spend... though some you need to order £90s worth)...

Click here for the 2nd release leaflet... and here for the first... or just here for them all in the Online Shop...

And bear in mind that the ribbons are out of stock... and the Botanical Butterfly papers, Butterfly Elements, Foil Papers and Precious Parcel card kit are low in stock and so could go out of stock at any moment... Oh and Sale A Bration runs until 31st March... so it is now next month or never!