Sunday, 8 October 2017

Detailed Gate & Hometown Greetings Wedding Card

Another day... another theme for the beautiful Detailed Gate... a quick and easy card for Mr & Mrs on their wedding day...

The same Bench U Fold card fold... but simpler than yesterday's more spooky card... as no extra box sections at the base... and just a simple die cut church scene to be seen when you peer through that gate...

The longer gate posts are created using the stamp in the Graveyard Gates set... just lining up & stamping one above another (in opposite directions!) to get the extra length... and then just trimming as required...
The inner decoration scene is just a simple trimmed Pool Party brayered Whisper White panel (though I could have used a Soft Sky panel to make the job even easier!)... with a Smoky Slate Hometown Greetings church border... finished off with some die cut Tranquil Tide trees....Forgot to take a photo before assembly... hence the strange shot below!

Front finished off with handcut Smoky Slate Graveyard Gate lanterns (though I could have used my die cut Brightly Lit/Christmas Lamppost ones instead) which are coloured in using a Clear Wink of Stella and Pool Party ink...

Plus a few Sheer 1/8" White Ribbon bows and a Smoky Slate Cheers to the Year greeting punched out using the Classic Label Punch


Saturday, 7 October 2017

Jems Monthly Blog Hop - Trick or Treat (but not for necessarily for Halloween!)

Welcome to our Monthly Team Blog Hop featuring a lovely play on the words "Trick or Treat"... as suggested by the very clever Uma....
Could be something for Halloween.. but could otherwise be a ...
* Trick - an illusion, a fun fold, a surprise or something unexpected in the project...
* Treat - so Treat Packaging or indeed a cake, chocolate, sweets...


So I didn't intend to do a Halloween project at all... but here you have one!
I absolutely LOVE the Detailed Gate die cut and so the Graveyard Gate bundle was beckoning me to play with it... and thus I made my (probably) first Halloween card ever! Keep watching this space for a few other non Halloween options as the weeks pass by!

I will go back to calling this a U Fold Card (as it is a Bridge Fold card without the bridge across the front! The Gate does the job instead...)... and spookily the dimensions for my latest Bridge U Fold Card were perfect... click here for that Tutorial... I just cut the Smoky Slate card to 8.6cm (3/3/8" for my US readers) high instead of 10.5cm(4 1/8")
As always the card does lay flat to go in an envelope... though I think I will have to write Scaredy Cat on the back ( or something) ... as this gate doesn't actually open!

I plan to be back with an updated Tutorial for the card and all the decorative details for this one shortly... but in the meantime here is a shot of the simple little scene behind the gate! Though I would colour in the church windows if I did a re-make!
Click here to go to my earlier post for more details on the Detailed Gate & Graveyard Gate products... 

And so it is now time to pass you onto the lovely Tracy... till next time!


Introducing Detailed & Graveyard Gate...

Had to pop on and introduce my second favourite product in the Autumn Winter Catalogue, Graveyard Gate stamps & Detailed Gate dies ... available separately or as a bundle in both Wood Mount and Clear Mount.

You will understand more why shortly!

In the meantime... this is such an incredibly versatile product... and I have to say that I am cutting these beautifully without the Precision Plate.... just an extra couple of layers of paper with my replacement Big Shot platform is doing the trick... I know a few of you were worried about that!

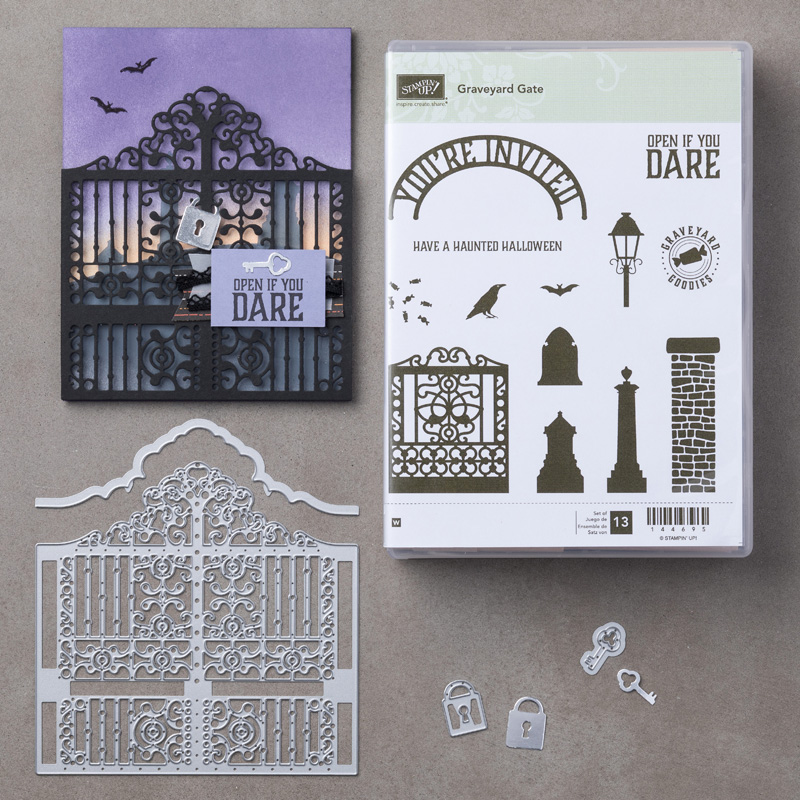
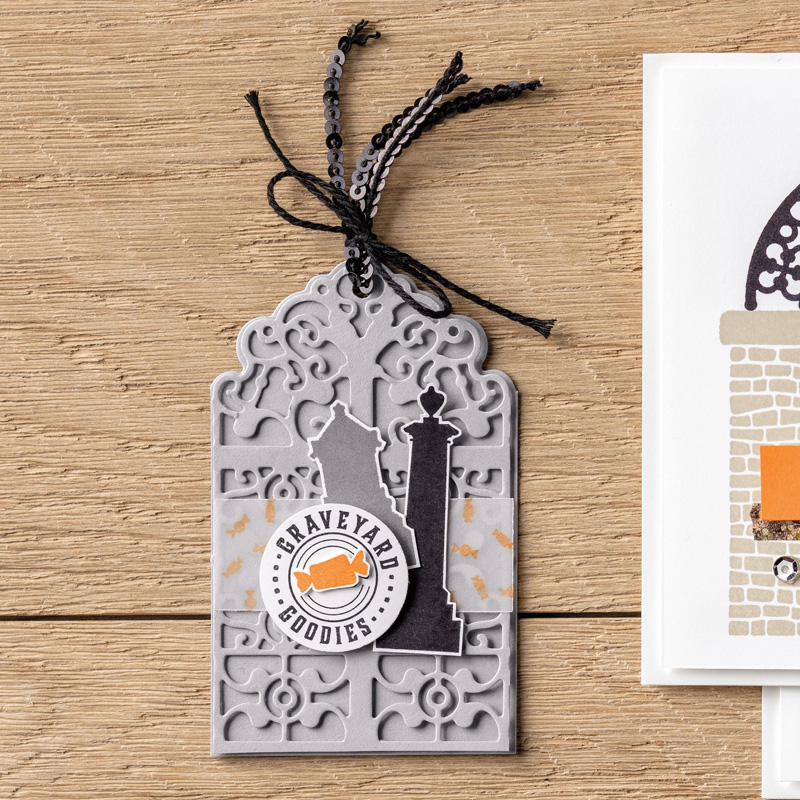
So here is the product image... check out the lock and key dies... and all those chess pieces in the stamps!
Graveyard Gate Wood-Mount Bundle
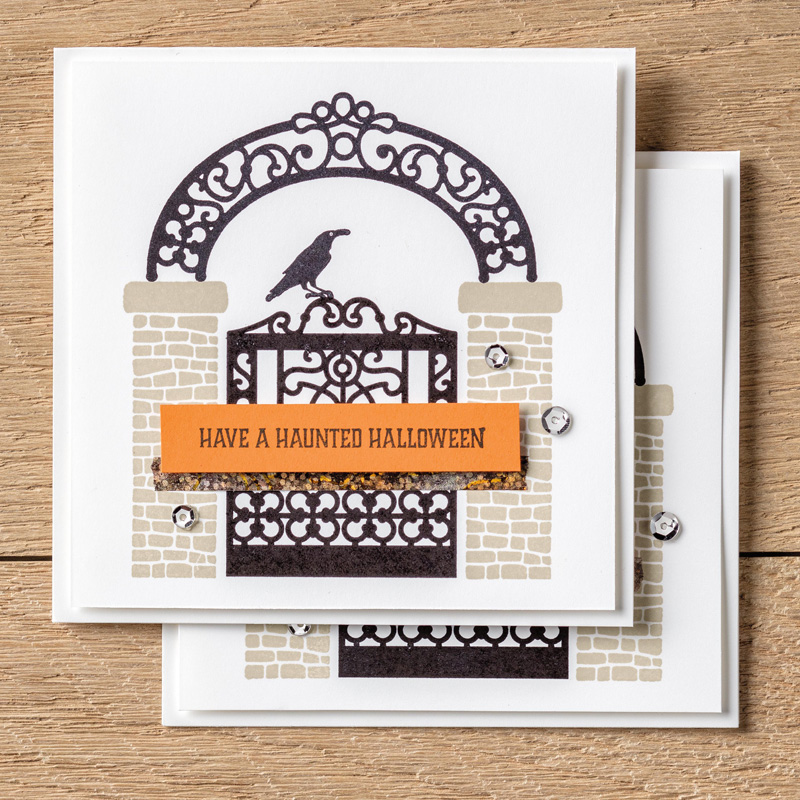
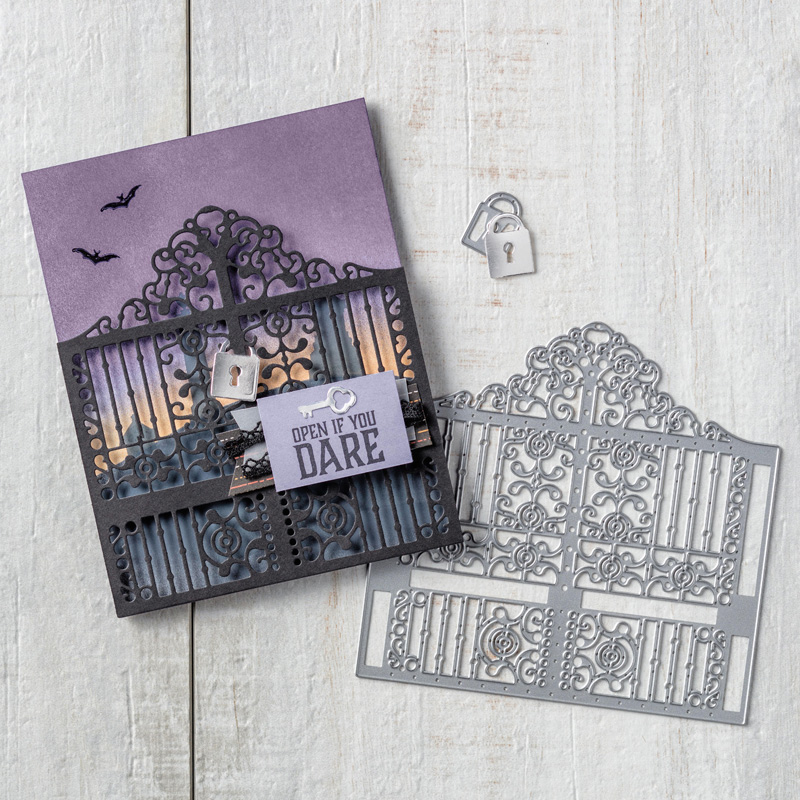
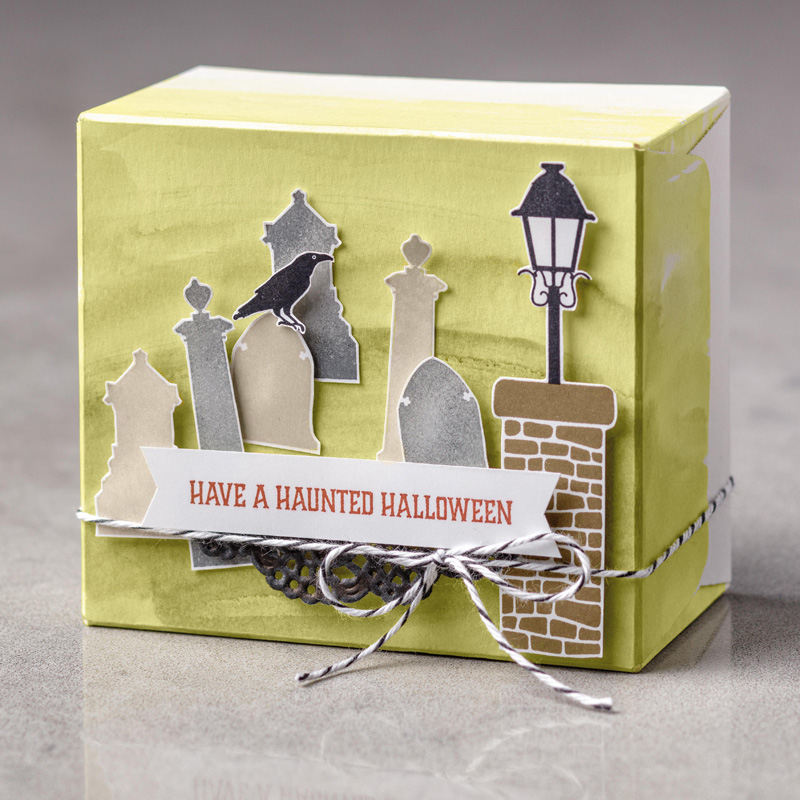
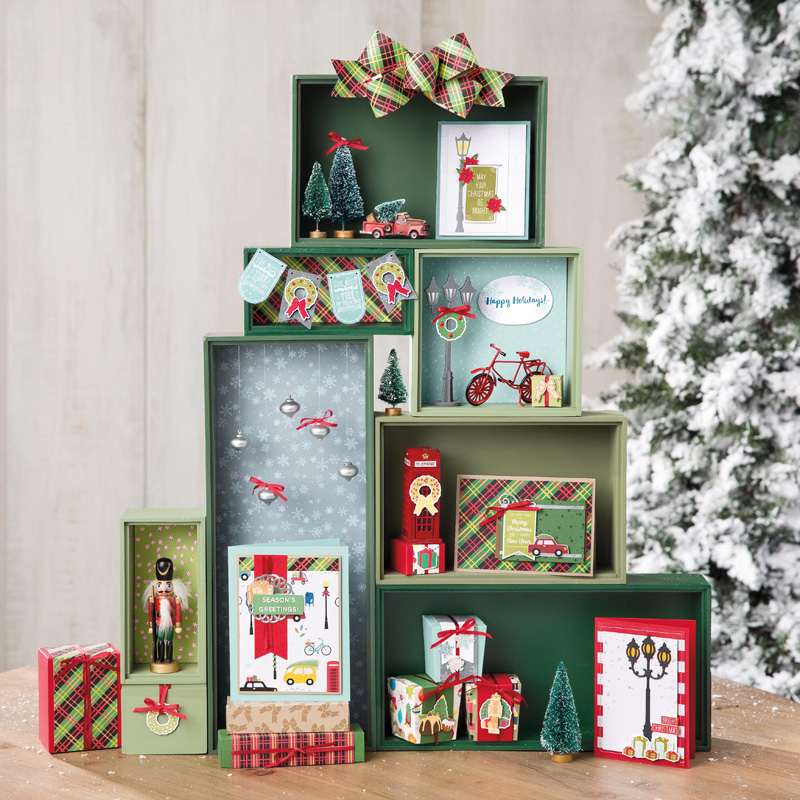
And here are a few projects the Stampin Up! concept artists made for us.... I LOVE all of these... and I don't even make Halloween projects as a rule...

Graveyard Gate Clear-Mount Bundle
And click on the image below for the direct link to the video showing you much more...
Back with more on this product very shortly... 

Friday, 6 October 2017

Fancy Fold Friday Cityscape U Bridge Fold Card


If this card was the village scene... and this one was the ski chalets in the mountains scene... then this one is the cityscape! 

Can't tell you how popular this U Bridge Fold card is being in classes! And I love it when the final words are "oh that wasn't so hard after all! I will be making some more..." and you certainly get lots of the images from one sheet of the papers to do so!
Resized to fit in an C5 envelope (so quite a bit larger) ... an extra section in the layering... and some hand cut-out extras from the Christmas Around the World paper pack (which are available on the 4 For 3 Paper Sale Offer running in October)

Background paper also from Christmas Around the World papers... plus a bit of marker pen or inkpad & blender pen colouring of doors, trees and roofs... and finally slivers of Foil behind the windows to add glint and shine... plus a silvery glimmer moon using the Card Front Builder dies... and there you have it...
And spot my favourite bit... the exhaust pipe smoke greeting strategically positioned behind the red car!!

And yes the card does fold flat to go in the C5 envelope!
I will be writing up a Tutorial in about 2 weeks time... but though for those of you that have already purchased my Bench Fold Card tutorial (Series One)... you already have the step by step details and the dimensions of the main card!
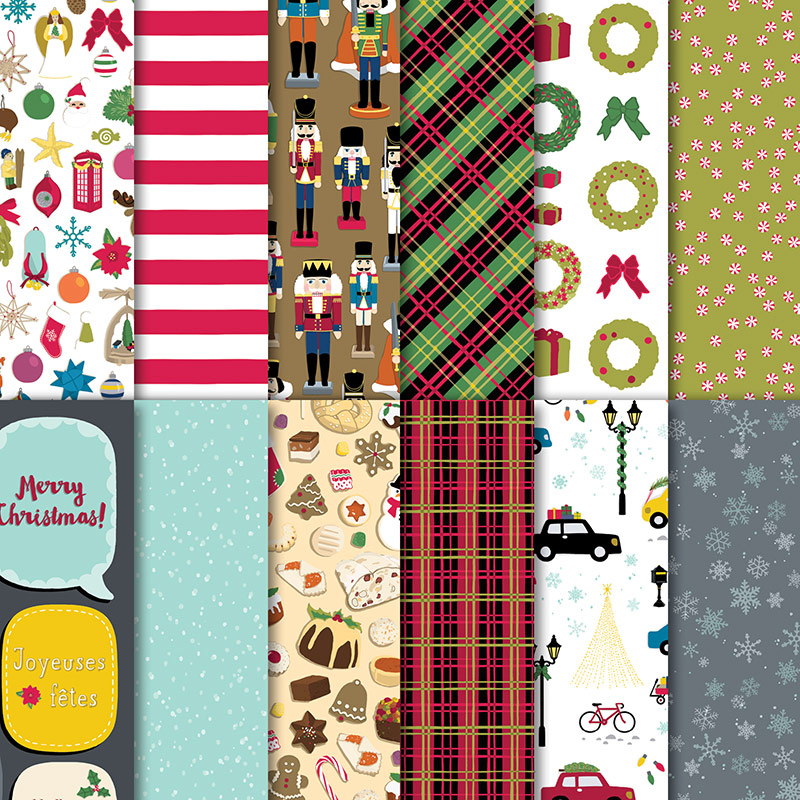
And before I go... here is an image of the Christmas Around the World papers... which are SO much nicer than I first thought.... I love all the images that you can hand cut out... The bottom two papers on the right being used for this card... 
Christmas Around the World Designer Series Paper
Or click on the Display Visual below to go to the Autumn Winter Papers Flick-through Video... the Christmas Around the World papers are shown at about 2min35 into the video...
Christmas Around the World Designer Series Paper

Thursday, 5 October 2017

Foiled Wreath Card using Painted Harvest & Snowflake Sentiments

Take a Leaf Punch... punch a few Champagne and Copper Foil leaves... the Champagne ones being punched from the lovely large Foil mat...

Stamp a lot of Painted Harvest leaves in Cajun Craze with Copper embossed veins...then punch those too...
Copper emboss the Snowflake Sentiments greeting on the Whisper White card panel... then draw a circle around it using the outside of a parcel tape and a Frixion pen (or pencil)...

Stick all your leaves on around the circle... and finish off with a Burlap Ribbon bow... and sticking all onto a Large Square Card Blank...
We liked this one so much I had to do another to speed up the making of this card... but more on that another day!

Wednesday, 4 October 2017

Year of Cheer Gift Bow card


Simple and sweet... the foiled snowflake Year of Cheer papers do all the talking! 

Silver embossed Watercolor Christmas greeting... 
Coupled with a Bow Builder punched Champagne Foil gift bow... punched from the foil mat...waste not want not!

And finished off with a Clear Faceted Gem... saves bending that fiddly little bit around the centre of your bow! 
Couple of tips for when you are punching and assembling bows from Foil Papers... 

(1) stretch the loop parts slowly and many times into shape with your Bone Folder... avoids creasing...

(2) use Mini Glue Dots to assemble... 

Tuesday, 3 October 2017

Stampin Blends alcohol based markers anyone?

Oh look! How exciting... though note that this is my second post today... scroll down or click here for the creative share!

High quality, dual tip alcohol based marker pens in 12 exclusive Stampin' Up! colours. Each have a light and dark shade to give you the best blending experience... plus single markers in Ivory and Bronze and a Color Lifter

No customer release date as yet... but available exclusively to demonstrators from 1st to 15th October only...

Live in the UK? And really can't wait to get your hands on them (like me!)... then please feel free to Join My Team before 15th October and pop the whole set in your Starter Kit (Choose £130 product, Pay £99) order  ... item code 147475 applies...

Click here for more details on joining my team and/or click here to email me for more information... as there are more Stampin Blend co-ordinating products to tell you about that you could include in your Starter Kit order too!
Stampin Up! tell us more about the the pens' features...
  • Stampin’ Blends come in Stampin’ Up! colours. Because they fit right alongside our other product lines, they give you an opportunity to play with colour in a way that adds to your Stampin’ Up! experience.
  • Add just the right amount of colour where you need it with the brush tip or fine-point.
  • We have done in-house testing for evaporation and also life testing, and were pleased with the results, so you can feel confident sharing them with your customers. Each marker is sealed with a press-fit that prevents air from entering the barrel (which would lead to evaporation).
  • They are sold as individual markers and as a combo pack (with a light and dark shade).
  • The nestable lids are easy to keep track of and have a tight fit for long-lasting colour.
I really can't wait to get my hands on these... and am already finding myself preparing projects ready for colouring in when they arrive! What about you?

Brightly Lit Christmas Lamppost & Around the World Papers - Part 2

Adding a bit more detail to yesterday's card... click here for most of the card detail...

A few extra scrolls to the bottom.... love these for an extra decorative touch!
Die cut wreath, bow and presents from the Christmas Around the World papers... using the Brightly Lit/ Christmas Lamppost dies...

And finished off with a stamped Brightly Lit Christmas greeting...

Monday, 2 October 2017

Brightly Lit Christmas Lamppost & Around the World Papers

Another card featuring the Christmas Around the World papers (on this month's 4 For 3 promotional list!)

Coupled with the Brightly Lit Christmas bundle ...  aka the Lamp Post... (or you can get Brightly Lit Christmas stamps (15% off with the World Card Making Day deal until 10 October) though the bundle including the dies is still a better deal! Just...)
Clean, simple and quick... and I do so have a thing about lampposts!

Didn't know why... until I came across an old photo of my family home very recently... and there it was... the proper "antique" lamp post at the top of the drive... wasn't in my memories... but there it was!
Back to the card... Christmas Around the World papers background on Basic Black mat... Die cut Basic Black Lamppost & Lamps... Dazzling Diamonds Glimmer glass & snow bank (hand trimmed) with another plain white snow bank ( with Dazzling Diamonds glitter added to the top) to the rear...  and a Garden Green bow die cut from the Around the World papers... on a Real Red stamped & die cut banner

Sunday, 1 October 2017

Christmas Around the World papers... on Free Paper Promotion from today...

And another laugh at my expense for you!!

So introducing the Christmas Around the World papers... which are on the 4 for 3 Paper Promotion from today - click here for the details on the October promotional offers...
Christmas Around the World Designer Series Paper
Love these papers... but I did not feel that way when I first saw them... then someone somewhere shared photos of each sheet... and I was hooked... not only are there 2 snowflakey patterns for background like this... but there are lots and lots of images to cut out and use... and a good bit of tartan... but more on all those another day!!
So back to the card... hope you like my shooting stars around the moon!! Not intentional... but even my adhesive remover (retired sadly!) couldn't get rid of them...

And why... because instead of throwing glitter all over the glued surfaces of my card... my absent mind tipped a whole pot of white embossing powder all over it!! Gritty snow eat your heart out!! 
It was everywhere... so I brushed it all off as well as I could... applied a bit more glue for good measure... and threw glitter over... so now that was all over! As the brushing off of the embossing powder obviously spread a thin layer of glue over every surface of the card!!

My trusty adhesive remover did remove most of the glittery mess... but these shooting stars (streaks!) were left. No time for a remake... so here you have it! Warts (or streaks) and all... 
Some of you will remember this card... 
This is the same card remade with papers instead of the Baby Wipe Smooshed background... so most of the card decoration details can be found here... 

Apart from 4 extra details...
(1) a Silver Glimmer moon (as previously promised!)
(2) Night of Navy marker pen (thin end) window panes...
(3) glue (and then just glitter!!) to the stars and snowline
(4) marker pen coloring of the Dazzling Diamonds Glimmer snowman's hat, face and buttons!! Worked fine on the Glimmer Paper.. who knew...