Now I know a few of you have been waiting for this tutorial!
The details were linked in the posts before as this card is a merger of 2 other (Square Pop Up Z Fold) card tutorials I have recently posted... but here is the All In One tutorial for a Double Z Joy Fold card...
But about this card first. Which is making me squeal as it is so happy and bright.... and not exactly my usual colour spectrum!!!
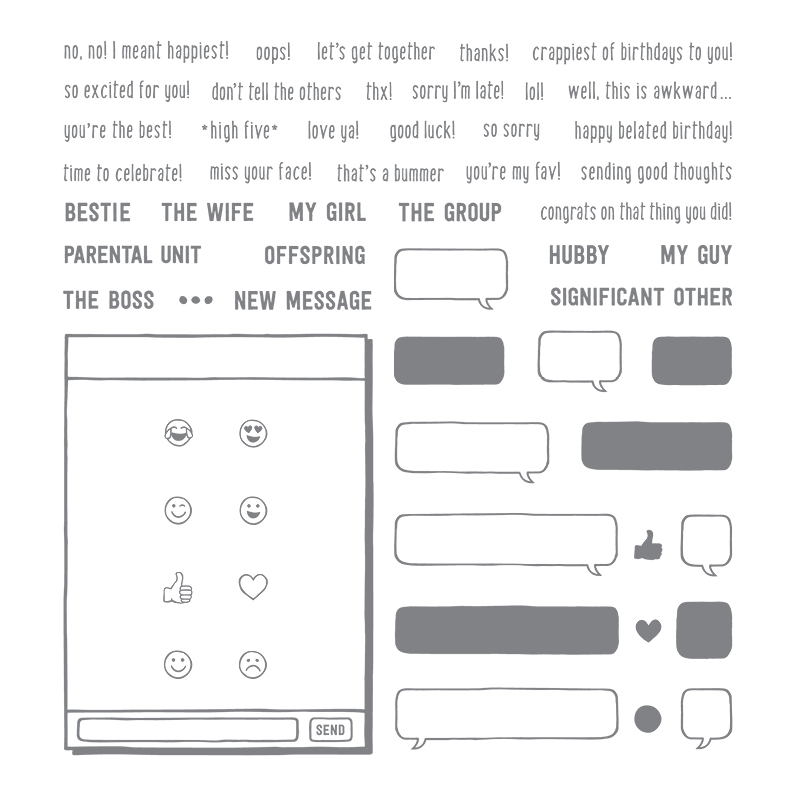
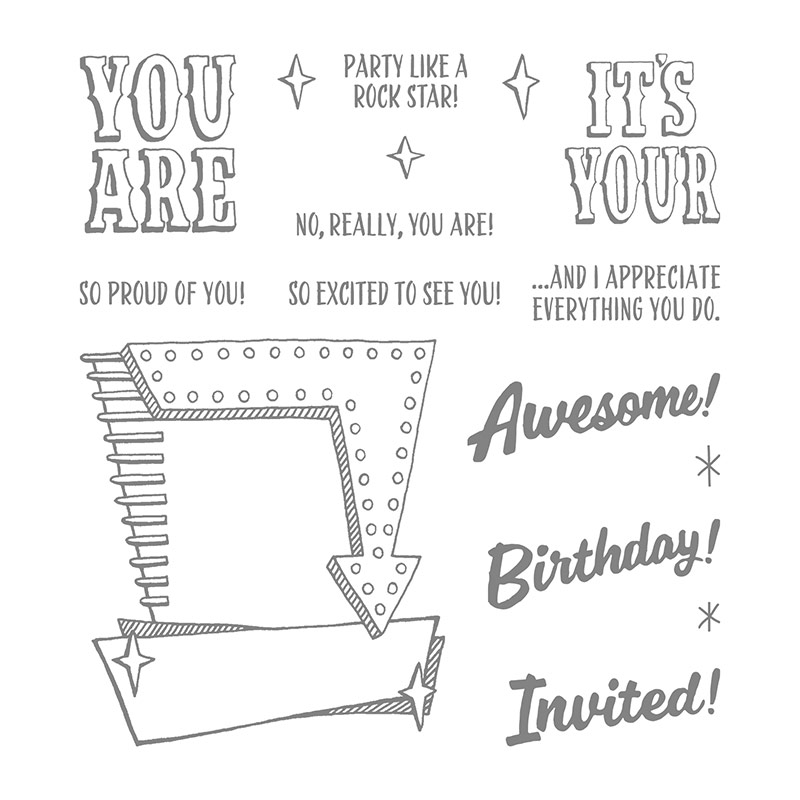
I have used the Pop of Pink papers, Marquee Messages and Confetti Celebration stamps - along with the Medium Star Punch.
The banners are coloured by stamping onto card and then cutting by hand. The letters and slats are coloured in using Melon Mambo and Bermuda Bay marker pens.
Along with the Signo white gel pen for the dots and stars (sadly no longer available from Stampin' Up! - I knew it wouldn't be long before I would have to use them! But they are readily available in supermarkets, stationers and on-line!!)
And another admittance - Marquee Messages definitely didn't do it for me on first viewing! But I know it is going to get a lot of use here for teen, male and congratulations (graduate, exams etc) cards. Loving it!! So glad I looked again...!!
Now I did say that I was going to tweak this card so it opened more fully... but that didn't work with my lovely squares format!! So I am sticking with this one as it is for now... EDITED TO ADD... the tutorial for the fully opening version can now be found by clicking here...
For a left handed person to sign the card - there are 2 options that I can think of... sign and then do the final assembly... or mat that right hand panel with a signed panel as and when necessary. I am sure there are other ways too...
Or you could do as I often do... and that is send the card without any signature!!! Funny how they always know it is from me.....
So now onto the tutorial... Metric first, Imperial (inches) for my US followers afterwards (in blue type)
You will need:-
Card A4 Thick Whisper White 14.8cm x 29.7cm (ie A4L)
Card A4 Thick Whisper White 10.5cm x 21cm ( ie A4W)
And for Decoration...
Paper Front Left 6.9 x 14.3cm
Paper Inside Back 14.3cm Square
Paper Inner 4.75 x 9.9cm
Card Bermuda Bay 9.9cm Square
Card Thin Whisper White 9.4cm Square (Stamped panel)
Card Melon Mambo/Bermuda Bay 9.9cm Square each (though you could get away with 9cm Square)
Inks - Memento Black
1. Pick up the larger piece of Thick Whisper White card
2. LANDSCAPE. Score at 7.4 & 14.85cm
3. Decorate as necessary
4. Z fold your card
5. Pick up the smaller piece of Thick Whisper White card
6. LANDSCAPE. Score at 5.25cm & 10.5cm.
7. Decorate as necessary
8. Z fold your card
9. Adhere right hand side of the smaller card to the inside back right hand side
7. Adhere left hand side of the smaller card to the front left of the card (TIP - think about where you do not want your glue!!! I found that there was a feint line produced from the bone folding so easy to spot the half way point so as to not go over with the glue!)
If you give this a go... please do feel to share your make with me... I always love to see what other people make from my card fold ideas - and from time to time I get to share them on here too....
And for my US followers... the imperial (inches) version... as usual Crafter Beware as this is not tried and tested... just converted as best as I can... if you notice an error please tell me so I can update accordingly!!
You will need:-
Card Thick Whisper White 5 1/2" x 11"
Card Thick Whisper White 4 1/4" x 8 1/2"
And for Decoration...
Paper Front Left 2 1/2" x 5 1/4"
Paper Inside Back 5 1/4" Square
Paper Inner 1 7/8" wide x 4" high
Card Bermuda Bay 4"
Card Thin Whisper White 3 3/4" Square (Stamped panel)
Card Melon Mambo/Bermuda Bay 4" Square each (though you could get away with 3 1/2" Square)
Inks - Memento Black
1. Pick up the larger piece of Thick Whisper White card
2. LANDSCAPE. Score at 2 3/4" & 5 1/2"
3. Decorate as necessary
4. Z fold your card
5. Pick up the smaller piece of Thick Whisper White card
6. LANDSCAPE. Score at 2 1/8" & 4 1/4"
7. Decorate as necessary
8. Z fold your card
9. Adhere right hand side of the smaller card to the inside back right hand side
7. Adhere left hand side of the smaller card to the front left of the card (TIP - think about where you do not want your glue!!! I found that there was a feint line produced from the bone folding so easy to spot the half way point so as to not go over with the glue!)
If you give this a go... please do feel to share your make with me... I always love to see what other people make from my card fold ideas - and from time to time I get to share them on here too....