Showing posts with label Centre Step Card. Show all posts

Tuesday, 10 May 2022

Tuesday Tip & Tipple... Brewed For You #1

No matter the beer... we have a glass for you! Introducing the new Brewed For You stamp set & bundle... 

And the back story... what is a girl to do when faced with a birthday of someone special... but no card made... and only minutes to spare...

Why re-use an old favourite card of course... using the long retired Another Great Year stamp... dressed up for a new occasion... Cheers!

And I also have to admit to initially forgetting to add the froth to my beer... so that was added later on this occasion... hence the difference in photos... so I thought I'd share both versions...

And I like the finished result so much.... as well as having discovered the Simple aka Faux Centre Step Card version of the card fold this year... that you will see a re-make soon... but using some lovely new papers...


And the Tip for today... 
Spot the sheen on the glasses... simply care off a swoosh of a Versamark pad all over the top of the stamped glass image.... followed by a sprinkling of clear embossing powder... and then heated to melt... Oh... and tweezers came in handy!

And then it makes perfect sense to add the froth separately!


Monday, 7 March 2022

Monday Mother's Day - Easy Ever Eden Centre Step Card

An Easy Ever Eden Centre Step Card for you... simply made but then all dressed up nicely for Mother's Day wishes... 

Though sadly these papers are now retired... along with the Sprig Punch I used for the golden leaves (to co-ordinate with the foiled element in the papers)... As indeed are the Friendly Hello Stamps I used for the flowers and leaves.... Triple oops!

But do spot the stunning little (and currently available) Bumblebee trinket... love these!
Click HERE for the Card Fold Tutorial...


Sunday, 27 February 2022

Sunday Friendly Hello Simple Centre Step Card


Back again with another Friendly Hello Simple (aka Easy) Step card... 

But set as a Simple Centre Step Card this time... aka Easy Centre Step Card...

And I will be back with a Tutorial for you soon... but I wanted to quickly post more cards using this beautiful Sale A Bration promotion bundle of Friendly Hello stamps and papers - as there are only 2 more days left that you can obtain/earn these for free... and I think they are definitely worth it...! 

In the meantime... scroll back to this post for more details... 

Friday, 17 August 2018

At Home With You Centre Step Easel Card Tutorial for Fancy Fold Friday

Back to a previously published card and post... for which I didn't post the Tutorial at the time... or even a few days later as planned... when I posted a New Home version... 
And I have already had a few of you ask me this year for a Tutorial... so here it is... the Centre Step Easel Card Tutorial... specifically sized for the At Home door & windows...
Stampin Up Products Used
Seasonal Layers dies (planter from chair die cut on xmas version)
RETIRED Brick Wall embossing folder (floor tiles on front/base section: Sahara Panel 13.5 x 6.5cm - 5 1/4" x 2 1/2"
Front Smoky Slate Panel 13.5 x 2cm (5 1/4" x 3/4"

Go here for an earlier Centre Step Easel Card variant if you need photos to accompany the step by steps... 
Centre Step Easel Card Tutorial (Metric from A4)

1.             Cut PORTRAIT A4 cardstock to 14cm wide
2.             Cut LANDSCAPE A4L panel to 28cm long

3.             PORTRAIT at 4.5cm on Top Bar 
4.             Cut 2.5 to 13cm
5.             PORTRAIT at 9.5cm on Top Bar 
6.             Cut 2.5 to 13cm

7.             LANDSCAPE. With cuts to Left Hand Side…
8.             2.5 cm on Top Bar (LHS) Score  outside(ie top & bottom) sections (ie 0-4.5cm; LIFT; 9.5 to 14cm)
9.             5cm on Top Bar (LHS)  Score  outside sections
10.         13cm on Top Bar (LHS)  Score  outside sections 

11.         LANDSCAPE. With cuts to Left Hand Side…
12.         10.5cm on Top Bar (LHS) Score across middle/central section. (ie 4.5 to 9.5cm)
13.         21cm on Top Bar (LHS) Score across whole card drop (ie 0 to 14cm)

14.         Fold lightly…
Outer Sections – 2.5cm Mountain, 5cm Valley, 13cm Mountain
Middle Section at 10.5cm – Mountain
Whole Section at 21cm – Mountain

Centre Step Easel Card Tutorial (Imperial from US Letter Card)
1.             Cut PORTRAIT 8 ½” x 11” US Letter cardstock to 5 ½” wide

2.             PORTRAIT at 1 3/4” on Top Bar 
3.             Cut 1” to 5 1/8”
4.             PORTRAIT at 3 ¾” on Top Bar 
5.             Cut 1” to 5 1/8”

6.             LANDSCAPE. With cuts to Left Hand Side…
7.             1” on Top Bar (LHS) Score outside(ie top & bottom) sections (ie 0-1 ¾”; LIFT; 3 ¾"-5 1/2”)
8.             2” on Top Bar (LHS) Score  outside sections
9.             5 1/8” on Top Bar (LHS) Score  outside sections

10.         LANDSCAPE. With cuts to Left Hand Side…
11.         4 1/8” on Top Bar (LHS) Score across middle/central section. (ie 1 ¾”- 3 ¾”)
12.         8 ¼” on Top Bar (LHS) Score across whole card drop ( ie 0 to 5 1/2”)
And for those of you loving the Centre Step Easel Card and still having your Hearth & Home (window) dies... here is the version that is a perfect fit with those wonderful (but retired) window dies...

Sunday, 24 September 2017

At Home With You New Home Card

Another card that slipped through the share net.... although I did share the Christmas version... 
The 2 cards are very similar... just a Tranquil Tide door on this one.... a sign on the door and different flowers & pots 
More details for the Christmas card can be found by clicking here... 

Wednesday, 14 June 2017

Text Ya Later... for Exam Congratulations...

Now this is bright!! So bring Your Sunshades!

The new Lemon Lime Twist meets Bermuda Bay with a bit of Smoky Slate to try to calm it down!!!

All set on my Hearth & Home Centre Step Easel card (you know the Centre Step Card that doesn't flop down on the mantelpiece!) ... Click here for the Tutorial...
Nicola asked me to make a Congratulations on Your Exam Results card for her daughter... and we all should need those this year... so hopefully this is a good multi-sex option....

Such fun in a stamp set... so many words to choose from in the Text Ya Later set!!! Can't wait to use it again....
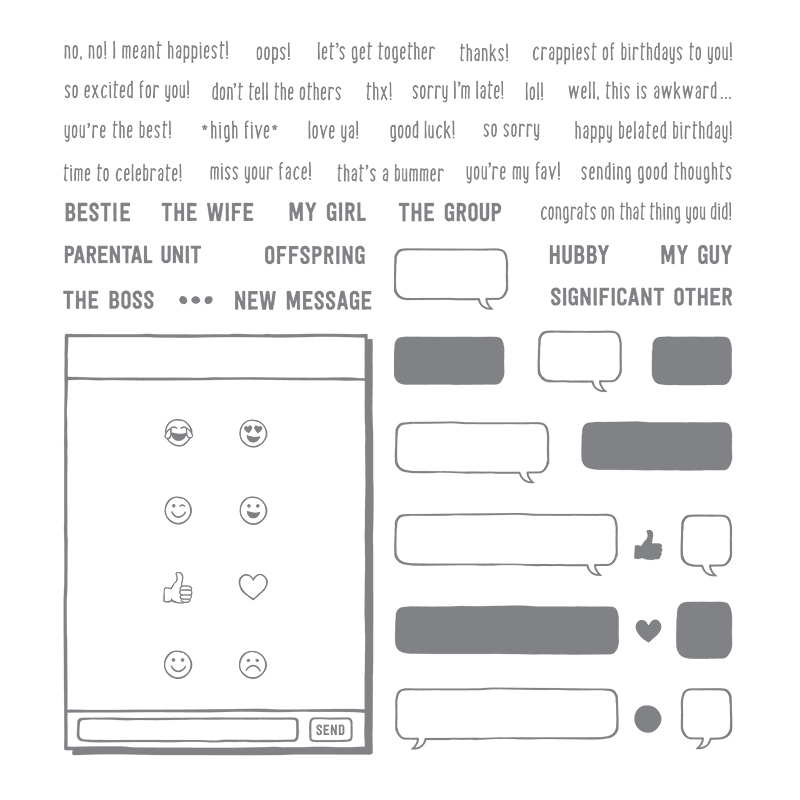
Text Ya Later Photopolymer Stamp Set
Also used Bookcase Builder for "Congratulations"...
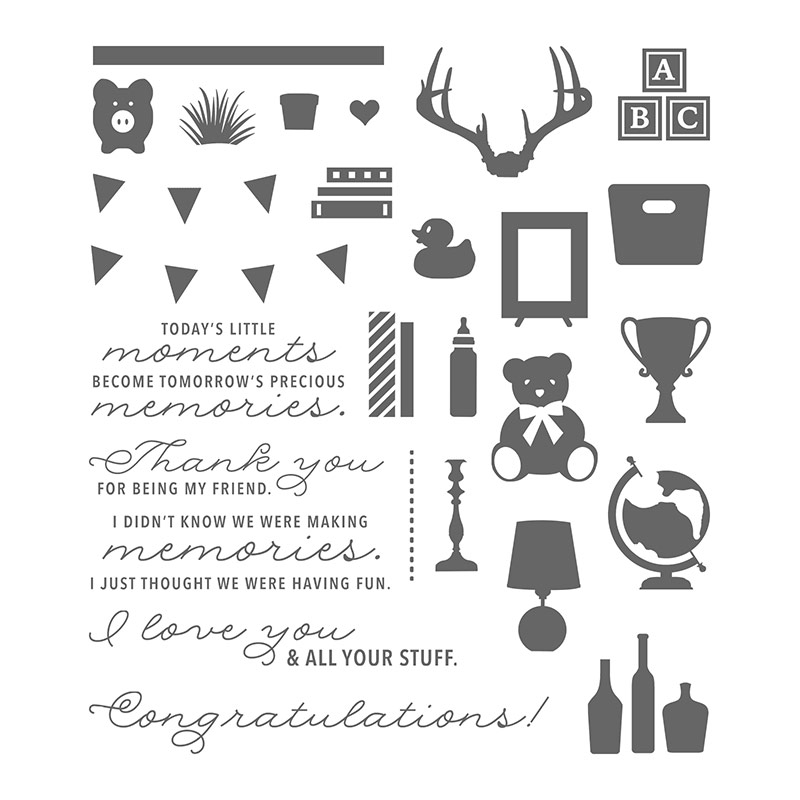
Bookcase Builder Photopolymer Stamp Set
And Marquee Messages for " So Proud of You"
Marquee Messages Photopolymer Stamp Set

Friday, 9 June 2017

Back to... At Home With You for Christmas!

As it is Friday... time for a Fancy Fold card Share... and something for Christmas too!!!

So it is back to my favourite At Home With You (coupled with Seasonal Layers again) and a re-worked version of my Centre Step Easel card (for which the tutorial for the "old" or previous Hearth & Home die version is here... )
Though do spot the added letterbox detail!!! 

And the re-worked Welcome mat for the greeting... I carefully "inked" up just the frame of the mat with a Basic Black marker pen - and stamped... Then inked up the greeting and stamped it inside

Oh and the holly garland cut up for the planters.... the planters being the cut up chair again from the Seasonal Layers dies...
But don't worry I already have another of these cards made and ready for a share with more details over the next week!

Sorry it is such a quick share for today... but time has gotten away with me today and I think I am going down that with that flu bug thing...again!!! Aargh...
So an early night for me... dosed up & with a box of Balsam Tissues at my side...

Even with the box of new items sitting there desperately awaiting my attention!!!

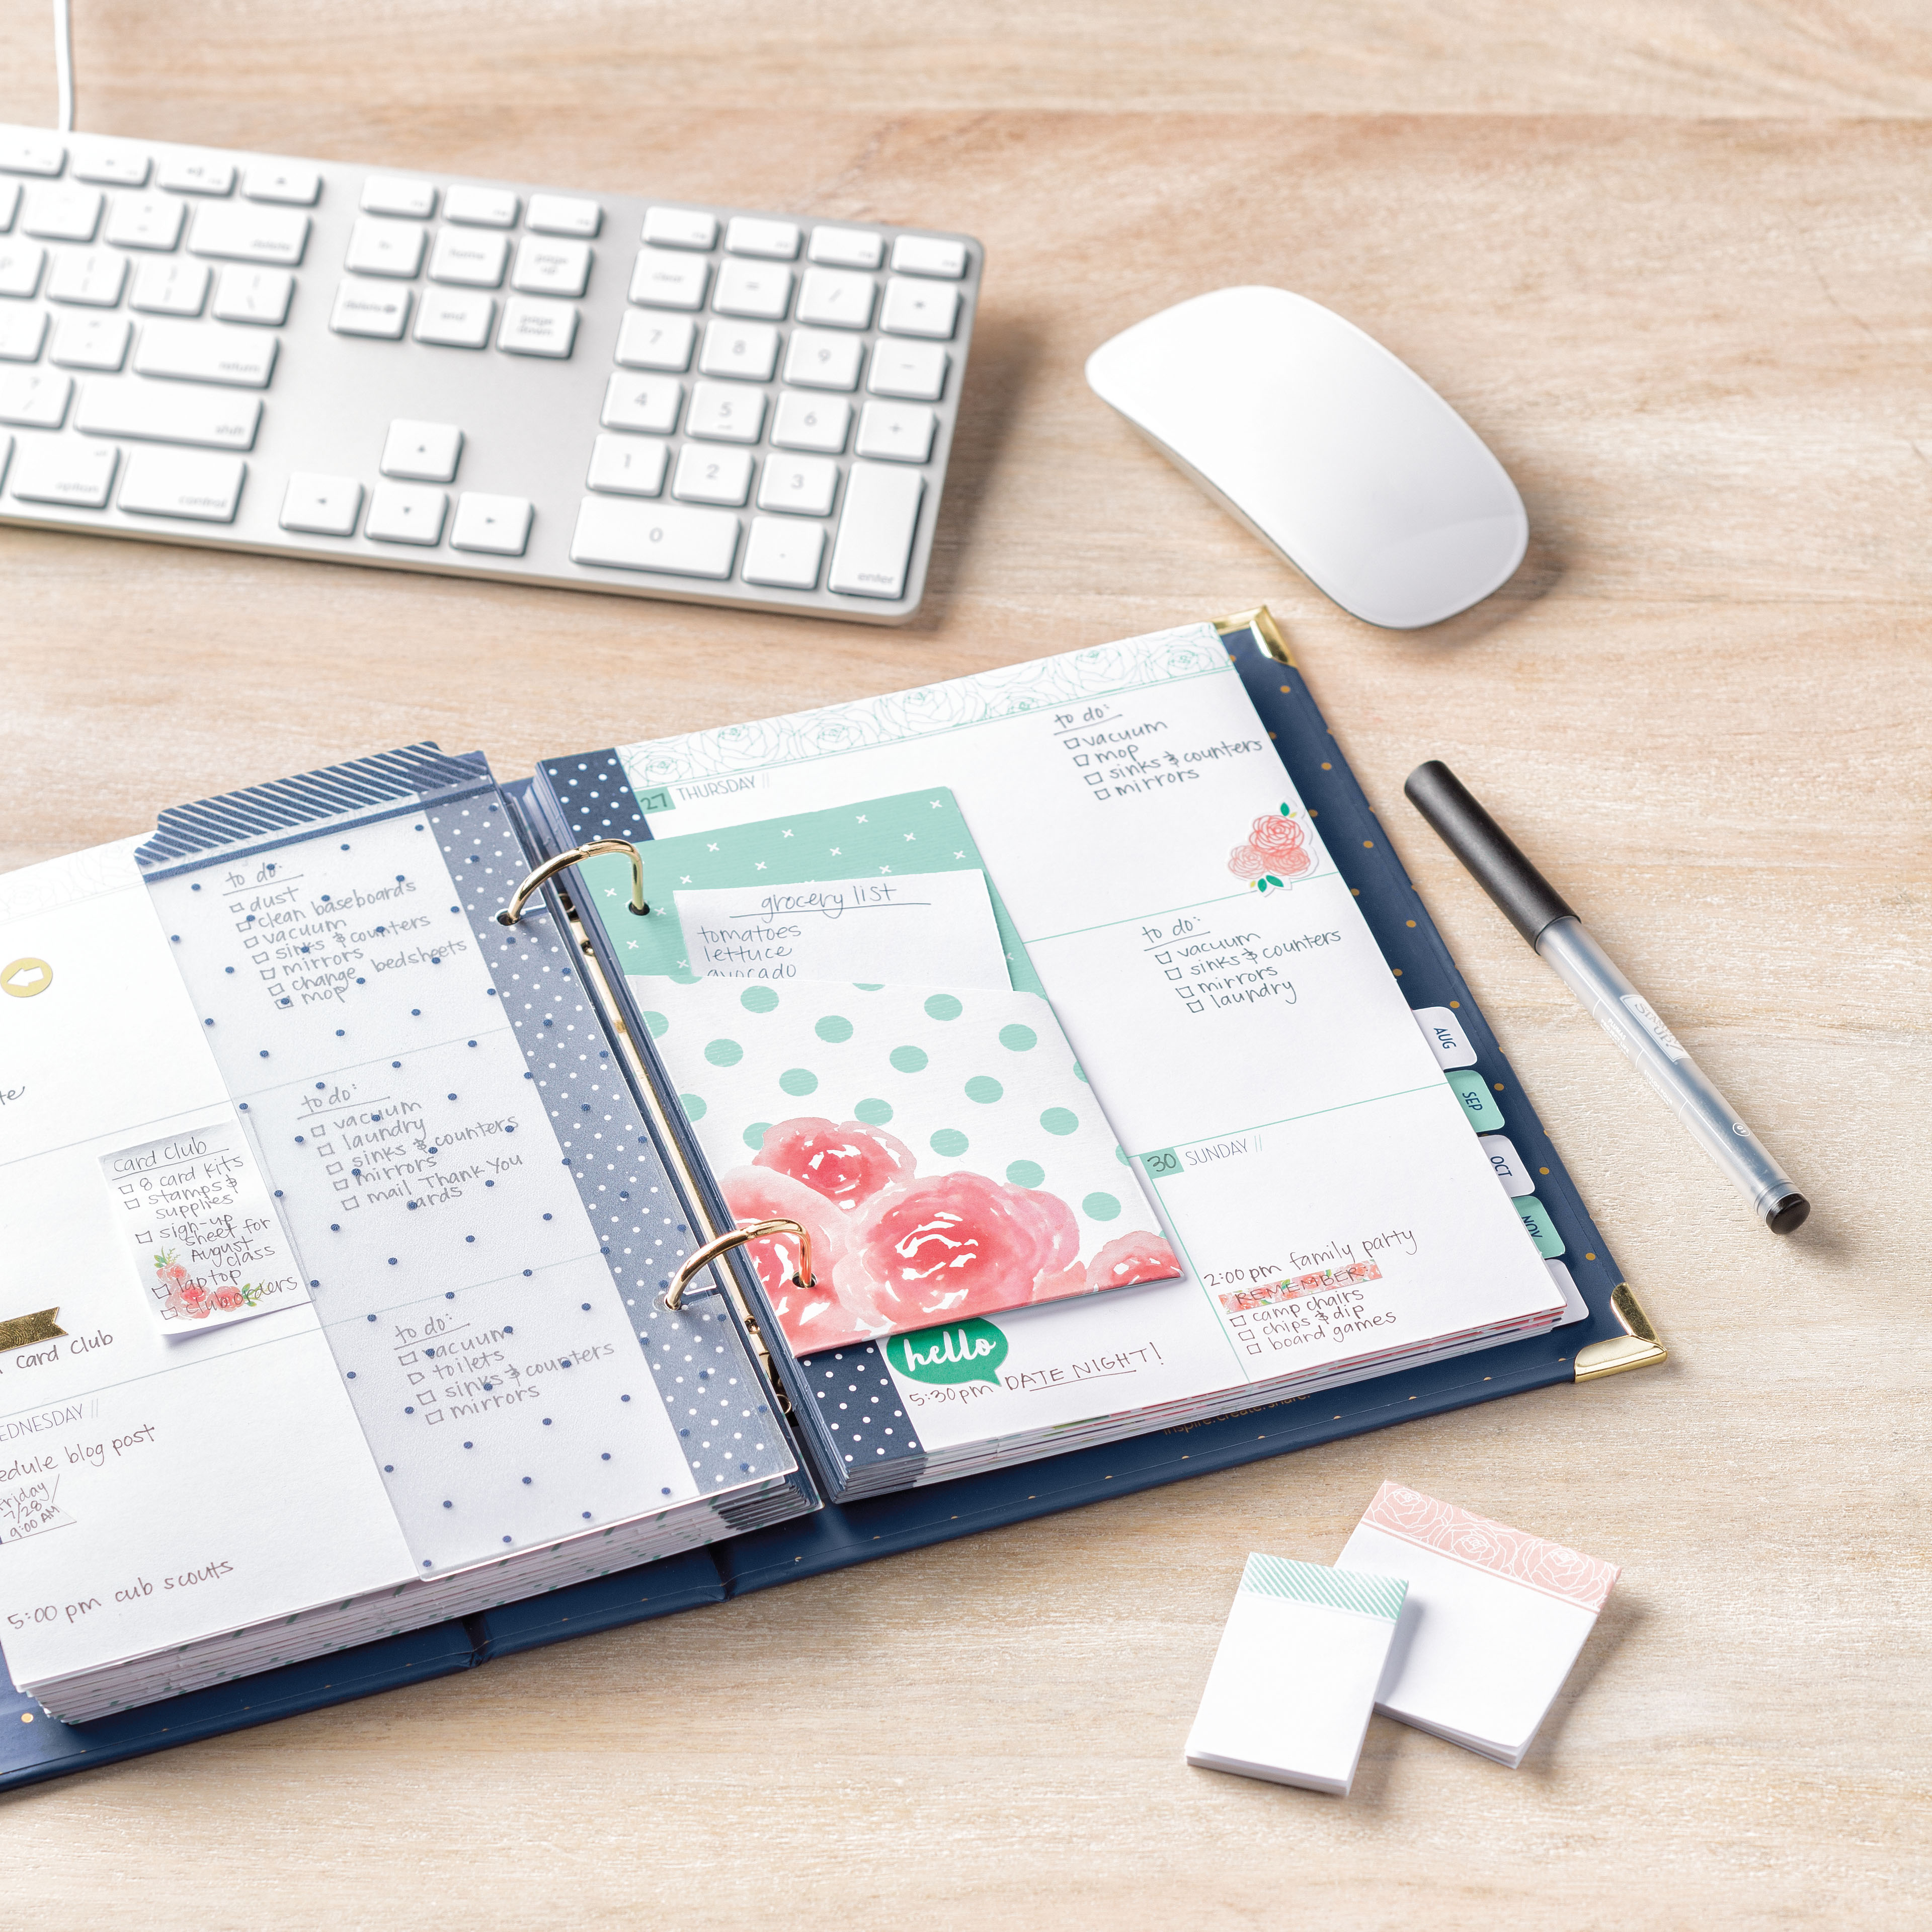
Something for the weekend me thinks... although I have to admit that I did get my wonderful new Love Today Planner set up!!! Look!! So excited!!

And a few Sneak Peeks for you....
Love Today Planner Kit
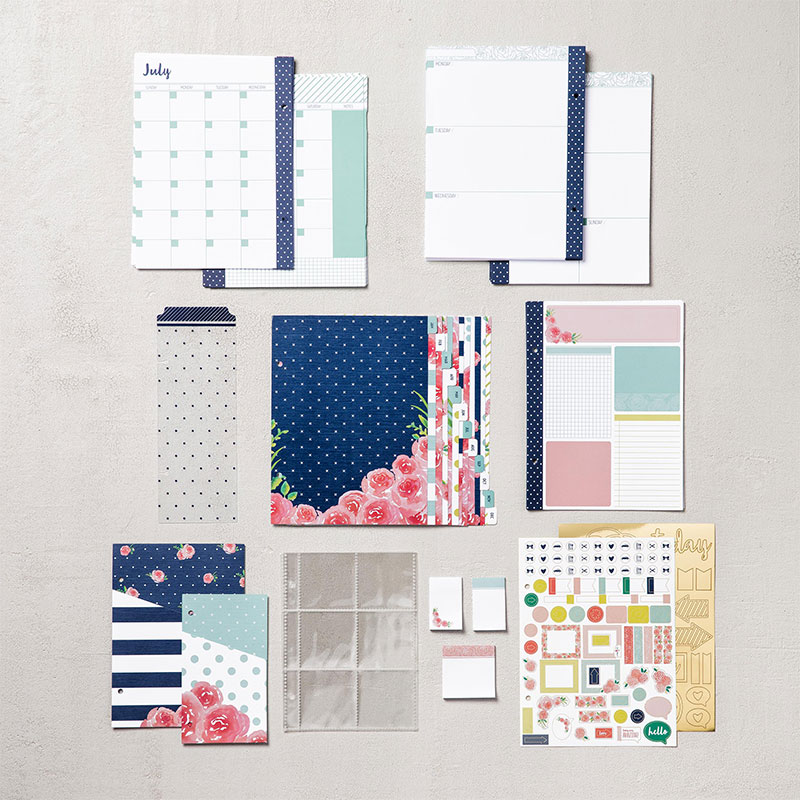
Love Today Planner Kit Refill


Friday, 30 October 2015

Tutorial for Hearth & Home Centre Step Easel Card

Seeing as this card is still getting a huge amount of daily hits.... think it is time for its tutorial! Which I have just realised didn't get posted quite when I thought.... oops...sorry!

I have posted a few more cards using this design.... press on the photo to go to the original posting... and I think there will be some more pretty soon as this is still definitely a favourite card at my classes....


First up...the Metric version from A4 card ... and then the Imperial (inches) version from 12x12 card. 

Go here for another Centre Step Easel Card variant and/or if you would like photos to accompany the step by steps... 

Centre Step Easel Card Tutorial (Metric from A4)
Whisper White Cardstock  14.8 x 29.7cm (ie A4L) OR 14.8 x 28.9cm if you want to tuck the base up into the card for mailing in a C6 envelope

1.       PORTRAIT at 4cm on Top Bar 
2.       Cut 2.5 to 13cm
3.       PORTRAIT at 10.8cm on Top Bar LHS
4.       Cut 2.5 to 13cm

5.       LANDSCAPE. With cuts to Left Hand Side…
6.       2.5 cm on Top Bar (LHS) Score  outside sections (ie 0-4cm; LIFT; 10.8 to 14.8cm)
7.       5cm on Top Bar (LHS)  Score  outside sections
8.       13cm on Top Bar (LHS)  Score  outside sections

9.       LANDSCAPE. With cuts to Left Hand Side…
10.     10.5cm on Top Bar (LHS) Score across middle section. (ie 4 to 10.8cm)
11.     21cm on Top Bar (LHS) Score across whole card drop (ie 0 to 14.8cm)

12. Fold lightly…
Outer Sections – 2.5cm Mountain, 5cm Valley, 13cm Mountain
Middle Section at 10.5cm – Mountain
Whole Section at 21cm – Mountain


And here is the Imperial (inches) version from 12x12 card
I don't think this card would work from the standard US 8 1/2 x 11" cardstock...as there wouldn't be enough of a lip at the front to mount a greeting/stop for the easel card format. 


Centre Step Easel Card Tutorial (Imperial from 12x12)
1.      Cut 12x12 cardstock to 6” wide (ie 6 x 12”)

2.      PORTRAIT at 1 5/8” on Top Bar 
3.      Cut 1” to 5 1/8”
4.      PORTRAIT at 4 3/8" on Top Bar 
5.      Cut 1” to 5 1/8”

6.      LANDSCAPE. With cuts to Left Hand Side…
7.      1” on Top Bar (LHS) Score  outside sections ( ie 0-1 5/8”; LIFT; 4 3/8"-6”)
8.      2” on Top Bar (LHS)  Score  outside sections
9.      5 1/8” on Top Bar (LHS)  Score  outside sections

10.   LANDSCAPE. With cuts to Left Hand Side…
11.    4 1/8” on Top Bar (LHS) Score across middle section. ( ie 1 5/8"- 4 3/8")
12.   8 ¼” on Top Bar (LHS) Score across whole card drop ( ie 0 to 6”)
13.   Fold lightly…
Outer Sections – 1” Mountain, 2” Valley, 5 1/8”Mountain
Middle Section at 4 1/8” – Mountain
Whole Section at 8 ¼” – Mountain


Friday, 28 August 2015

Centre Step Easel Card Tutorial for Fancy Fold Friday

Remember this from last week? The Centre Step Card that doesn't flop down on the mantelpiece!

I meant to have another couple of examples made for you by today...but ...being honest... Christmas crafting with my new goodies turned my head!!

Which is code for lots of new samples made and... AN Other version of this card coming up soon.... I decided not to confuse you with the new variant yet..... maybe next week!

Well here is how to make it... both the Metric (centimetres) version from A4 and the Imperial (inches) from 12x12

Centre Step Easel Card Tutorial ( Metric Version from A4 card)
1.      Cut A4 cardstock to 14.8cm wide ( xA4L ie 29.7cm long)

2.      PORTRAIT at 2.5cm on Top Bar RHS ( ie to Right Hand Side)
3.      Cut 2.5 to 13cm
4.      PORTRAIT at 2.5cm on Top Bar LHS ( ie to Left Hand Side)
5.      Cut 2.5 to 13cm
So you end up with cuts as so...

6.      LANDSCAPE. With cuts to Left Hand Side… Score as per dotted lines...
7.      2.5 cm on Top Bar (LHS) Score outside sections ( ie 0-2.5cm; LIFT; 13.3 to 14.8cm)
8.      5cm on Top Bar (LHS)  Score outside sections
9.      13cm on Top Bar (LHS)  Score  outside sections

10.   LANDSCAPE. With cuts to Left Hand Side…
11.   10.5cm on Top Bar (LHS) Score across middle section. ( ie 2.5 to 12.3cm)
12.   21cm on Top Bar (LHS) Score across whole card drop ( ie 0 to 14.8cm)

13.   Fold lightly… 
      Outer Sections – 2.5 cm Mountain, 5cm Valley, 13cm Mountain
Middle Section at 10.5cm – Mountain
Whole Section at 21cm – Mountain
Ends up as so...


14.  Decorate as necessary. My papers and mats etc were as follows…

Base - Paper Polka Dots 14.3 x 8.1cm
Front - Paper Plaid 14.3 x 2cm
Sides - Paper Plaid 2 x 7.3cm (x2)
Front - Card Mossy Meadow 9.5 x 9cm
Front - Card Whisper White 9 x 8.5cm

And apologies for my US readers... 

I don't think this card would work from your standard 8 1/2 x 11" cardstock...as there wouldn't be enough of a lip at the front to mount a greeting/stop for the easel card format. 

It would work with 12" card however... In which case you would need to do as follows...
Please note that your papers and mats etc would have to be re-sized to suit...


Centre Step Easel Card Tutorial (Imperial from 12x12)
1.      Cut 12x12 cardstock to 6” wide (ie 6 x 12”)

2.      PORTRAIT at 1” on Top Bar RHS ( ie to Right Hand Side)
3.      Cut 1” to 5 1/8”
4.      PORTRAIT at 1” on Top Bar LHS ( ie to Left Hand Side)
5.      Cut 1” to 5 1/8”

6.      LANDSCAPE. With cuts to Left Hand Side…
7.       1” on Top Bar (LHS) Score  outside sections ( ie 0-1”; LIFT; 5-6”)
8.      2” on Top Bar (LHS)  Score  outside sections
9.      5 1/8” on Top Bar (LHS)  Score  outside sections

10.   LANDSCAPE. With cuts to Left Hand Side…
11.    4 1/8” on Top Bar (LHS) Score across middle section. ( ie 1-5”)
12.   8 ¼” on Top Bar (LHS) Score across whole card drop ( ie 0 to 6”)

13.   Fold lightly…
Outer Sections – 1” Mountain, 2” Valley, 5 1/8”Mountain
Middle Section at 4 1/8” – Mountain
Whole Section at 8 ¼” – Mountain

Decorate as necessary.

Wednesday, 10 December 2014

White Christmas Part 5 – Sam’s Centre Step Card!

White Christmas, Holiday Home, Amanda Bates, The Craft Spa 005

Sorry for the Stars interruption to the series….. but almost finished my White Christmas series now….

This card I love…. both visually and technically…. but I can’t take much of the credit for it….. this was a swap card made by the lovely and uber-talented Sam Wilson from our last Team Training. It caused rather a stir… there were lots of audible gasps as it was handed over! Here is Sam’s card below….a complete stunner!

White Christmas, Holiday Home, Amanda Bates, The Craft Spa 001

So why did I change such a beautiful card…. mainly because I needed it to take less time in the class…as you can see from this series I had lots of cards for my ladies to make! White Christmas, Holiday Home, Amanda Bates, The Craft Spa 009

So I had to remove some of the steps…. for example – using the All is Calm papers instead of embossing … and then I made a sample with the foil dots and the room lit up!! Literally… you should see these glisten when they hit the light….. I couldn’t really catch that in a photo…. but I am sure you get the idea….

White Christmas, Holiday Home, Amanda Bates, The Craft Spa 004

Hope you are not upset with me Sam! Thank you for sharing this card with me….. It really is a very clever centre step card format…. that remains standing up nice & proud… one that will be repeated another day….