Showing posts with label Centre Step Easel Card. Show all posts

Friday, 17 August 2018

At Home With You Centre Step Easel Card Tutorial for Fancy Fold Friday

Back to a previously published card and post... for which I didn't post the Tutorial at the time... or even a few days later as planned... when I posted a New Home version... 
And I have already had a few of you ask me this year for a Tutorial... so here it is... the Centre Step Easel Card Tutorial... specifically sized for the At Home door & windows...
Stampin Up Products Used
Seasonal Layers dies (planter from chair die cut on xmas version)
RETIRED Brick Wall embossing folder (floor tiles on front/base section: Sahara Panel 13.5 x 6.5cm - 5 1/4" x 2 1/2"
Front Smoky Slate Panel 13.5 x 2cm (5 1/4" x 3/4"

Go here for an earlier Centre Step Easel Card variant if you need photos to accompany the step by steps... 
Centre Step Easel Card Tutorial (Metric from A4)

1.             Cut PORTRAIT A4 cardstock to 14cm wide
2.             Cut LANDSCAPE A4L panel to 28cm long

3.             PORTRAIT at 4.5cm on Top Bar 
4.             Cut 2.5 to 13cm
5.             PORTRAIT at 9.5cm on Top Bar 
6.             Cut 2.5 to 13cm

7.             LANDSCAPE. With cuts to Left Hand Side…
8.             2.5 cm on Top Bar (LHS) Score  outside(ie top & bottom) sections (ie 0-4.5cm; LIFT; 9.5 to 14cm)
9.             5cm on Top Bar (LHS)  Score  outside sections
10.         13cm on Top Bar (LHS)  Score  outside sections 

11.         LANDSCAPE. With cuts to Left Hand Side…
12.         10.5cm on Top Bar (LHS) Score across middle/central section. (ie 4.5 to 9.5cm)
13.         21cm on Top Bar (LHS) Score across whole card drop (ie 0 to 14cm)

14.         Fold lightly…
Outer Sections – 2.5cm Mountain, 5cm Valley, 13cm Mountain
Middle Section at 10.5cm – Mountain
Whole Section at 21cm – Mountain

Centre Step Easel Card Tutorial (Imperial from US Letter Card)
1.             Cut PORTRAIT 8 ½” x 11” US Letter cardstock to 5 ½” wide

2.             PORTRAIT at 1 3/4” on Top Bar 
3.             Cut 1” to 5 1/8”
4.             PORTRAIT at 3 ¾” on Top Bar 
5.             Cut 1” to 5 1/8”

6.             LANDSCAPE. With cuts to Left Hand Side…
7.             1” on Top Bar (LHS) Score outside(ie top & bottom) sections (ie 0-1 ¾”; LIFT; 3 ¾"-5 1/2”)
8.             2” on Top Bar (LHS) Score  outside sections
9.             5 1/8” on Top Bar (LHS) Score  outside sections

10.         LANDSCAPE. With cuts to Left Hand Side…
11.         4 1/8” on Top Bar (LHS) Score across middle/central section. (ie 1 ¾”- 3 ¾”)
12.         8 ¼” on Top Bar (LHS) Score across whole card drop ( ie 0 to 5 1/2”)
And for those of you loving the Centre Step Easel Card and still having your Hearth & Home (window) dies... here is the version that is a perfect fit with those wonderful (but retired) window dies...

Sunday, 24 September 2017

At Home With You New Home Card

Another card that slipped through the share net.... although I did share the Christmas version... 
The 2 cards are very similar... just a Tranquil Tide door on this one.... a sign on the door and different flowers & pots 
More details for the Christmas card can be found by clicking here... 

Wednesday, 14 June 2017

Text Ya Later... for Exam Congratulations...

Now this is bright!! So bring Your Sunshades!

The new Lemon Lime Twist meets Bermuda Bay with a bit of Smoky Slate to try to calm it down!!!

All set on my Hearth & Home Centre Step Easel card (you know the Centre Step Card that doesn't flop down on the mantelpiece!) ... Click here for the Tutorial...
Nicola asked me to make a Congratulations on Your Exam Results card for her daughter... and we all should need those this year... so hopefully this is a good multi-sex option....

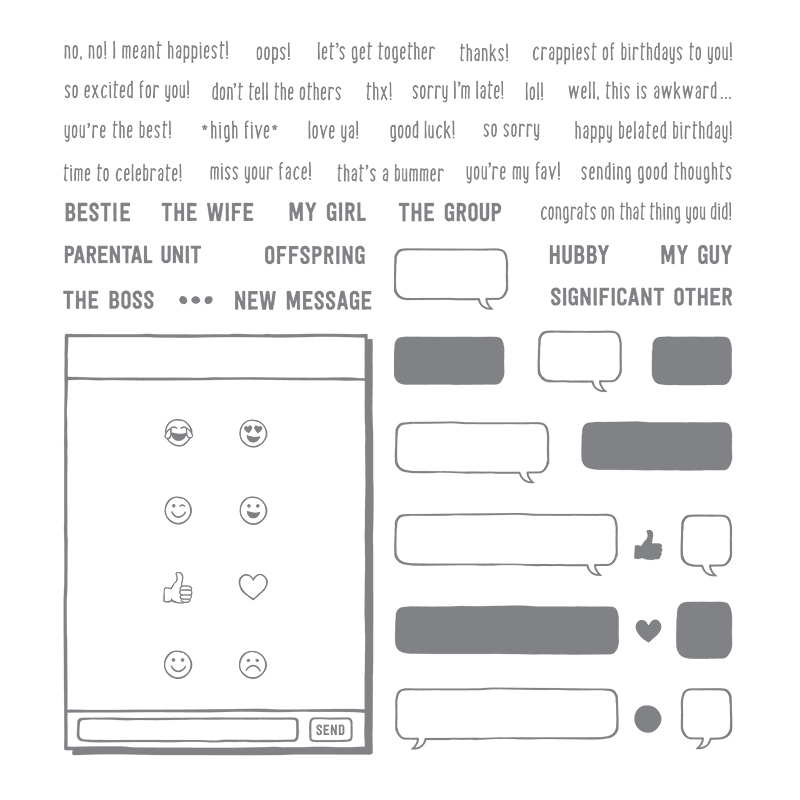
Such fun in a stamp set... so many words to choose from in the Text Ya Later set!!! Can't wait to use it again....
Text Ya Later Photopolymer Stamp Set
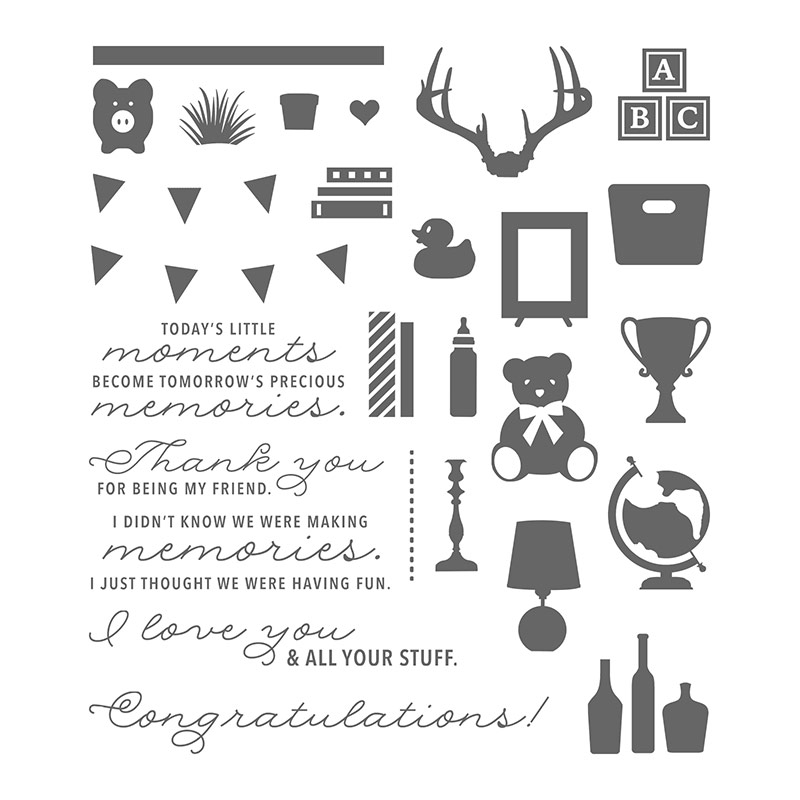
Also used Bookcase Builder for "Congratulations"...
Bookcase Builder Photopolymer Stamp Set
And Marquee Messages for " So Proud of You"
Marquee Messages Photopolymer Stamp Set

Friday, 9 June 2017

Back to... At Home With You for Christmas!

As it is Friday... time for a Fancy Fold card Share... and something for Christmas too!!!

So it is back to my favourite At Home With You (coupled with Seasonal Layers again) and a re-worked version of my Centre Step Easel card (for which the tutorial for the "old" or previous Hearth & Home die version is here... )
Though do spot the added letterbox detail!!! 

And the re-worked Welcome mat for the greeting... I carefully "inked" up just the frame of the mat with a Basic Black marker pen - and stamped... Then inked up the greeting and stamped it inside

Oh and the holly garland cut up for the planters.... the planters being the cut up chair again from the Seasonal Layers dies...
But don't worry I already have another of these cards made and ready for a share with more details over the next week!

Sorry it is such a quick share for today... but time has gotten away with me today and I think I am going down that with that flu bug thing...again!!! Aargh...
So an early night for me... dosed up & with a box of Balsam Tissues at my side...

Even with the box of new items sitting there desperately awaiting my attention!!!

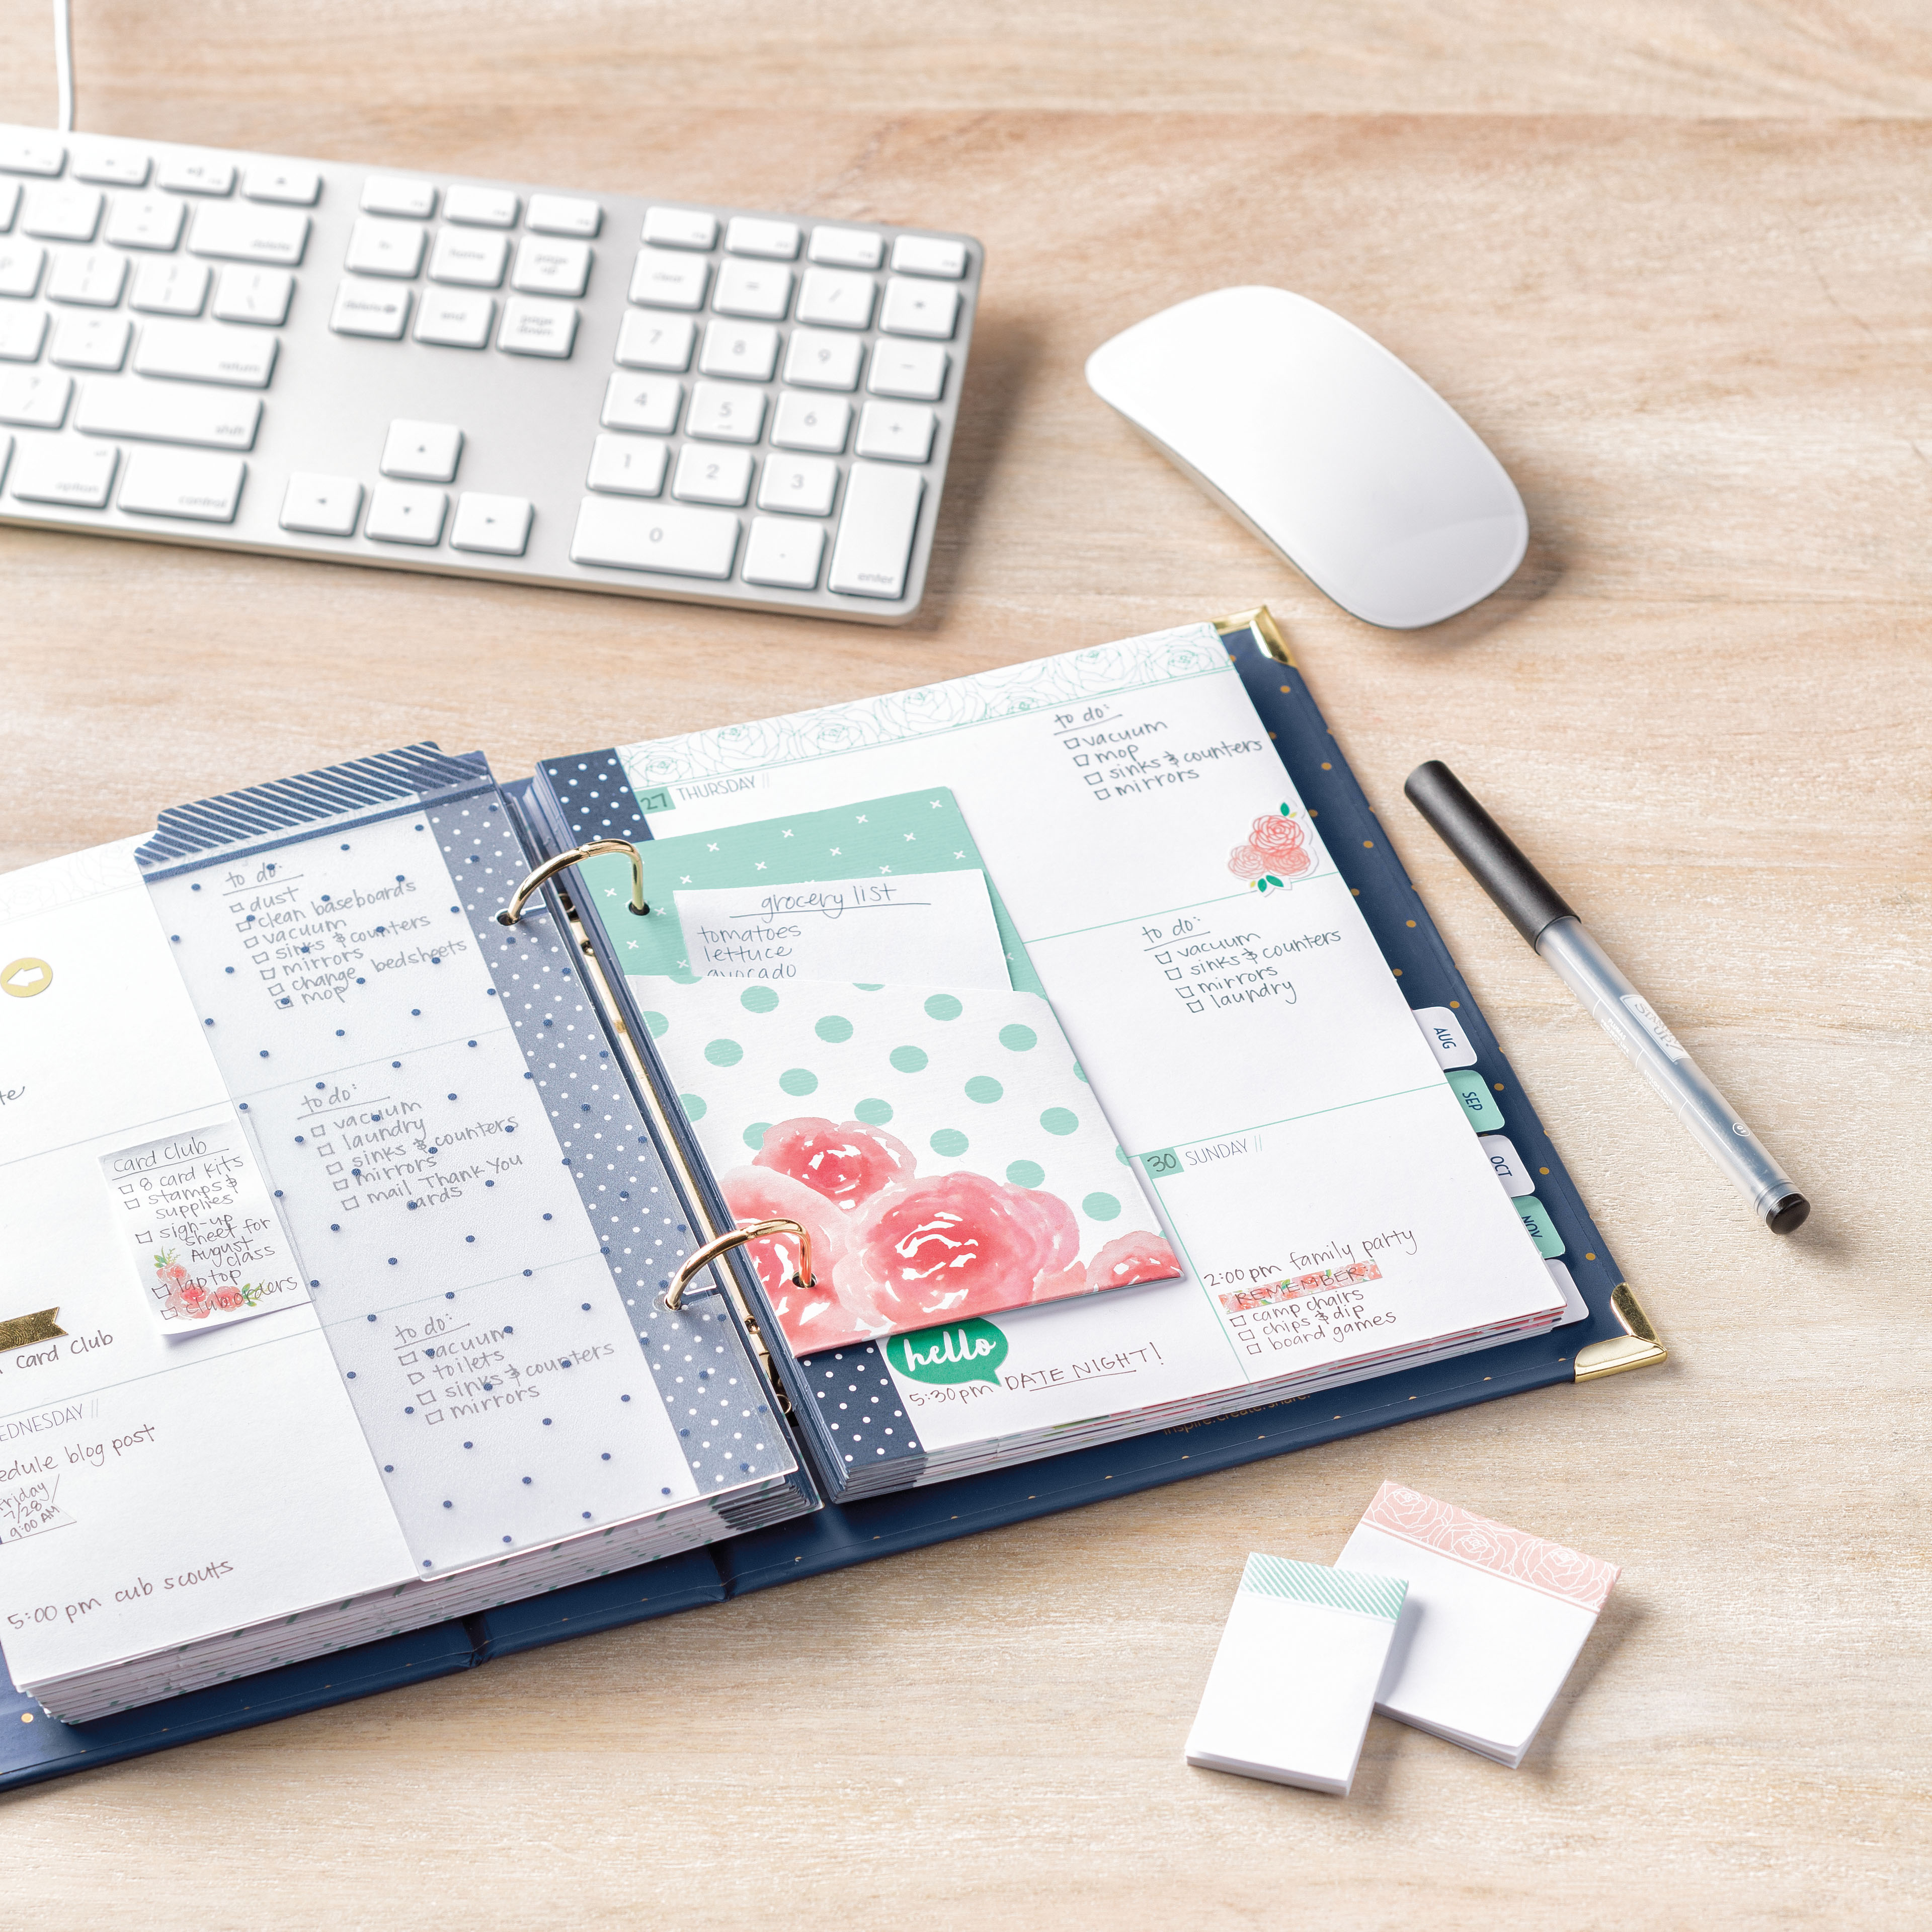
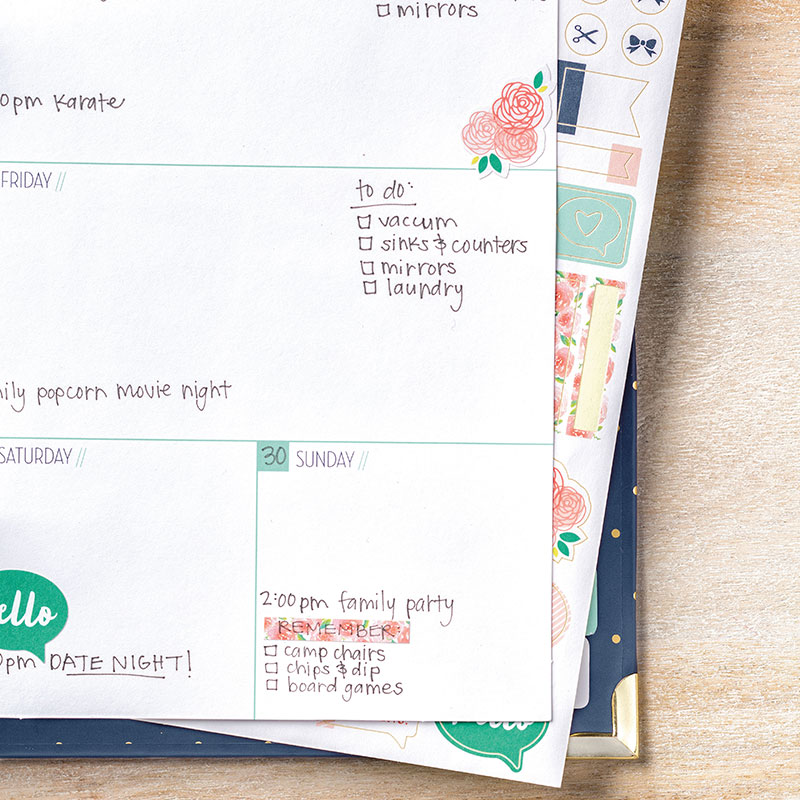
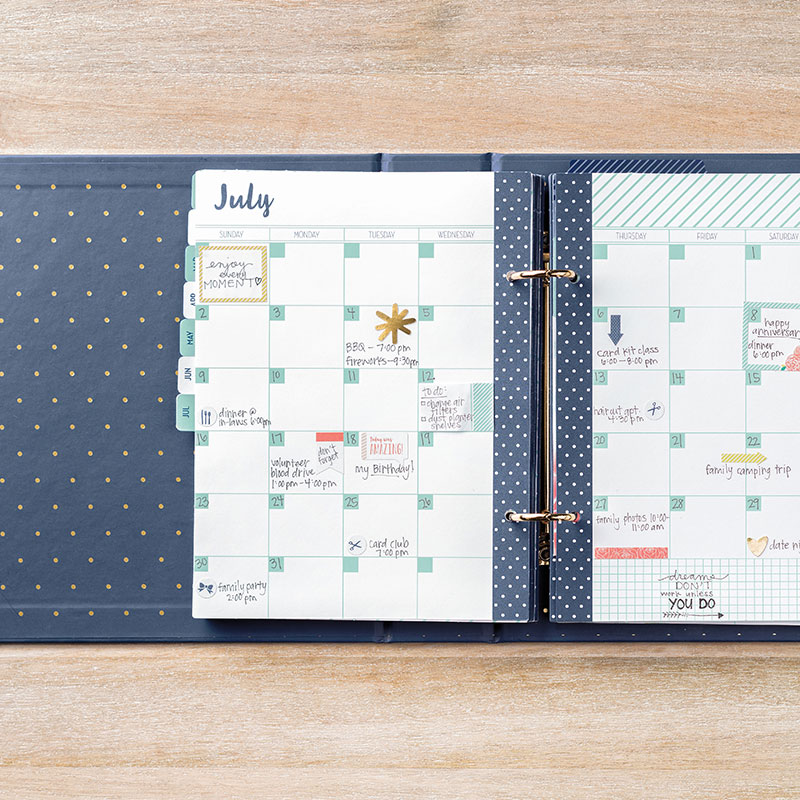
Something for the weekend me thinks... although I have to admit that I did get my wonderful new Love Today Planner set up!!! Look!! So excited!!

And a few Sneak Peeks for you....
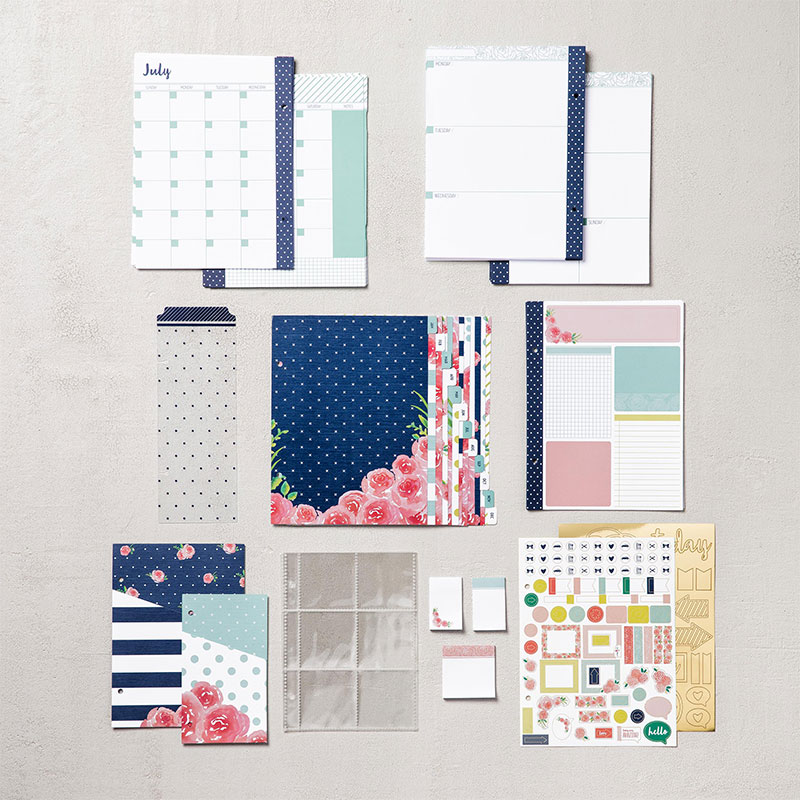
Love Today Planner Kit
Love Today Planner Kit Refill


Saturday, 2 July 2016

How Much is that Doggy in the Window... and the Jems Blog Hop

Hello and welcome to the Jems Monthly Blog Hop post by Amanda Bates at The Craft Spa. This month's theme is Animals... which would normally be a bit of a challenge for me with my usual stamp collection... but not this time...
Let me introduce you to Bella & Friends... so so cute! Available in wood or clear mount. So how much is that Doggy in the window... £25 in wood or £18 in clear mount.
But for those of you that know me and my creations... well I am just not that into colouring... but Touches of Texture came to my rescue... why colour when you can just stamp!
I think my little friends look quite furry (or feathery) and realistic as a result... though you do have to like a bit of fussy cutting if you go this way! Spot the shiny nose, collar, bone and balloon too... all care of the Fine Tip glue
The card is one of my Centre Step Easel cards... tutorial here.  I cut down my card to 28.9cm this time so that I could just fold the base into the card for posting in a standard C6 envelope...

You might also spot that I have not added any "stop" to prop up the easel card... to be honest I don't think you need one when you add this base to a Centre Step card...unless you want to use it for effect with a greeting... or to do this as an alternative....
I just couldn't resist... rug care of the new Delicate White Doilies which was coloured using the Watermelon Wonder ink pad direct and the little puppy is scored along his tummy to make him the easel card prop!
I have used 2 different papers... the Serene Scenery parquet flooring and Affectionately Yours flowery wallpaper were both just perfect for the card... Actually it was the parquet floor that made this a card that HAD to be made!
And I am particularly pleased with my window! Not only the triple aspect... more on that later! But the new Foam Adhesive Strips were fabulously easy for making it a 3D frame - and my dog and balloon are 3D'd using Stampin Dimensionals as well. Really pops!

And some more of the detail...

The sky background is just a swoosh of a baby wipe loaded up with Pool Party ink onto a Whisper White card panel. I used a 6.3 x 11.5cm (2 1/2" x 4 1/2") piece

Spot the Subtles Enamel Shape shape on the dog collar... too cute!
So time for a quick photo tutorial of the window....

1. Die cut 2 Hearth & Home windows
2. Chop off top of one and bottom of other - leaving just a single slat...
3. Put the chopped off bits aside... you need those for something else later...

4. Apply glue to upper section of bottom window
5. Stick top window to bottom!
6. Apply Foam adhesive strip to back of window
7. Stick your stamped sky panel to back of window. 

8. Grab your chopped off window pieces and make your skirting board like so...

Sorry to keep you so long...! But I hope that you like this creation as much as I do!!! It got an EEK!

It is now time to carry on with the Blog Hop... Carry on by pressing the NEXT or BACK buttons here... Your choice which way! Either way you are in for a treat with Julie next or Sarah previously...


Tuesday, 31 May 2016

Centre Step Easel Tardis Card for Tuesday!

My Tardis has been causing a bit of a reaction amongst Stampin' Up! demonstrators around the world!! As a result Friday night and Saturday was very busy on this blog...

So whilst I was packing my Going Places paper stack leftovers away from the month's classes.... my eyes suddenly spotted the 2 paper designs I had left... and I felt inspired to make a card for all the Whovians out there... many of whom I know have started to follow me over the weekend... so hello and welcome to you!!
So without further ado ...as these papers will not be available in a few hours time..... here is my Centre Step Easel Card dressed up with a Tardis in space...

But now I have made this card... I know I can go one better!!! I know the very card... So please feel free to comment on this post and so guilt trip me to making the other card I have in my head... even though the papers will have gone for good by then...
And before I go...a Top Tip for you with the windows of your Tardis... grab your clear Wink of Stella and wink away... they seriously now look rather life like!
Thank you Lynzie for this fabulous Top Tip.....(as she had opened up her new Wink of Stella seconds before she started to make her Tardis... and so it just had to be used immediately!! To such great effect....)

Thursday, 5 May 2016

The green green door of home.....

 
Last but one of my On Stage Stampers Showcase samples... featuring the new 2016-18 In Color Emerald Envy ...with its co-ordinating ruched ribbon... and the new and coming Swirly Bird stamp set...
Now cough... and an admittance... I didn't actually like this card!! There I have said it! Too much bright green going on for my taste... but I was determined to do a green green door (of home) project... as well as some topiary using the Swirly Bird swirly flower stamp...

But as there are some other great features on the card ... and as also out of time... the card made it through to the display! Hope that the parts made up for the whole...!!
So other things to point out... 
  • great flagstones for the base using a Sahara Sand inked Brick Wall embossing folder and a piece of Sahara Sand...
  • I know that many of us will be lamenting the loss of the Wide Oval Punch used with our favourite Decorative Label... so I used a Project Life Cards & Labels die cut instead - which looks great too...
  • imagine it with a white door!! Much more subtle... 
  • this is a Centre Step Easel Card - link and tutorial for a white door version here

I also old favourites Hearth & Home dies, Brick Wall embossing folder, Circle of Spring stamps and co-ordinating Wonderful Wreath dies and the flowerpot from the Perfect Pines dies...all of which are happily carrying over...