
Remember
these posted just the other day…
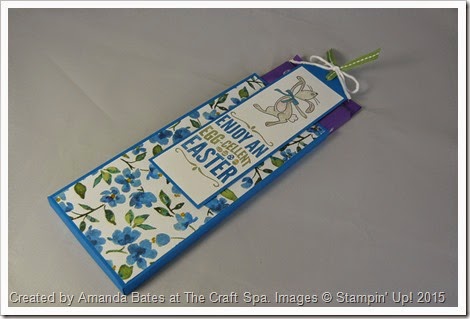
Well not only have mine multiplied but I have had lots of emails asking me for the directions for this years’ Easter treats … so here they are for those of you that have already gone out and bought your chocolate bars! No pressure!!!
All of these wishes were from Europe – so I have left the tutorial as metric – as that suits the bar I used….
Oh and I have to add…. I loved the nickname given by Karen… the Pull Bar with the Travelling Tag… I think that sums up the extra element of this project perfectly!
And for those of you that needed to know…. The size of my Chocolate Bar is 100g in weight and 5cm wide x 18,5cm long x almost 1cm deep
Recipe
Box: 19 x 21cm
Tag: 5.1 x 18cm
DSP (Paper): 7,5 x 15,6cm
White Panel for Stamping: 4,6 x 15,6cm
Ribbon: 46cm (18”)
Twine: 22cm (9”)
Punches – Ornate Tag Topper Punch, 1/4” Handheld Circle
DSP (Paper) – Painted Blooms
Stamps – For Peeps Sake, Happy Easter Bunny ( see what I have done to my stamp at the end!!!)
Instructions
1. With large box panel PORTRAIT, score at 8,9,17 & 18cm

2. Turn 90degrees so LANDSCAPE with 2 narrow score lines across the top
3. Score LANDSCAPE at 19 & 20cm

4. Bone Fold all score lines
5. With panel PORTRAIT and narrow sections to bottom and to LHS - cut up all 4 bottom score lines (see red lines)

6. Cut out 2 outer bottom sections (see red striped sections)

7. Apply glue to small tabs and outer narrow sections (bottom and side)
Sorry for awful photos here – don’t know what happened!
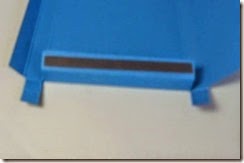

8. Adhere 2 small tabs to inner bottom section

9. Pull over outer bottom section & remove protective tape
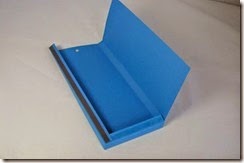
10. Adhere long outer side section

11. Adhere paper
12. Punch ¼” circle through top ( about ¼ cm down from top line of paper)

13. Punch Tag ( I used the Ornate Tag Topper Punch)
14. Stamp & adhere white panel to Tag
15. Place Tag hole over box hole

16. Insert ribbon from inside the box up through these 2 holes
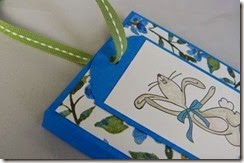
17. Place chocolate bar inside the box with the ribbon underneath it
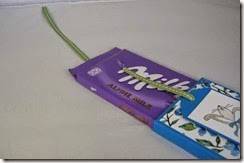
18. Holding onto the front end of the ribbon - push chocolate bar into the box allowing the ribbon to slide under it and ending up with the 2 ribbon ends the same length ( you may find you need to adjust ribbon to size to achieve this!)

19. Knot ribbon and make a twine bow around the knot


20. Now when you pull on the bow, the chocolate bar and the Tag move up the box to surprise the recipient!

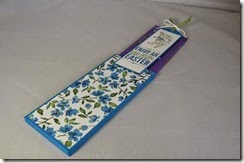

21. And here is the view behind the Tag. Looks SO SO SO much better with the Travelling Tag added!!

Now I know a few of you will be saying…where is that Happy Easter Bunny in the Spring Summer Catalogue….
I was guilty too…I just didn’t spot it until I saw it used by another demo – and then I fell in love!!
So here is the image…

And here is (actually are) my stamps….
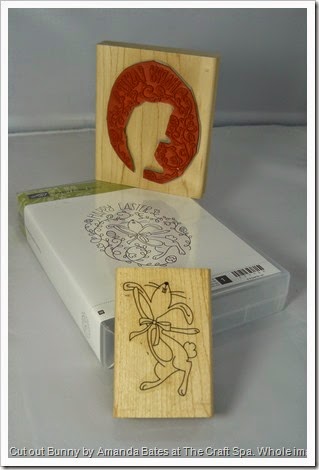
I just cut out the Bunny before I mounted the stamp… the Bunny being mounted on a spare wooden block I had lying around… eh voila! – Easy Bunny stamping…. I wouldn’t have him any other way!!
Right – off to nurse my aching back – my new “heat rub” definitely needed now …..


![Amanda Bates at The Craft Spa 592_thumb[5]](https://blogger.googleusercontent.com/img/b/R29vZ2xl/AVvXsEimkCz1i2ktMCErn5Cqgb5Qu6XqmuEpnwKJPLd3aogfE06dLk5aG2fddZ0EWfQh4MYh7U_Q1A03dAXMyk05fySzgEdUg4EyZBkP_WWSs3vzQIDQRS9r3OtfAud_iquvFW3JwotttY9FNdEV/s1600-h/Amanda%252520Bates%252520at%252520The%252520Craft%252520Spa%252520592_thumb%25255B5%25255D%25255B3%25255D.jpg "Amanda Bates at The Craft Spa 592_thumb[5]")


