Showing posts with label Easter Egg. Show all posts

Friday, 20 March 2020

Easter Egg Pizza Box Holder

Love this simple idea.. so glad I bought the Sending Flowers dies...
Back with more details another day...

Monday, 17 April 2017

Retiring Soon... Basket Bunch & Basket Builder

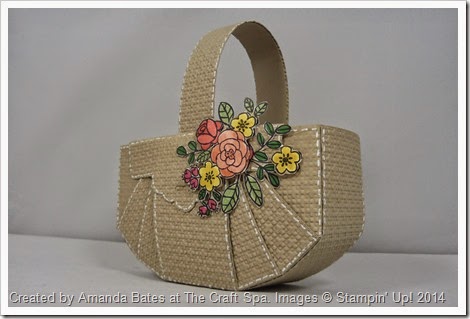
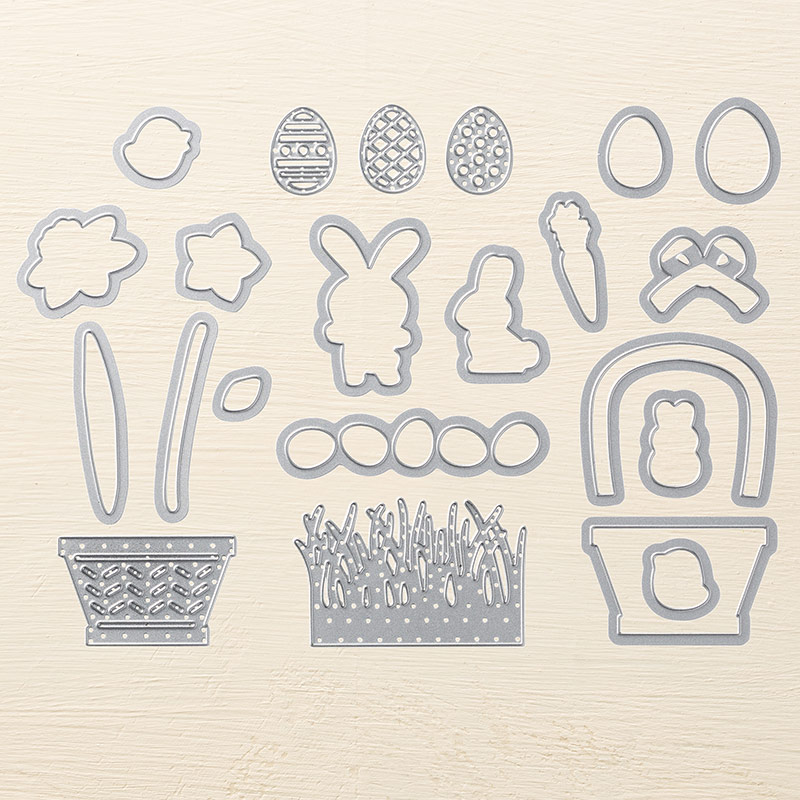
It may be the last day of the Easter break... but these Easter focused stamps and dies are useful at other times of the year too... especially the grass, flowers, basket & small balloons (ie eggs upside down!)... and are currently reduced on the Retiring List... so please be sure to snap them up fast!

Here is a quick round up of some of the Easter projects I used them for... and I made a matching Happy Birthday card too...but the photo escapes me for the moment...


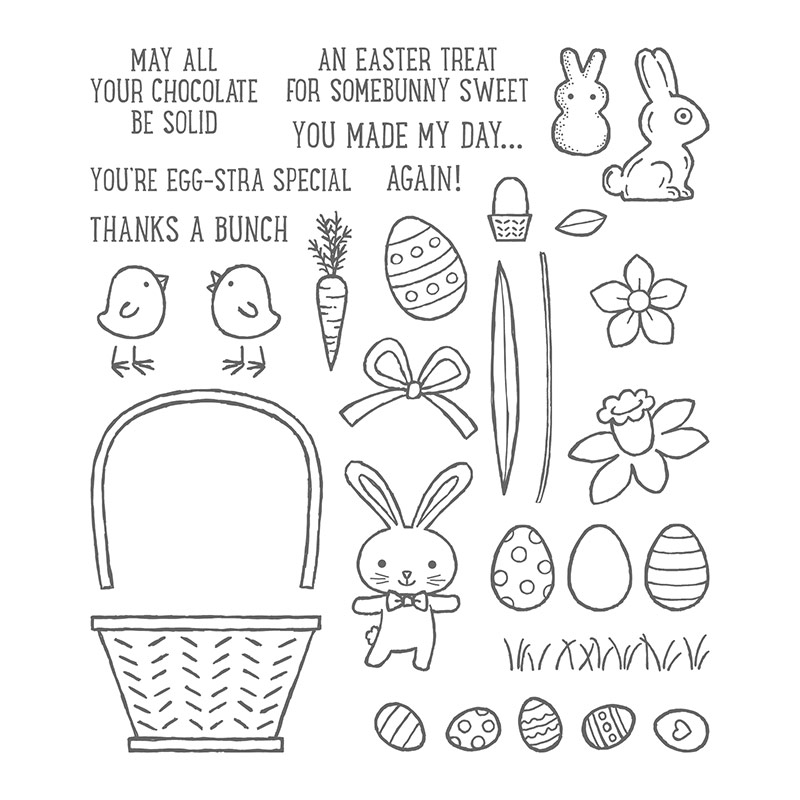
And here are the product details...

Basket Bunch stamps reduced from £19 to £16.15

Basket Bunch Photopolymer Stamp Set
And the coordinating Basket Builder dies reduced from £28 to £19.60
Basket Builder Framelits Dies
Such fun...

Sunday, 5 April 2015

Garden Trugs using the Berry Basket die – and a Tutorial for an Extended Basket using less cardstock

Amanda Bates at The Craft Spa 606
Happy Easter to you all…I hope the Easter Bunny has been generous…
As my Easter Sunday Share - here is my Garden Trug range! With a tutorial for you too!
The extended double basket is slightly smaller than the previous double berry basket shared. I wanted the trug to fit my egg better so it wouldn’t roll around…but I kind of failed as the Egg is still slightly smaller than my trug! So much for my measurements!! But an oval aperture in an insert inside quickly fixes that!
But I did work out how to use less cardstock in the making of an extended basket! Details shared at the end of this blog post…
I also had a fail with the plant I bought for the single version too … the pot is slightly higher than the Berry Basket! So on the search for a lower pot….
So onto the extended Berry Basket…. see the link above for a video on a full Berry Basket…. but here are my tips…
Die Cut 2 Basket sides… Stamp as required…
Amanda Bates at The Craft Spa 524
Apply glue to one side of one Basket side ( I used Sticky Strip so you can see it!)
Amanda Bates at The Craft Spa 525
Adhere 2 Basket sides together… Note that I have positioned the sides so that all 6 slats are spaced apart equidistantly – which makes the basket narrower than the full Double Berry Basket version linked…
Amanda Bates at The Craft Spa 526
Cut 2 partial basket sides using 2 cardstock pieces of a minimum 3 1/2” Square size… I just used a scrap so it is slightly longer… Note I have just photoed one being cut so you can see what I am talking about…but you can easily do both at the same time (on top of each other or to each side of the die – or even cut one full side and then cut in half!)
Amanda Bates at The Craft Spa 523
Apply glue to bottom side of partial bases
Amanda Bates at The Craft Spa 531
Adhere one to each short Basket side. You could then even cover this base with a card piece (mine would be a piece 3” x 5 1/2”)
Amanda Bates at The Craft Spa 532
And to finish off… you will need 3 of the die-cut straight basket tops in total ….
Amanda Bates at The Craft Spa 534
The long Basket sides of my extended Basket were 5 3/4”.
Amanda Bates at The Craft Spa 535
Add 1/2” to allow for the overage on either side of the Basket when assembled… Which makes 6 1/4”.
Amanda Bates at The Craft Spa 536
Trim one Basket top length so that it is 6 1/4” long plus the small end tab. ( see RH length in photo)
Adhere the other 2 (folded on the score-lines as the die intended) using the small tabs.
Amanda Bates at The Craft Spa 537
Trim the other long side as necessary as the last part of your assembly..
Amanda Bates at The Craft Spa 538
You will notice that I assembled the short sides first and then the long… easier for me to eyeball that way!
One other thing to note… this was another project rejected for my production-line Easter Baskets class… this time because of the stamping…. lining up the Hardwood slats in bulk would have proven far too hard!!

Saturday, 4 April 2015

MDS Berry Basket

Amanda Bates at The Craft Spa 592_thumb[5]

Spotted this whilst spending some quality time on my favourite inspirational web site….yes you guessed it … Pinterest.

Jess Williams  at The Paper Caper - a very clever demo in Australia has produced and shared this great template she produced using My Digital Studio (MDS) that you just print and then cut with the Berry Basket die…

But the template bunny was chopped into by the slats… So a quick stamp, colour and fussy cutting of my favourite Happy Easter Bunny…and there you have it… open top Easter Berry Basket made easy!

Thanks for sharing your genius Jess… this project is just FUN! And SO clever….

Friday, 3 April 2015

Easter Egg Double Berry Basket Holder

Amanda Bates at The Craft Spa 583

Just popping onto share another version of an Easter Egg holder I created. Again I had to keep it simple as one of my crafting friends was making 12 at one sitting!!

But unfortunately this one had to be rejected…  as I think she would have thrown “stuff” at me if she had had to die cut & assemble 24 baskets… never mind the other 25 being made by the other ladies at the time… I don’t think one Berry Basket die would have gone round!!

 Amanda Bates at The Craft Spa 580 

Shame as it does look rather good surrounding the Easter Egg  so perfectly… even if this is just my prototype version… and in Elegant Eggplant so as to best match the Cadburys Easter Egg!!

Amanda Bates at The Craft Spa 578

Tuesday, 31 March 2015

Easter Egg Berry Basket

Amanda Bates at The Craft Spa 573st
Another Easter project kept simple due to the mass production going on this year…. nearly 50 of these were made here last week… that is a lot of Easter Egg & Treats going on!!
This ended up as a great sturdy little basket… not because of using the stapler to assemble but because there is both paper and card on all the sides – and the “spare” 2 x straight sided card strips cut out with the die were also glued together – and used as the handle.
Little thing – huge difference! Actually ended up strong enough for Cream Eggs etc or even Mini Eggs…
Amanda Bates at The Craft Spa 571
We also added a quick insert to the inside to hold up the Easter Egg… didn’t want them flopping over….
Just a 9cm card square (3 1/2”) – scored at 1 cm (3/8”) all round. And punched with the 1 3/4” Circle Punch ( tip – you have to fold over one scored side to get the punch to centre on the internal square!)
Amanda Bates at The Craft Spa 576
And just finished off with a Bow Builder Punch bow…simples… they all looked fab!!
Amanda Bates at The Craft Spa 572
But we did have a laugh…. at some point we realised that if you turned the egg over so that the thinner end is at the bottom… then you looked like you had bought a medium sized egg rather than a small egg!!! Frugal chocolate giving!!!
I hasten to add that the egg in the photo is the “right way up”
SU! Products Used
Dies -  Berry Basket
Punches etc – Handheld Stapler, Bow Builder; 1 3/4” Circle Punch;
Card & Papers – Painted Blooms, Rose Red

Friday, 20 March 2015

Double Berry Basket for Two! Keeping it Simple!

Easter Treats Amanda Bates at The Craft Spa 017 

Sometimes things just have to be kept simple! And this really was for me… as I even had the wreath image from For The New Two left over and ready to go! But it was just SO perfect…

Easter Treats Amanda Bates at The Craft Spa 015

So here is a simple way to present 2 chocolate Easter eggs at one go… a double Berry Basket…

Want to make one for yourself… you just need the Berry Basket die and go to fellow US demonstrator, LeeAnn Greff’s blog here to see a video tutorial she has posted on how to double it up…

Easter Treats Amanda Bates at The Craft Spa 022

Loving my Berry Basket die… I have a long list of Things I Want to Make…wonder how far I will get down it! 3 made so far….

Sunday, 15 March 2015

Early Easter Sunday!? A round–up!

Looking at my blog hits recently…. you can tell that Easter is coming up and that us crafters are busy making our special treats for Easter.

So I thought I would do a quick round up post on previous Easter Project posts that have been proving popular on this blog at the moment!

Click on the project picture and you will be taken to the original blog post… many with tutorials… though please do bear in mind that some of the products used in these projects are no longer available to purchase from Stampin Up!

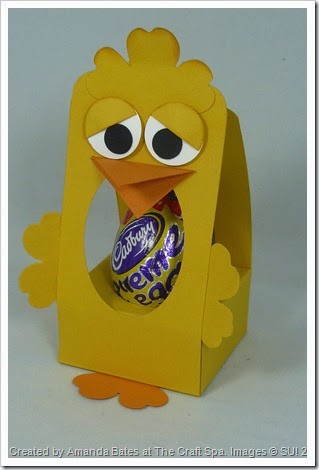
Tutorial for Tag Topper Punch Easter Chick

2014_03_Easter Chick Tag Punch Treat Holder (1)

Giant Cadburys Creme Egg meets the tiny Easter Bunny!!

2014_03_Easter Chick Tag Punch Treat Holder 034

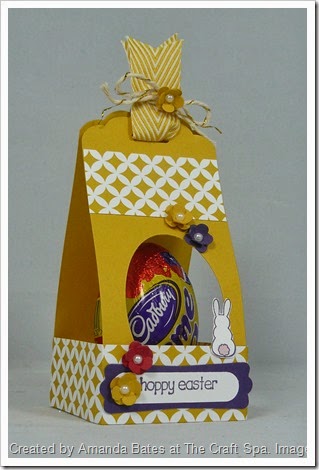
Small Tag Topper Punch Easter Basket Tutorial

Easter Basket Small_Tag Punch_Petite Petals_Craft Spa 001

Large Tag Topper Punch Easter Basket Tutorial

Large Easter Basket Tutorial_2014_04_Tag Punch_So Very Grateful 009

Easter Chick Fancy Favour Box with How To Pictorial

The Craft Spa, Amanda Bates, Easter Chick, SU Fancy Favour Box,  (5)

Easter Bunny Fancy Favour Box with a How To Pictorial

Amanda Bates, The Craft Spa, Easter Bunny, SU Fancy Favour Box,  (3)

Easter Lindt Bunny Explosion Box

2012_03_Easter Treats 25_resize

Top Note Die Easter Bunny Bag

Easter Lindor Chocolate Egg Butterfly

2012_03_Easter Treats 13_resize

Nursery Suite & Easter Bunny Punch Art / Ferrero Rocher Holder