Showing posts with label Gift Packaging. Show all posts

Thursday, 1 August 2019

Noble Peacock Mini Gift Bag

So I was asked for something small, simple, shiny and perfectly formed for slipping a note (cash!) in... This little bag ends up 1 3/4" wide x 1" high x 1" deep when finished... And as you can get 6 of these from one piece of 12x12 card or paper... they are very cost effective too!

So here you are... with a few crafty tips and the Recipe and a Tutorial along the way for you...
But before I start! A quick round up of news for August...

Get £25 more for free if you sign up with Stampin' Up! now... and an extra £8 to spend in September when you place your order... Click on the picture below to find out more...
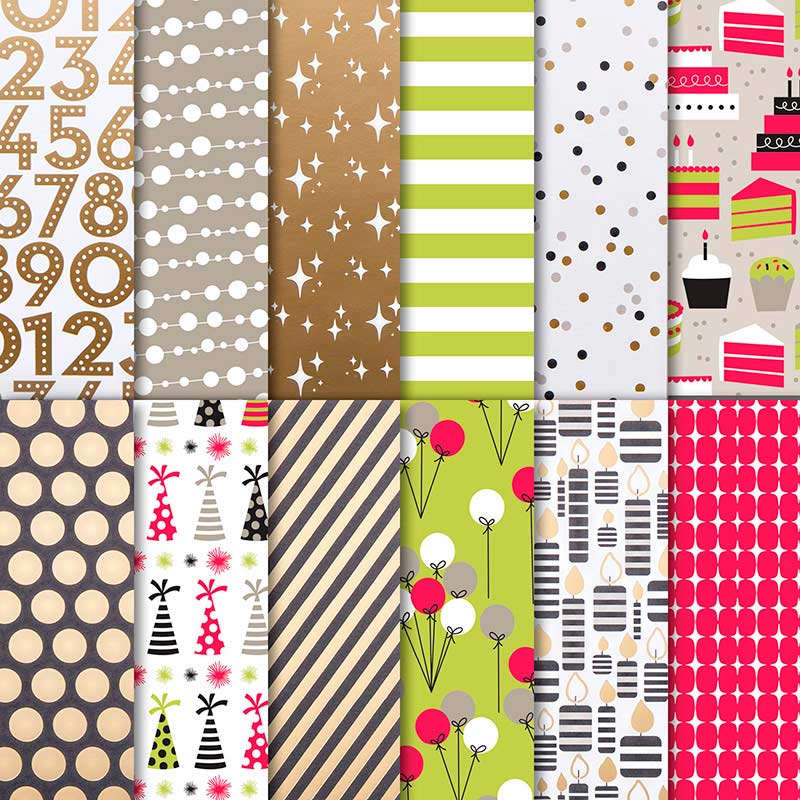
But now back to today's creative share...  the Noble Peacock Speciality foiled papers and Foil Sheets are perfect for the job requested... as they are simply decorative with the perfect shine!
And suitable colour-wise & pattern-wise for those "difficult to craft for" men folk and teens in our lives too... which just keeps life simples!

Craft Spa Recipe
Cardor Paper 6"x 4"
Foil - 3.4cm Square
Dies - Stitched Shapes dies - 3cm Square die
Stamps - Itty Bitty Birthdays, Family Party
Ribbon - White Metallic Ribbon (3"), Navy Bakers Twine(7")

Craft Spa Tutorial
1. With panel PORTRAIT. Score at 1" (2.5cm)
2. With panel LANDSCAPE. Score at 1", 2 3/4", 3 3/4" & 5 1/2" (2.5, 7.5, 9.5 & 14cm)
3. With panel LANDSCAPE... with short section/bag base to the bottom... score from top (0) to about 2" (5cm) at 1/2" and 3 1/4".
4. Bone Fold all score lines
5. Cut out small end tab
6. Fold and adhere to close at side (folds flat nicely to do this)
7. Close off top as required (punch a small hole(s) if you want to close off with ribbon)
8. Decorate as required

Note that you definitely need to do those half score lines (pt.3) at the sides of the bags as these Noble Peacock papers are so lovely and thick!! But you can get away without doing these with thinner papers... as the bag will just push in at the sides without the aid of a score line! But I would still recommend these extra scores as then the sides are much neater!

And some extra tips for you...
(1) Clips are the easy way ( and by far the quickest) to close these off...

The new Mini Library Clips being amazingly perfect! But I only had one of these to use (which I yanked off a swap to be able to show you! Thanks Anne...I have put it back now!!!)
So everyone coloured the retired Gold Library Clips instead... and no-one used the ribbon and twine method (as per the SON version!) Far too Fiddly Faddly!

(2) The Stampin Blends are great for coloring your clips or ribbons to close these little bags... I used Dark Old Olive for both the ribbon and clips in these shots... though I highly recommend using the Granny Apple Green for your ribbons instead as they keep things much lighter and brighter! And still co-ordinating...

(3) The Noble Peacock papers are white on one side... and patterned/foiled on the other... so any edges facing you show up! Quickly resolved by a quick swipe of your Stampin Blends along the edge... Yes ... I did that!!! I assembled mine the wrong way round!
So then ... after explaining at length to stick the decoration on the front side - and so not reveal that white edge where the bag is stuck together (so the back side!) - and so this step not being required... in my haste to demo/assemble...  I did it again!!

Luckily no-one else did! But maybe you can tell now!!! How annoyed am I with myself!! Better make another one then...

Tuesday, 28 May 2019

Broadway Bound Good Luck... and Ombre Tuesday Tip!

Imagine the scene... the sudden realisation that you have less than an hour to make, address, photo..., get to the Post Office and send a card and a treat box to wish your son well in his exams... or you are going to miss the post and they will arrive the day after his first exam! As it is a Bank Holiday weekend...
So these happened! Talk about speed crafting... Broadway Bound papers... 
Broadway Bound Speciality Designer Series Paper
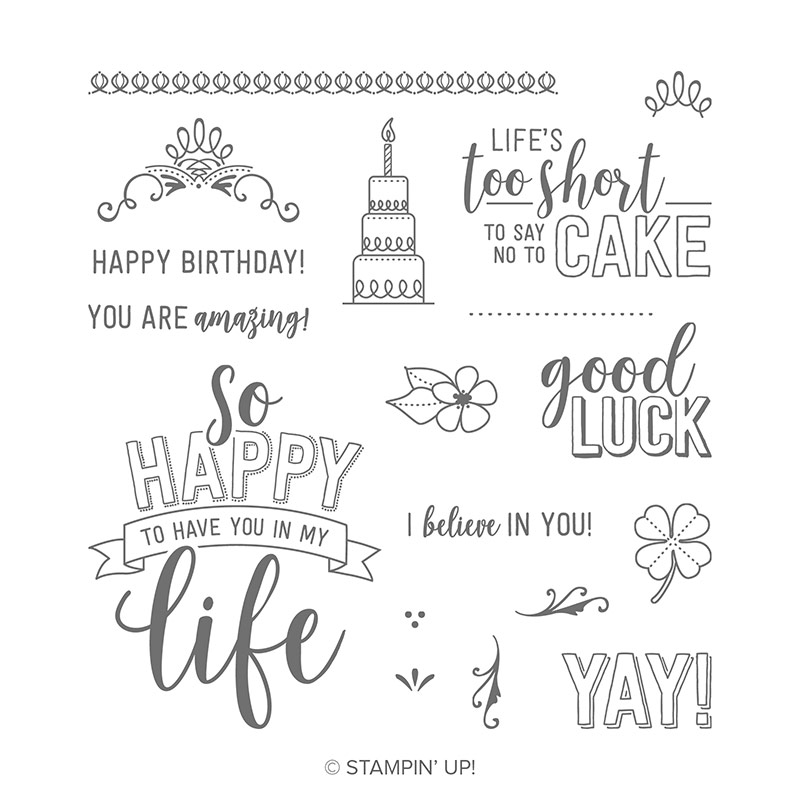
Amazing Life stamps (the ones in the bundle with the Rectangles Stitched dies! Still available with 10% off till 3rd June)... 
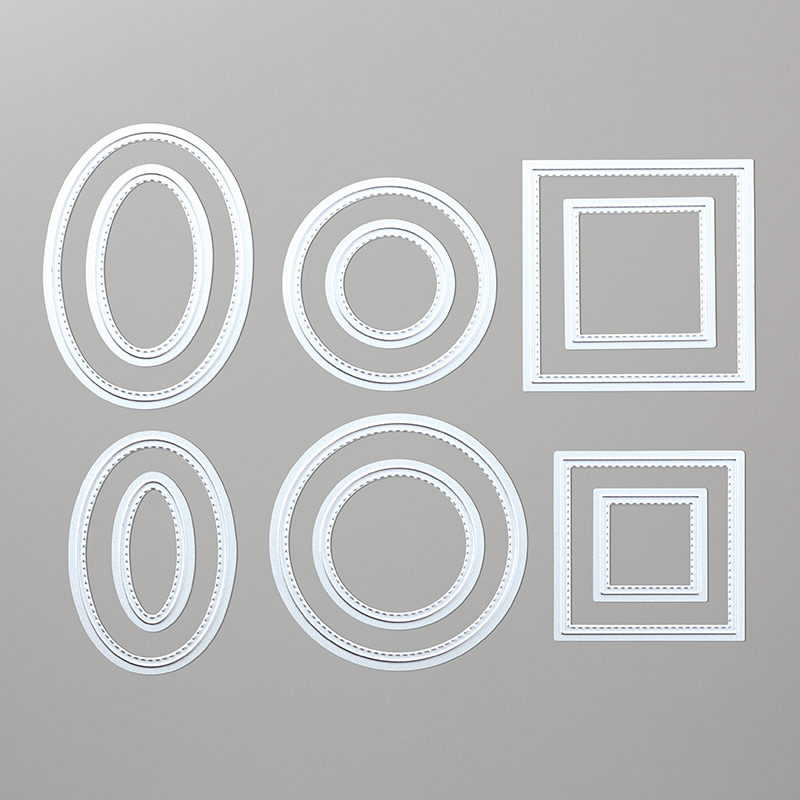
And of course our very favourite Stitched Shapes dies...
But he will be happy... as the box contains not one but two bars of chocolate! 

And oh yes... you guessed it... I covered one of those Lemon Lime Twist boxes I had already made...well speed was of the essence!! 
But for you... link to the tutorial here

Wouldn't care... but I seem to remember I was in the same last minute state last year! Though I blame the Bank Holidays of course!
And oh... nearly forgot.... My Ombre tip for today... 

See the word LUCK... coloured in with a Marker Pen... then coloured over the bottom again... with the same marker pen!! 

Simples!! Just wish I had take a close up shot for you...

Amanda's Quick Links
Just click on the relevant pictures below for catalogues and/or more information... 

If you are ordering today... do remember to add the Host Code shown below to earn yourself a gift and help support The Craft Spa at the same time... For orders over £150 you should claim your own Stampin Rewards when ordering... you will still get a separate gift from me... 
Please note that this host code is relevant to today's blog post date... it does expire and change over the months... but the current code is always shown at the top right hand side of my blog...

Current Catalogues & Products
Everything is Rosy... available May only... and only while supplies last...Just £74 for all this! Or is that that!
Paper Pumpkin The Shelli Card KIT... Such good value... Available only while supplies last... £20 for 12 cards including stamps & ink spot! 


Thursday, 8 November 2018

More Cash Holders...

More Cash or Treat holders for you... more details shared here...

With a sideways shot so you can see the double decker holder effect! Lot more secure this way...
And here's a shot just to show you a couple of different ribbon options... the right hand one being Mint Macaron inked Silver edged White ribbon... the white version being shown here...

Monday, 29 October 2018

Monday Money & Gift Holder...

I needed to design a little holder to display both a little treat and some petrol money ... to give to my lovely friends & family giving me a taxi service during my treatment...

Their treat being my superstar product "sleep-saving-and-enducing" This Works Deep Sleep Pillow Spray... (oh actually... as I happen to have them... click here to get £10 off purchases over £40 at This Works - or click here to get 20% off an order over £20) I couldn't have been without this and the Deep Sleep Breathe In for the last 6 months or so... miracle workers...
And I am rather pleased with this holder... in fact so much so... that it will become my go to packaging for gifting money to all the teenagers this Christmas... although some are now older than teenagers... but they still always ask for cash!
So I will be back at some point with another more christmassy version... and with the tutorial too...

Though one little tip for you... I cut round the punched Accented Blooms greeting... cutting off the surrounding white area... which then gave me enough of a border when the greeting was stuck to a punched Pool Party mat...
Stampin Up Products used
Stamps - Accented Blooms
Punch - Tailored Tag
Papers - Frosted Floral


Tuesday, 26 June 2018

Tuesday Tutorial - Large Gift Bag from 2 sheets of 12x12 paper

Coming quickly back to the really large lovely bag I shared here last week... as my lovely crafty friends have been busy making their own over at my place... so I now have some more using different Share What You Love papers to share with you...

Plus a step by step Tutorial for you too... as well as a link to a Video Tutorial here that was created and shared by my lovely Stampin Up upline (aka mummy), Julie Kettlewell...
But first... the original credit must be given to the lovely ex-Stampin Up-demonstrator, Caroline Hallett... so much so... that this bag was even named the "Hallett Bag"...

But unfortunately Caroline closed down her Stampin Up blog and all its tutorials when she moved onto crafty pastures new... so luckily Julie shot her video tutorial... so that we can all continue to create this lovely bag... as it is one that has been on my To Do list for quite a few years...
You will need 2 pieces of the same pattern of 12x12 paper to create the bag...

Craft Spa Tutorial
REMEMBER THAT YOU NEED TO DO THE SAME ON BOTH 2 PIECES OF PAPER....

1. Place the paper in front of you.. with the pattern in the direction that you want it on the final bag...
2. Turn the paper 90 degrees...
3. Place on the trimmer & line up at 11 1/4" on the Top Bar and chop off the 3/4" strip as your handle

4. Place PORTRAIT on the trimmer (check 11 1/4" along the top)
5. Score at 1 1/4" & 10"
6. Fold over one of these "edges" to form the top of the bag...
     NOTE- Think about the pattern direction of the main bag side and foldover section...
7. Adhere this Top edge

8. Place LANDSCAPE on the trimmer (check 12" along the top)
9. Score at 1/2", 1 1/4" & 2" (NOTE - do score from the same side on both pieces)

10. Fold over & Bone Fold...
       Bottom = Mountain Fold
       Sides = Mountain/Valley/Mountain
11. Cut off slim 1/2" bottom outer section
12. Dart up sides of left and right hand score lines to create a base tab

13. Apply Tear n Tape down long thin 1/2" side tab/section
14. Remove some of protective tape top and bottom so that protective tape folded out...
15. Place down onto flat side of other piece of paper and line up...
16. Pull out rest of protective strip & adhere
17. Repeat for other side

18 . Apply glue onto bottom tab
19. Fold over one bottom edge and stick to glue...
      NOTE that the bottom sections don't each totally cover the whole depth of the bag... nature of the design..
20. Tape onto the other bottom edge, remove part of protective strip... and fold over to stick (put your hand into your bag to be able to apply some pressure!)

21. Apply tape about 2 1/2" from either side on the top edge of the bag
       NOTE this is different to the 1 1/4" used on my original bag and in Julies video... but the "stresses" were too much... so this way is easier and more robust!!
22. Adhere handles

23. Decorate as required
I used the Large die cut Label from the Share What You Love Embellishment Kit... plus a 9.9 x 6cm piece of card... corner rounded & and tag hole punched with the Detailed Trio Punch... with a simple stamped Oval from the Detailed With Love stamp set... tied onto a handle with 12" of Bakers Twine... and finished off with a bow from 13" of ribbon


Sunday, 18 March 2018

Sweet Sunday.. Box for 2 Chocolate Bars with Tutorial

So lots of these were made this week... as my ladies got their Easter Makes on! A box designed from one piece of A4 card... to hold 2 Milka or Cadburys Dairy Milk chocolate bars... or any of the more widely available "thinner taller chocolate bars" with the frilly bit at either end...

The ladies in this week's class all have big family gatherings for Easter... and so like to spend some time with me decorating lots of Easter Treats for the table...  So I have to keep things decorated simply... as they don't want to have to stay overnight!!!
This is a project I was determined to make this year... all of my friends and family Easter makes and sends in the past have been something lovely and decorative... and usually cute... but with... not a lot of chocolate!!

So this year I will send lots more chocolate... 2 Milka bars going in all mine... But something simpler and more stylish for presentation... as (apart from 2) they are all getting too old for cute Easter chicks and bunnies... Though I did have to laugh as... for once... I loved the pop of bright colour for the boxes... Lemon Lime Twist particularly doing it for me!! And everyone else as it happened...

I used the Petal Passion papers... as then everyone can colour as much or as little as they wished....
Craft Spa Recipe
A4 Card 25 x 21cm (ie A4 width)(9 3/4" x 8 1/8")
Papers - Top 10.5 x 14cm (4 1/8" x 5 1/2"); Bottom 5 x 10.5cm (US 4 1/8" x 2")

Craft Spa Instuctions
1. PORTRAIT(short edge at top). Score 1, 9, 11 & 19cm (3/8", 3 1/2", 4 1/4" & 7 3/8")
2. LANDSCAPE(long edge at top) with the narrow section at the bottom. Score 2, 4 & 23cm (3/4", 1 1/2" & 9")
3. Bone Fold all lines

4. Cut as per Template (Note the thin red lines for sections you want to dart as you cut. Neater if you keep those wider bottom sections as straight as possible...)
5. 3/4" Circle Punch as per Template

6. Apply glue and adhere Box together as per Template in following order for ease/neatness.. we used Tear & Tape for all sections apart from the lid... where we used Tombow Multipurpose
(1) Lid sides first checking they fold in nicely! (TIP- partially doubling them up this way makes for a  stronger lid)
(2) Narrow side section (TIP- line up tape glue along the fold edge rather than in the centre or open edge)
(3) Small bottom side tabs
(4) Back bottom wide tab (TIP - use a ruler to go into box to bottom so you can apply some pressure up against the ruler to stick things together firmly...)
(5) Front bottom wide tab (TIP - again using your ruler)

7. Cut 1.5cm (1/2") from either side of the papers (when PORTRAIT ie short edge along top)
8. Adhere longer pieces
9. Adhere side shorter pieces
10. Adhere ribbon to wide shorter piece (TIP - colour first as required! Blends or Markers will do the job... but let marker coloured ones dry a bit!)
11. Adhere centre/wider paper piece

11. Decorate as required...
We used a die cut Stitched Shapes circle (2nd smallest) and then stamped using just the leaves from the Sale A Bration Amazing You flower stamp in Lemon Lime Twist... plus a silver embossed Easter greeting from the retired Springtime Blossom set... though some were made using Happy from Perennial Birthday and Easter from Teeny Tiny Sentiments ( but too much faff to actually use in a bulk making class!)

And here are about half of them all neatly assembled and ready to go... the rest were a little bit of homework after all!!
Please note that the inches (imperial) are a literal conversion of the project rather than one tweaked to US Letter card... so either can be used... but do cut & score in the same system!.... Though personally ... even though I am an inches girl... I just found this one easier in metric (centimetres)!


Sunday, 26 November 2017

Memories & More Merry Little Christmas Gift Card Holder

So when I made these using Petal Garden and the Striped Treat Bags... I decided that they would make for a great quick wrapping idea for all the gift cards I send this year... but using the Merry Little Christmas Memories & More Card pack instead... further details in the earlier post...

So more to follow using other cards in the pack... but I thought I would share the first as no doubt it will be very last minute when I get to do the others...
And before I leave... remember that Free Shipping on ALL orders starts at 11pm tonight, Sun 26 November GMT for us in the UK... any order value... direct ship by UPS to your door within 4-8 days... Ends Monday 27 November 10.59pm...
Click here for my Online Store... and don't forget to enter this month's Stampin Rewards Host Code 392YRRXW for a free gift and the new mini catalogue(s) from me to arrive in December...
Or a few hours left if you still have your eye on a reduced item in the Online Extravaganza Sale... ends 10.59pm GMT tonight! But do bear in mind that if the overall saving is less than £4.95... you would be better to wait a minute for Free Shipping from 11pm...

Saturday, 18 November 2017

Gift Wrapping using Memories & More Petal Garden

Really simple and quick to make... but (I think) so beautiful ... small gift wrapping... using the Memories & More Petal Garden card pack and the Gold & White Striped Treat Bags... finished off with a half Foil Snowflake and Rich Razzleberry 1/4" Stitched Ribbon  

There was one each for my lovely fellow Silver Elite + team friends that  joined me at the Centrestage event at On Stage in Solihull last week... just to say a simple little thanks as we do all support each other in so many different ways... and I for one really appreciate that...
Just a small M&M card... matted onto a Rich Razzleberry mat... with a half snowflake attached to the back at one corner... And a quick tip for you... if you put a Glue Dot on the front of the Snowflake in the centre they are really easy to position & stick in place to the back of that mat!

And inside... well not immediately obvious... but very small chopping boards!! All with something personal to the receiver... These are just attached to one of the larger M&M cards in the pack
I treated myself to one too... and have actually been using it every day this week!!! So much easier to wash up after chopping just one tomato etc for my sandwiches!! 

And Kate... oh no! I forgot to photo yours!!! Silly old me... would have been nice to share in the different colourway...