Saturday, 10 August 2019

Double framed Daisy Lane card

CASEing me... as this has been one of the favourite cards of the year in classes... but using Daisy Lane this time instead of butterflies...

And spot the stunning Metallic Designer Elements daisy centre... looks gorgeous!
So then had to add gold embossed leaves and Gold Foil to my Gray Granite for the Stitched Rectangles to finish off...

Click here for the card tutorial...
And a quick update - my mother is still critically ill in ITU... so my life is there at present - normal blog service will resume as soon as possible... please bear with me...

Friday, 9 August 2019

Magnolia Lane Double Point Card

Loving all the Double Point cards around on the web using the Stitched Nested Labels dies... a perfect match of card design and product!!
So thanks to the originator of the use of this concept this time round... which I think may have been Phyllis Shively &  Lisa Curcio here... who shares a video tutorial for you too...

Though I believe the originator of the card fold "way back when in 2017" is the talented Jeanie Stark who can can be found here...  along with her tutorial...
OR just "Google" or "You Tube" A6 Double Point Card if you need a video tutorial for an A6 version (from A4 card)
.
Though my "brain" can't work out the appeal of the extra front part that is formed... aka the flap part!
Apart from the fact that it does give a bit of dimension... so I will just be sticking that down! Which still keeps the extra dimension if you use 3D pads...
Front greeting from Genuine Gems... love it! 
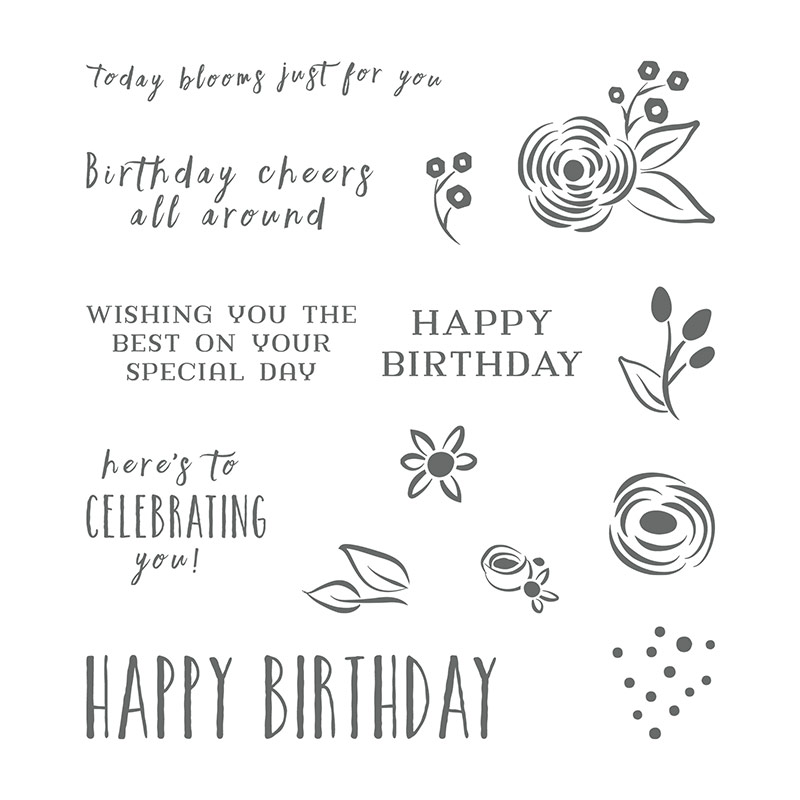
And inner greeting using my chopped up Happy Birthday from Perennial Birthday... the one at the bottom left below... that I chopped and can mount one word on top of the other as for this version... or side by side for the designed long version!
Oh and Click here for a simpler version of this Double Point card... aka the Deconstructed one!

Thursday, 8 August 2019

Nested Label (Flat) Pop Up Front Step Panel Card

 
Warned you there were a few of these... this one being tailormade to the Nested Labels dies... again using the lovely Noble Peacock foiled papers... with Everything Amazing ... 
Main card as per this tutorial but the front panel is slightly different... and I apologise if I don't get back to this card this week to add the details for that front part... but as I said... life is not my own this week... so I am pre-writing with short and sweet creative shares for a change...
I particularly love the usage of the Family Party stamp set to tell any family person that they are amazing! Thank you to our Jane for spotting that... brilliant idea!


Wednesday, 7 August 2019

Deconstructed Simple Double Point Noble Peacock card

So how many of you have seen the Double Point cards doing the rounds...

Perfect with our new Nested Label die cut shape... and I have loved every card I have seen using the design... and will come back to some cards as intended sometime soon...
But in the meantime... well I decided to deconstruct the design... and simplify... and here you have it!

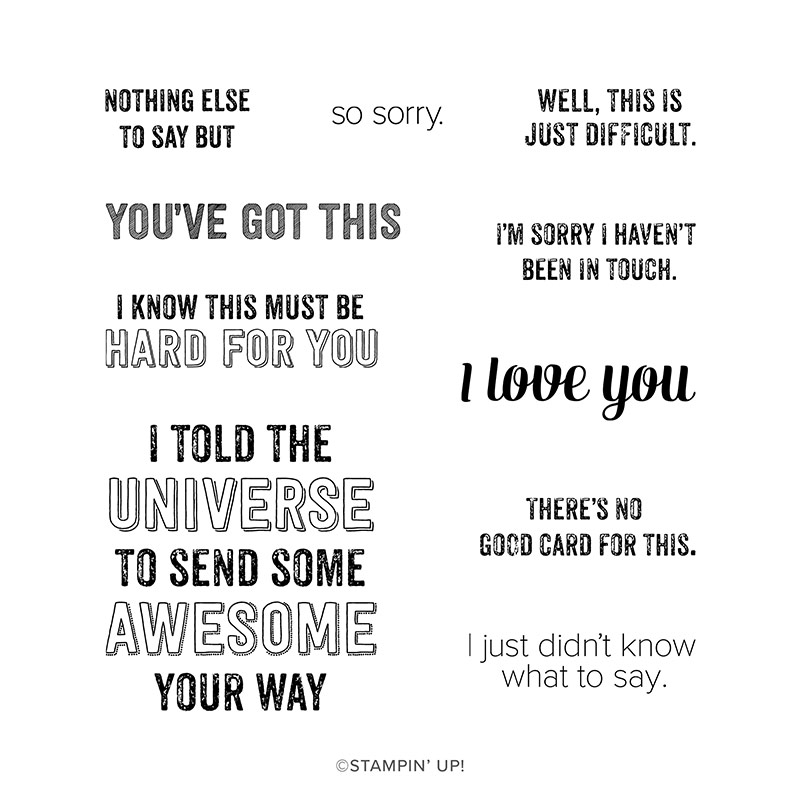
Incorporating Stitched Nested Labels dies, Sorry for Everything stamps, Noble Peacock papers, Bloom & Grow and Daisy Lane bundles for good measure!

And spot the Nested Label shape cut from this Royal Peacock card... and that the white greerting panel id the same size but trimmed by hand using the line inside the stitched line... so as to get a thin mat...
Please visit my Online Store here to find all the named products and more... thank you... 

And I will be back with more details on this card design sometime very soon... as we are a bit addicted to them!

Tuesday, 6 August 2019

Multi Colour Heat Embossed Royal Peacock card

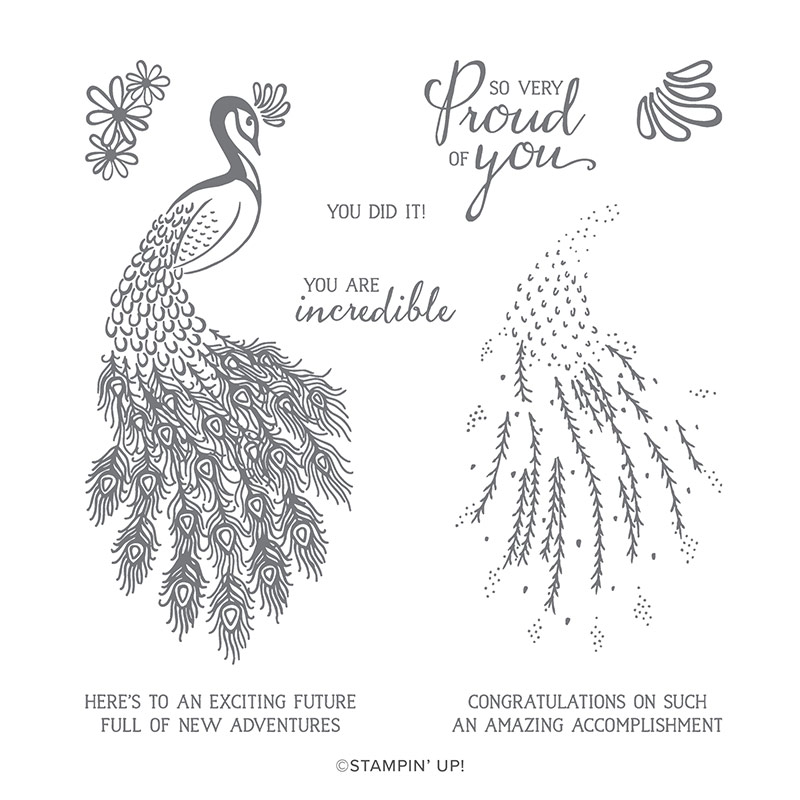
Well there appears to be a mixed reaction to the Royal Peacock stamp set...

Bird (or Peacock) lovers love it... but they only look at the one image!

And then the majority of the rest pass it by...
Until I say... Look at the greetings... aren't they just what you need to say quite a lot (to those of us going through all the exam successes... further education stages... new jobs... etc etc etc of our children...

And then it becomes a have to have... for most...
And if life was normal... I would have a lovely tutorial for this card for you... but it isn't ... so I will just quickly type the key feature of this card... Let's call it the "Multi Colour Heat Embossing" technique... which caused such a stir in classes last week!

Basically ink up your Peacock stamp with Versamark... then over ink with Blueberry Bushel to the top (body & head)... and Pretty Peacock to the bottom (tail feathers)... and then Stamp...

Then add Clear Embossing Powder... you can see it all go "milky" as the powder covers it...

Then heat... and you will see the glorious embossing shine ! And sorry as the photos really just don't do this justice...as it really is very shiny!!

And the rest of the colour was added using Stampin Blends... in Granny Apple Green, Night of Navy and Pretty Peacock...

And yes I "gutted" my foil panel before I assembled this card... so you will see this Nested Label die cut shape another day!

Sunday, 4 August 2019

Keeping it Simple for Sunday...

Another one of the simple cards in my Noble Peacock foiled papers series... featuring the new Pretty Peacock colour...

And an admittance... I am absolutely fine... but family life has just got "tough"... so I will be keeping my posts short and sweet for a while... that way I can still keep sharing creatively with you... as I have lots of projects made... so it seems a shame not to share them...
Normal service ... with lots of blurb and numbers.. will return as soon as possible...

Thank you for your patience... and continued support of this little ol bloggio...  I really need it at the moment! As it is kinda my Happy Place!
And here are the 2 super CAS cards together (the other one being shared yesterday!)

Saturday, 3 August 2019

Super Simple Saturday Noble Peacock card....

This one definitely created a few oohs when seen in the flesh... Love it when something this simple does that...

Just a 7.1cm (c.2 3/4") square of the stunning Old Olive Foiled Noble Peacock papers... with a  3" (7.6cm) square of the co-ordinating Old Olive Foil Papers ... and a 3 x 7.6cm Whisper White "banner" (1 1/8" x 3"). Set on a Small Square Thick Whisper White Square Card (ie 10.5cm or US 4 1/4")
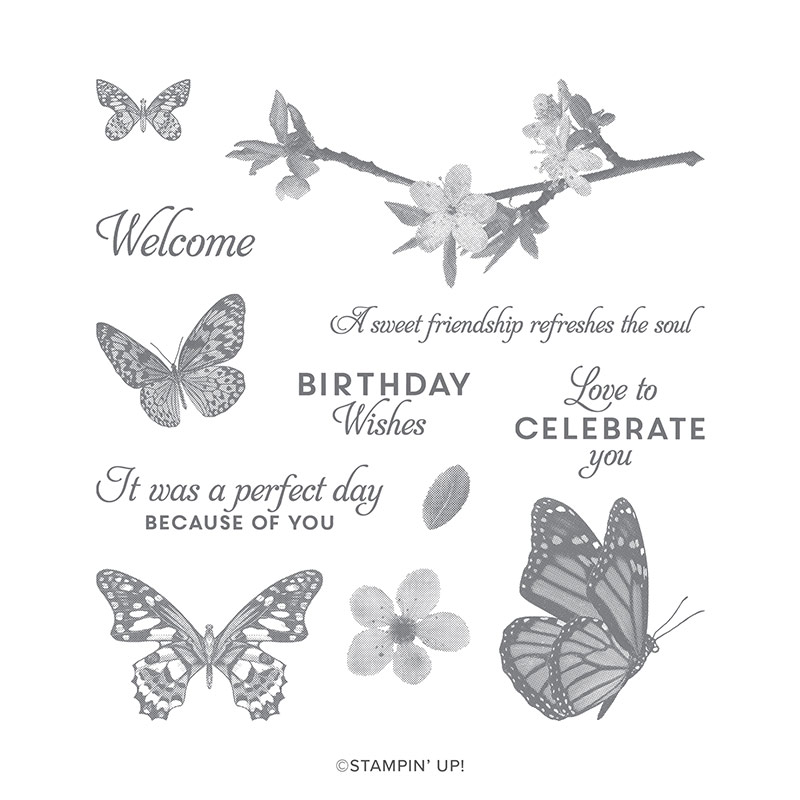
Embellished with a couple of fussy cut Butterfly Wishes flowers in Bermuda Bay and Granny Apple Green to make everything pop!
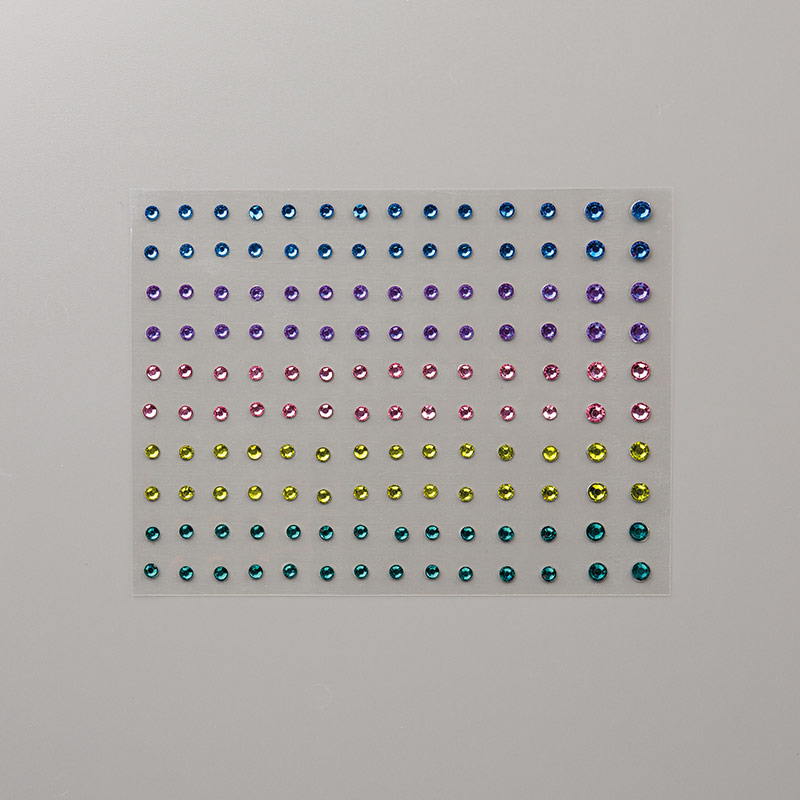
The flowers being finished off with the new Noble Peacock Rhinestones... which are so colourful and pretty!
Suitable for anyone... and for any occasion...
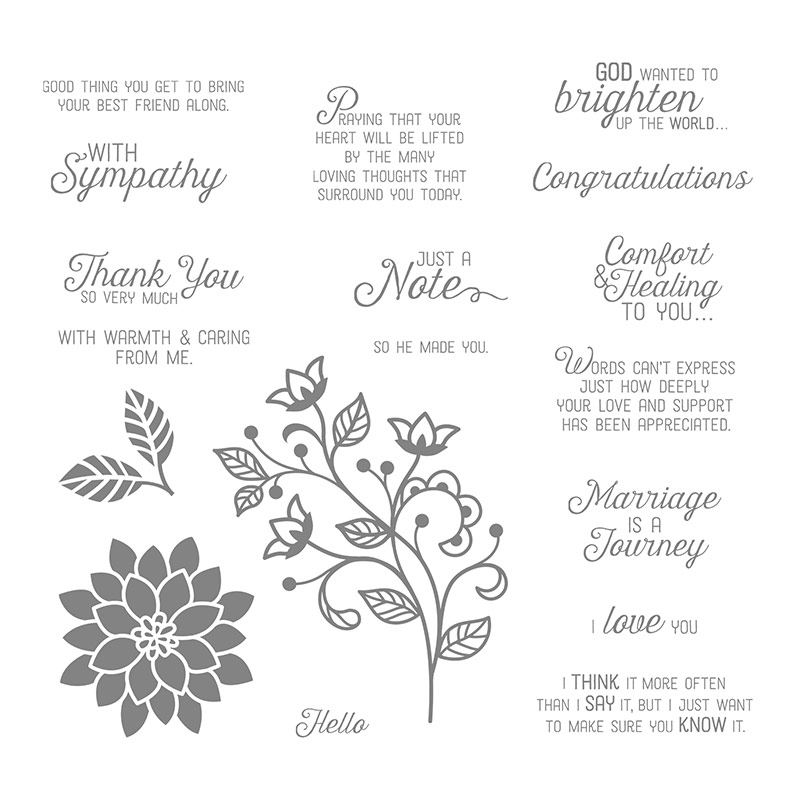
This greeting being from Flourishing Phrases... just for a change!

Friday, 2 August 2019

Everything Amazing and Foils for Friday!

So my ladies are loving the Noble Peacock foiled papers... with 3 of the class groups requesting them to be used first... which made my life somewhat easier for a change!

So another series for you... starting with a (A6ish ) Landscape Pop Up Front Step Panel Card (or Flat Pop Up for short!)  as my ladies are still really loving these cards too...
So a card tailor made for our Stitched Rectangles frames... and featuring Everything Amazing to send a strong positive congratulations sentiment! Suitable for teens, men and the ladies too... so a truly versatile card for a change!

Metallic Edge Ribbon coloured care of Stampin Blends markers... in Light Old Olive here... though I did switch to Light Granny Apple Green in subsequent makes as that kept things just so much lighter and brighter... and young at heart...
Magnolia Blooms "Congratulations" on the top die cut using the Stitched Rectangles dies too...
Please visit the full tutorial for the A6ish portrait version of a Pop Up Centre Step Panel Card here if you need to see the steps for such a Pop Up card step by step! With the photos to help...

And before I post a quick tutorial ... an admittance... my card just fits in a standard C6 envelope ... but it wouldn't fit in a standard US A2/medium envelope...  And depending on where you end up sticking your top panel... it may not fit in a c6 envelope either... Neither will it fit if you have embellishments sticking up over the top of the front panel (now there is a hint re another one I have already made!!!)

So use your envelope when sticking your card/embellishments together... Though you can always rescore your envelope where required, re-fold and have less of a flap... yes I have done that from time to time!!! Or use a Square envelope.... Or even make a custom envelope if you still have your scoreboard...

And a last minute apology... as (my) time is very very short in the short term at the moment... so I can't convert to US card sizings... but I will come back to do that when I can...

Craft Spa Recipe
Blueberry Bushel 14.8 x 21cm
Old Olive (but I would prefer Granny Apple Green!) 10.5 x 11cm
Noble Peacock Paper Blueberry Bushel 14.3 x 7cm
Foil Blueberry Bushel 14.3 x 5 cm
Noble Peacock Paper Old Olive 10 x 2.5cm
Quilted Embossing Folder

1. Score LANDSCAPE Blueberry Bushel card at 10.5, 13.5, 16.5 and 19.5cm
2. Score LANDSCAPE (check 11 cm along top- not 10.5cm!!!)  Old Olive panel at 1 & 4cm
3. Mountain Fold all folds...
4. Roll & stick main card base (recommend dry run first!!)
5. Emboss Blueberry Bushel Foil panel & trim PORTRAIT in half at 2.5cm
6. Adhere all papers.

7. Adhere front panel ...  Note that I lined this up/stuck this differently to that in the Full Tutorial  (and so I definitely recommend a dry run first!! ... especially as I haven't got the chance to redo and take a photo!)

As I adhered the bottom onto the base step first... with the bottom of the Old Olive section about half way up the base step...

And then closed the card up... with the 2 top sections folded over... and so that the top of the Old Olive front section is about 1 cm above the top of the base card (not lined up with the top as in the other version)

8. Decorate as necessary


Thursday, 1 August 2019

Noble Peacock Mini Gift Bag

So I was asked for something small, simple, shiny and perfectly formed for slipping a note (cash!) in... This little bag ends up 1 3/4" wide x 1" high x 1" deep when finished... And as you can get 6 of these from one piece of 12x12 card or paper... they are very cost effective too!

So here you are... with a few crafty tips and the Recipe and a Tutorial along the way for you...
But before I start! A quick round up of news for August...

Get £25 more for free if you sign up with Stampin' Up! now... and an extra £8 to spend in September when you place your order... Click on the picture below to find out more...
But now back to today's creative share...  the Noble Peacock Speciality foiled papers and Foil Sheets are perfect for the job requested... as they are simply decorative with the perfect shine!
And suitable colour-wise & pattern-wise for those "difficult to craft for" men folk and teens in our lives too... which just keeps life simples!

Craft Spa Recipe
Cardor Paper 6"x 4"
Foil - 3.4cm Square
Dies - Stitched Shapes dies - 3cm Square die
Stamps - Itty Bitty Birthdays, Family Party
Ribbon - White Metallic Ribbon (3"), Navy Bakers Twine(7")

Craft Spa Tutorial
1. With panel PORTRAIT. Score at 1" (2.5cm)
2. With panel LANDSCAPE. Score at 1", 2 3/4", 3 3/4" & 5 1/2" (2.5, 7.5, 9.5 & 14cm)
3. With panel LANDSCAPE... with short section/bag base to the bottom... score from top (0) to about 2" (5cm) at 1/2" and 3 1/4".
4. Bone Fold all score lines
5. Cut out small end tab
6. Fold and adhere to close at side (folds flat nicely to do this)
7. Close off top as required (punch a small hole(s) if you want to close off with ribbon)
8. Decorate as required

Note that you definitely need to do those half score lines (pt.3) at the sides of the bags as these Noble Peacock papers are so lovely and thick!! But you can get away without doing these with thinner papers... as the bag will just push in at the sides without the aid of a score line! But I would still recommend these extra scores as then the sides are much neater!

And some extra tips for you...
(1) Clips are the easy way ( and by far the quickest) to close these off...

The new Mini Library Clips being amazingly perfect! But I only had one of these to use (which I yanked off a swap to be able to show you! Thanks Anne...I have put it back now!!!)
So everyone coloured the retired Gold Library Clips instead... and no-one used the ribbon and twine method (as per the SON version!) Far too Fiddly Faddly!

(2) The Stampin Blends are great for coloring your clips or ribbons to close these little bags... I used Dark Old Olive for both the ribbon and clips in these shots... though I highly recommend using the Granny Apple Green for your ribbons instead as they keep things much lighter and brighter! And still co-ordinating...

(3) The Noble Peacock papers are white on one side... and patterned/foiled on the other... so any edges facing you show up! Quickly resolved by a quick swipe of your Stampin Blends along the edge... Yes ... I did that!!! I assembled mine the wrong way round!
So then ... after explaining at length to stick the decoration on the front side - and so not reveal that white edge where the bag is stuck together (so the back side!) - and so this step not being required... in my haste to demo/assemble...  I did it again!!

Luckily no-one else did! But maybe you can tell now!!! How annoyed am I with myself!! Better make another one then...