Showing posts with label Small Square. Show all posts

Saturday, 30 January 2021

Simple Saturday - Welcoming Windows #1

A new series for you... with the new Welcoming Windows bundle... 

Starting off clean & simple with a small square aperture card design... then expanding the design as we go...

This is my favourite product in the new Jan to June Mini Catalogue... so I may just use this for a while...

Love it too? Live in the UK? Then I am delighted to offer you a Class in the Mail... closing date 15 February so you can be in plenty of time for those extra free Sale A Bration gift(s) too...

More Class in the Mail details coming tomorrow.. as I just want to focus on a project today... 

Though in the meantime... you can register your interest by clicking here... or just order the bundle ahead of time...

But in brief... 10 card prepped class kit sent by post with emailed PDF step by step Photo-Tutorials ... 

Free with any purchase of the Welcoming Window bundle £51.70 (£46.75 plus £4.95 P&P) whether you order on line with direct delivery to you or via yours truly... 


Or otherwise free with any alternative product order of £46.75 plus P&P... 

Alternatively you can just have a class kit for £15... Buy Now link here

And for those of you not in the UK... or already in possession of Welcoming Windows... then the PDF Photo-Tutorials will be available for just £4 (c $5.50 USD)... Buy Now link here...

Oh and FYI... basic spectrum of ink colours used.... Sahara Sand for bricks, Basic Grey for pots, Garden Green for leaves, Seaside Spray and Misty Moonlight for flowers... Alternatively Magenta Madness & Highland Heather for flowers... or Poppy Parade for (geranium) flowers ... or any floral colours that grab your fancy..


Saturday, 19 January 2019

Hey (Valentine) Love...

Quick, simple but cute Valentine card for you today...

Forgot to photo the inside... but the co-ordinating greeting says "I'm Ape Over You"... which you can see in the Hey Love stamp set image below.... And for your info... this is the stamp set that caused the biggest WOW at the Spring Summer catalogue reveal in the UK... 
Hey Love Cling Stamp Set
Using the All My Love papers, Hey Love stamp set and the free with Sale A Bration Botanical Butterfly papers
Ape stamped in Memento Black ink on Thick Whisper White, coloured in with Stampin Blends - Lovely Lipstick and Smoky Slate combos... plus the Light Black ... and then fussy cut...
Card a 10.5cm Square Crumb Cake Card Blank...with 10.5cm x 10.5cm hearts paper and 10.5 x 1.5cm polka dot banner with Lovely Lipstick stamped greeting... Simples!

Pretty sure I know where this card is going... wonder if my son will remember that we always called him Cheeky Monkey!!

If you are ordering today... do remember to enter the Host Code below to earn yourself a gift... and help support The Craft Spa at the same time...
Amanda's Quick Links
Just click on the relevant pictures below for catalogues and/or more information...
Paper Share closes Tuesday, 22 January 8pm


Tuesday, 24 July 2018

Tuesday Tutorial - Small Square Peekaboo Gatefold Card with Bow Closure

As promised... back with the recipe and tutorial for the Small Square Peekaboo Gatefold Card with Bow Closure I posted on Saturday...
Slightly different version of the card for you today... though they do look very similar!... 

With the multicoloured starry Twinkle Twinkle papers on the front... and a Pool Party stamped star on the front... With the very lovely 1/2" Textured Weave Gray Granite Ribbon bow as the closure...
Mine is made from A4 card... so here are the standard 10.5cm Small Square card dimensions for you... with a conversion for you US Letter card size users too! 

So so simple... a must try! 

Card Recipe
A4 card 10.5 x 19cm (US 4 1/4" x 7 3/4")
Paper 10 x 3.7cm (x2) (US 4" x 1 1/2" [x2])
Inside Mat 10cm Square (US 4" Square)
Ribbon x 11" (28cm)

Card Tutorial
1. LANDSCAPE (ie long side along top bar) on trimmer.
2. Score 4.25cm (US 1 3/4") from either side (ie score 4.25cm (US 1 3/4"), turn 180 degrees, score 4.25cm 
(US 1 3/4"))
3. Bone Fold (the stronger your bone folding the better!!!)
4. Decorate as necessary

Note that I use Tear n Tape for sticking the bow... I find it stronger than using glue dots... and therefore the overall closure stays down better.... Though (with hindsight & thinking out loud) using 2 glue dots would probably work as well!!


Sunday, 4 March 2018

Petal Passion Small Square Pop Out Swing card

Think this is my second favourite of my newly designed range of fully opening Pop out Swing cards... small in size... but big in effect...

So this is a 10.5cm Square card (aka actual 4 1/8"... though you would do a 4 1/4" version from US Letter cardstock)
Petal Passion paper panel first stuck to front of card blank and then the aperture die cut using Stitched Shapes dies... 

Stampin Blends action on the paper covered die cut stitched square... using mainly Calypso Coral, Pool Party & Old Olive ... with a touch of Daffodil Delight for the flower centres... and though you can't tell in the photo... Bermuda Bay for the bottom right flower......
Finished off with a white embossed Picture Perfect greeting and a Basic Black scalloped frame using the Layering Squares & Stitched Shapes dies...

Papers inside given a bit of co-ordinating Stampin Blends action on the little flowers... just to pull it all together...
Want to try making one of these fully opening Pop Out Swing cards? Then click here for the Large Square Pop Out Swing Card tutorial... 


Tuesday, 27 February 2018

Small Square Springtime Foils Z Fold Card with Tutorial

So back to 
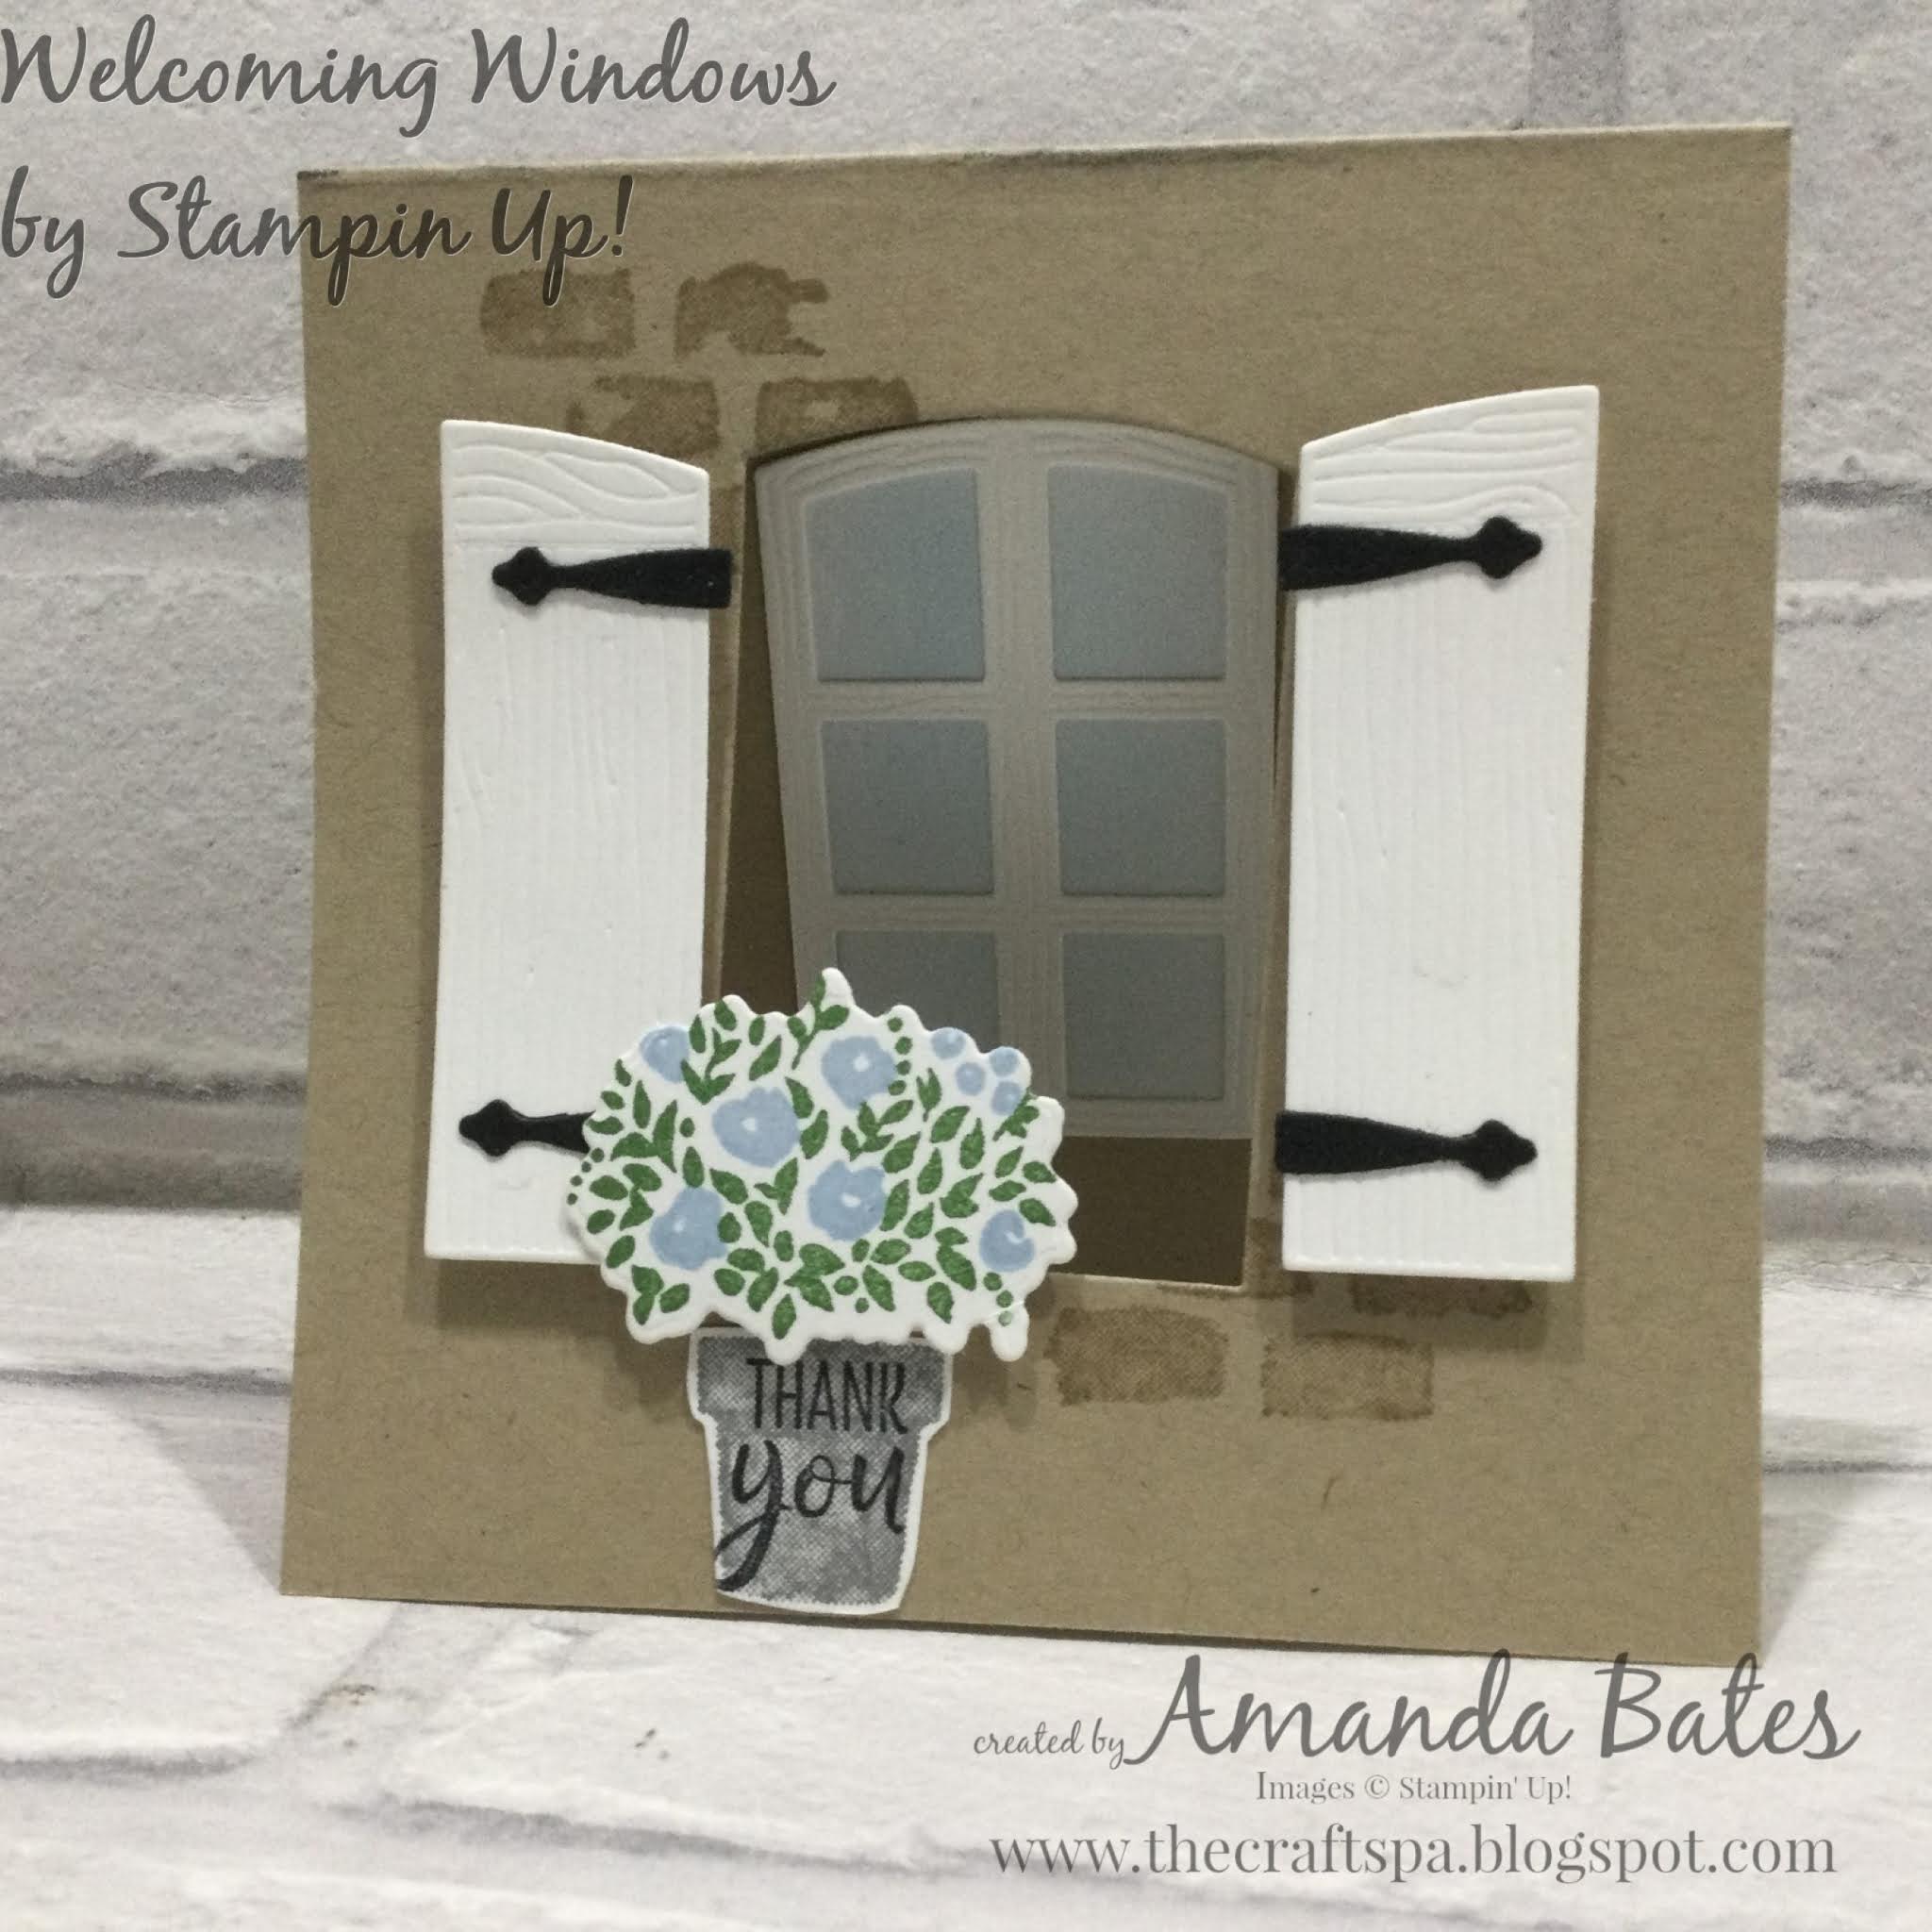
this card shared earlier and the details for you... as per a number of requests...

It has proven very popular via Pinterest...and "in the flesh" so I am happy to say that it will be one of the cards being made in March classes at The Craft Spa... just hope I can get enough 
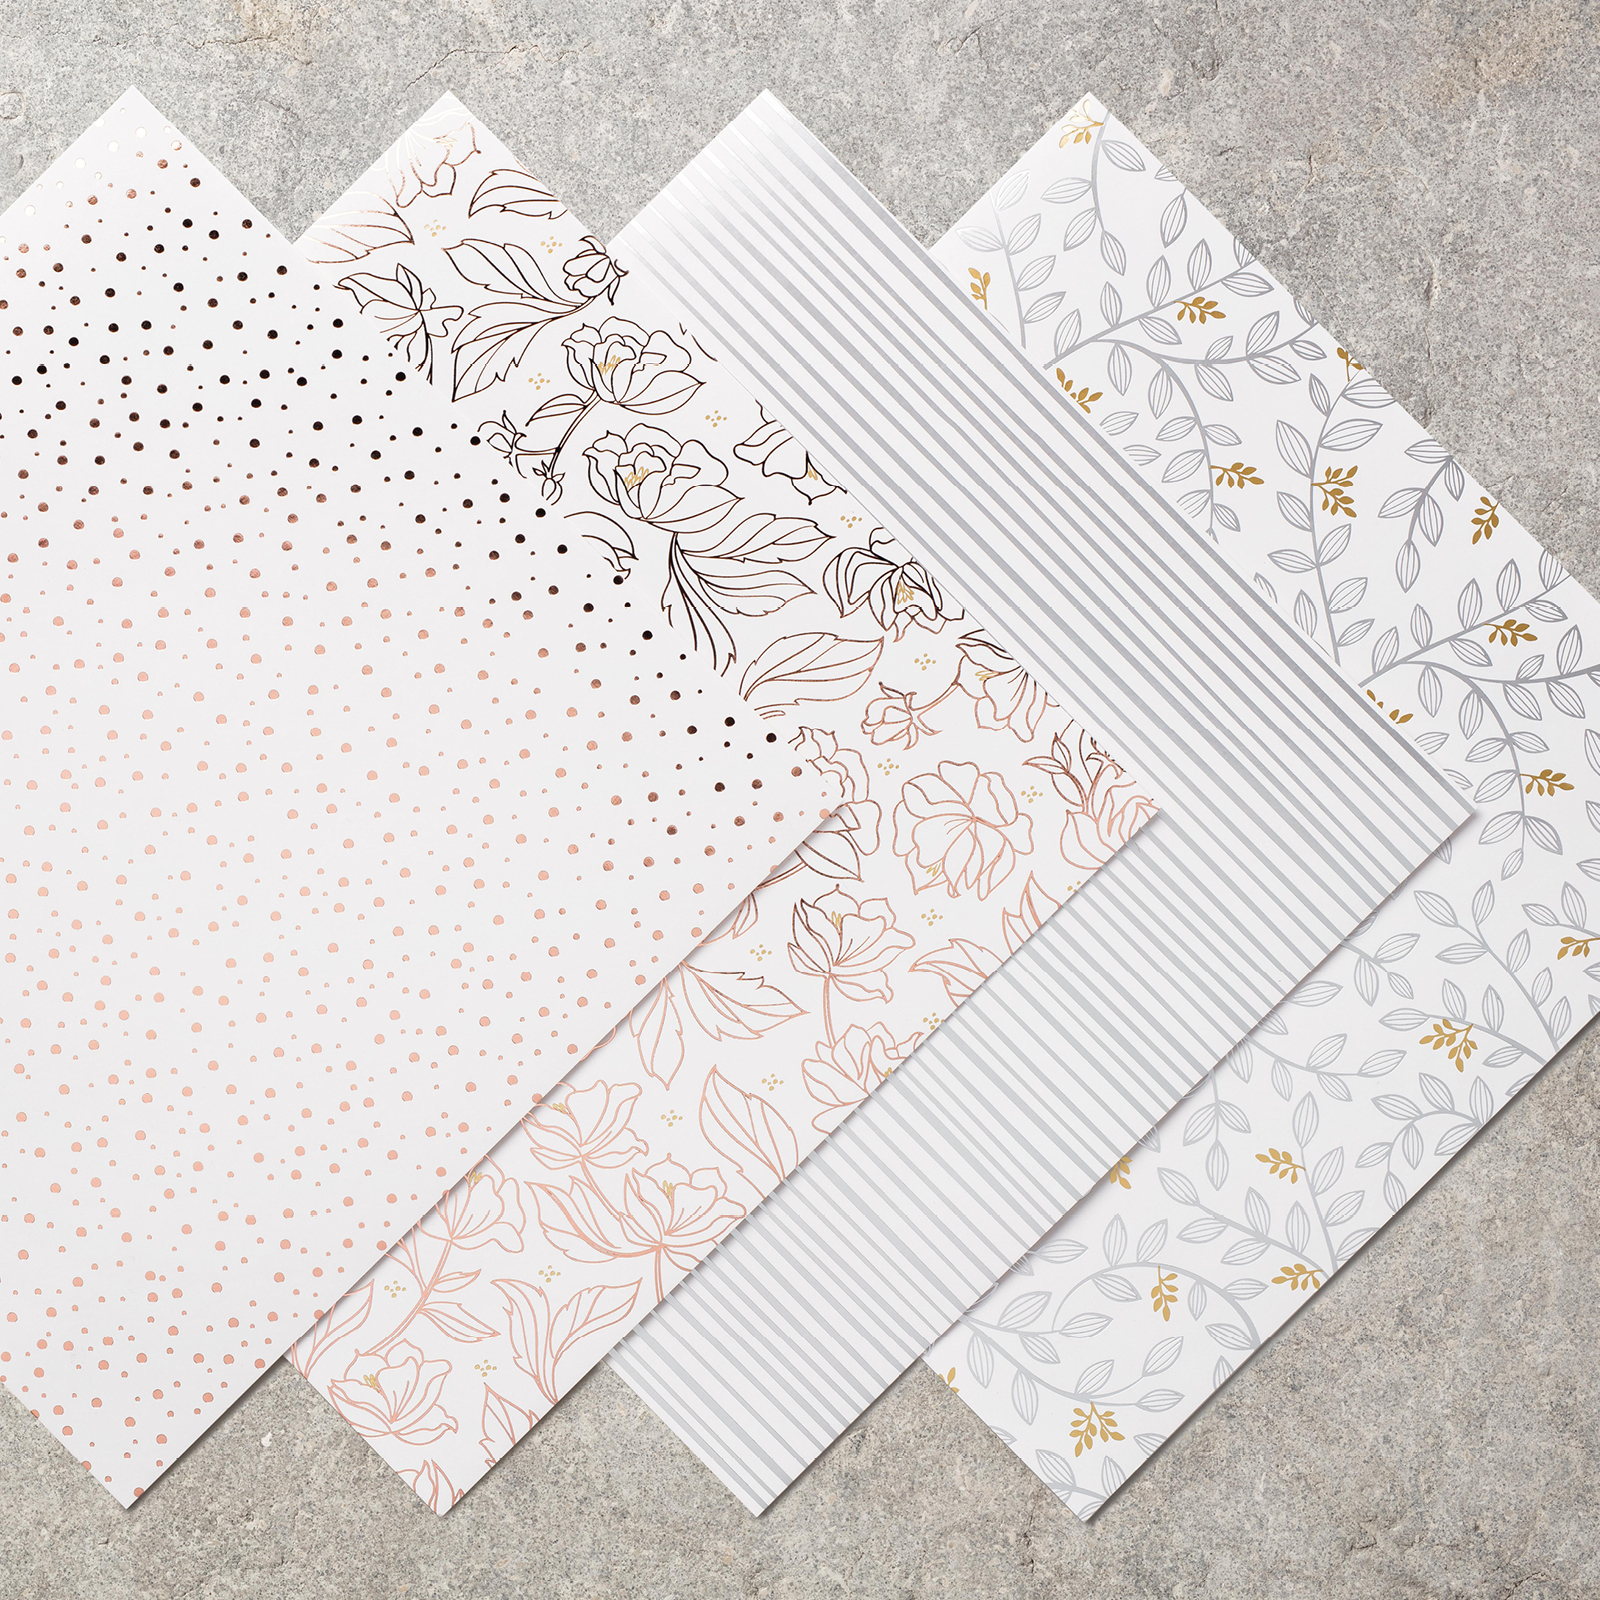
Springtime Foils paper for everyone... as these are exclusively available for free with a £45 order...

So the card is a Small Square Z Fold card... though I had to tweak the measurements so that the paper sizes were the same as the Double Gatefold card shared here with the Tutorial... to keep class prepping easier...
But in hindsight ... I will just use inches for my next classes... but as this inches conversion (3 1/2" square) as shown in blue text is slightly smaller than my actual 9.8cm (3 7/8") square card.... I will go up to a 4" Square card for this one and use the 12x12 cardstock version for the Double Gatefold.... hence the 2nd inches/imperial measurements shown in green for you here! Yup.. that is definitely easier...

But if you like a smaller card... just follow the blue text instead!
Now in class everyone gets to choose the colour of the card blank... as long as it co-ordinates with one of the current Stampin Blends colours... so I used Calypso Coral...

Craft Spa Recipe
A4 Calypso Coral 19.6 x 9.8cm (7" x 3 1/2") or (8" x 4")
Paper Dots 4.5 x 9.3cm (x2) (1 1/2" x 3 1/2 [x2]) or (1 3/4" x 3 3/4" [x2])
Paper Flowers 9.3cm Square (3 1/4" Square) or (3 3/4" Square)
Thick Whisper White 6cm (2 1/2") Square (for die-cutting the Stitched Square)

Dies - Stitched Shapes Framelits
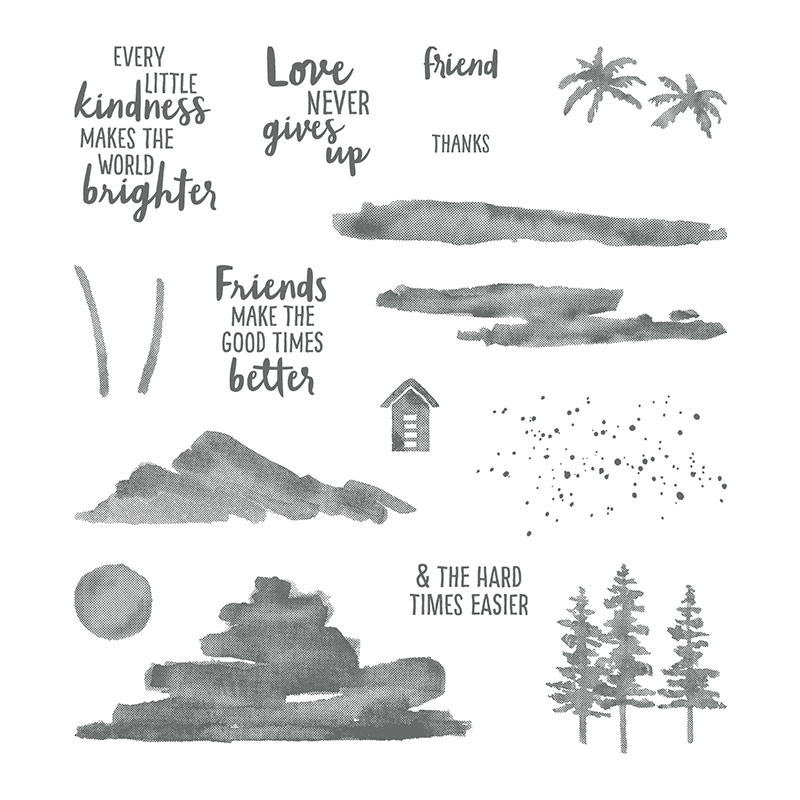
Stamps - Picture Perfect Birthday
Ink - Versamark & Copper Embossing Powder
Embellishments - Tutti Frutti sequins
Ribbon - Silver Metallic Edge (16"). Though the Gold/Vanilla one would probably work better

Craft Spa Tutorial
1. Score LANDSCAPE Calypso Coral at 4.9 & 9.8cm (1 3/4", 3 1/2") or (2" & 4")
2. Bone Fold as a Z Fold (ie mountain/peak for front (1/4 way) score line and valley for central/half-way score line

3. Copper emboss the greeting on the Whisper White panel
4. Die cut as 2nd largest Stitched Shapes square

5. Colour flower papers as desired using Stampin Blends
I used the Dark and Light Calypso Coral and Old Olive Blends... and found that part colouring the image with my Light Blend, then adding some Dark Blend on top as a highlight... and then blending out in a circular motion with the thin end of my Light Blend worked best for me... and the paler flowers were just coloured using the Light Calypso Coral marker...

6. Add Stampin Blends spots to the spotty papers...
I used both Dark & Light Calypso Coral Stampin Blends... thin end...
7. Colour length of White Metallic Ribbon...
I carefully and lightly dragged the thick end of my Dark Calypso Coral Stampin Blend along the length of the ribbon... only one pass required...

8. Colour Tutti Frutti sequins with Stampin Blends... delicate touch with brush end easiest...
I used the Dark Calypso Coral & Dark Old Olive on the yellow sequins - 3 Coral and 2 Olive)

9. Adhere papers
10. Adhere Stitched Square (think about where you don't want your glue!)

11. Cut Ribbon in half... wrap one half around left hand side of card... starting at the front from the  the top left corner of the Stitched Square...
12. Make a bow and cover where you started...
13. Add a coloured sequin to the centre of the bow...
I used a Calypso Coral one on my card...so you probably can't see it!

14. Add the other sequins to your card...
Mine has 2 on the Stitched Square and 2 on the flowers paper to the top and right so you can see them when the card is closed...

Sunday, 18 February 2018

Charming Cafe Wreath Card... and a colour challenge...


A quick little share of a card made for a Team Colour Challenge... though I didn't think I would get time to create anything as I am on a 4 class creating marathon this week...

But the colour combination was too good not to play... Night of Navy, Soft Sky, Chocolate Chip, Crumb Cake and Tranquil Tide... completely "up my street"...

Though some of you may spot that I did actually forget to use Tranquil Tide and Chocolate Chip!! I blame the fact that I was using Stampin Blends and so had to use Memento Black Ink... though that is a white lie... as I did just forget!
And I do have to laugh at myself... 3 stamp sets on such a simple card!!!  

I had made and coloured the Charming Cafe wreath parts and Lots Of Happy flowers & leaves earlier in the week... and then I used my "chopped up" Perennial Birthday greeting stamp when pulling it all together today... as that happened to be out looking at me... 

More details on my greeting stamp "chop up" here...
Oh and I also forgot the Soft Sky bit too... and popped my panel onto a Pool Party card blank at the very last minute! 

In fact it was a bit of a comedy of errors... as I made another minor mistake too... but I will admit to that when I create what was intended... as I am being quite picky with myself... 
Luckily I love my simple little card! Mistakes and all... So I am quite happy for a quick re-make along the same lines...

Friday, 16 February 2018

New Sale A Bration Springtime Foils papers

What can I say... these Springtime Foils speciality papers are SO stunning... hope Stampin' Up! have lots and lots in stock...as I have a feeling these are going to be enormously popular!

EDITED TO ADD... Card Tutorial now posted here... 
Exclusive to the Sale A Bration promotion... so earn one pack for free with every £45 ordered... Just pop to my Online Store to earn yours straightaway and be at the front of the queue...

Use them plain... or colour them up as I have here... what is not to love!

And here are the 4 patterns for you... 3 sheets of each in a pack...
Springtime Foils Specialty Designer Series Paper
I will be back with the details of this card another day... and hopefully a better photo... sorry really must dash today!


Friday, 2 February 2018

More Wisteria...

I had another idea to share using the Lots of Lavender stamp set... but most of the photos were so dark I thought it better to re-photo tomorrow and share that idea another day...

And I have a second post coming at 8pm tonight as it is monthly Blog Hop Weekend time...

So... in the meantime... here is another little card for you today using Lots of...Wisteria...
More details on the stamping in the previous Lots of Lavender Wisteria notecard shared here...

Thursday, 25 January 2018

Love Island!

Bit of a play whilst I was designing this Waterfront stamp set card shared here... as I had to test out the palm trees as well... so here you go... a simple little scene...
Waterfront Photopolymer Stamp Set
An island in the middle of the sea somewhere... with a sole hut... made for just 2... or maybe Robinson Crusoe...

Simple stamped panel finished off on a Small Square Pop Out Z Fold card (Thanks again Kate!) for which the Tutorial was shared here... though I stuck down the central section on this one so the pop out is minimal!
Spot the details...

(1) shrunken hut ... I just inked the top half to get a shorter hut... (Soft Suede)

(2) shrunken palm trees off to the left... just inked part of the trunks stamp (Soft Suede)

(3) shoreline below the mountain created by just inking up one side of the long thin stamp ( Tranquil Tide)

(4) mountain stamped in Powder Pink at the top then Wisteria Wonder below...

(5) Greeting inked up using Wisteria Wonder ink pad and then the NEVER overinked using a Tranquil Tide marker...

Rest of detail as per the card shared here...
February classes here - or at your home (ie in the mail) - will be designed featuring this wonderful stamp set... so please contact me now to reserve a spot! I can't wait to really get going!

Thursday, 20 October 2016

Star of Light Z Fold Panel Card & Tutorial

Following on from yesterday's post... here is another simple Star of Light Small Square Z Fold Card with an added extra panel... so I guess that makes it a Z Fold Panel Card....

Just a die cut largest scalloped and plain square from the Layering Squares Framelits dies... a perfect fit...
Finished off with a Triple 3D Star stamped in Whisper White craft ink on Island Indigo card - and then die cut... 

And a very quick Tutorial for you... from A4 card...
(1) Cut a piece of Island Indigo card 10.5 x 21cm  
(2) Place on trimmer LANDSCAPE 
(3) Score at 10.5 and 5.25cm 
(4) Bone Fold Centre Line (10.5cm) as Valley and Front line (5.25cm) as Mountain

And a quick conversion for you guys in the US with the 8 1/2" x 11" cardstock.... 
(1) Cut a piece of Island Indigo card 4 1/4" x 8 1/2" 
(2) Place on trimmer LANDSCAPE 
(3) Score at 4 1/4" and 2 1/8" 
(4) Bone Fold Centre Line (4 1/4") as Valley and Front line (2 1/8") as Mountain

Though whether the Panel fits quite so well... Mmm not sure... the panel may look a "smidgeon" short.... If not... you need to go to the exact equivalent to our Metric (centimetres) card... which is a 4 1/8" x 8 1/4" piece of card. Landscape- Score 4 1/8" and 2 1/16".  I would appreciate any feedback on this if you try it out....
Simple but very effective...